
Make a Fold-Out Paper Garden With Preschoolers
Make a fold-out paper garden with flowers, drawn insects and a garden sign. Includes simple supplies, preschool skill opportunities and easy adaptations.
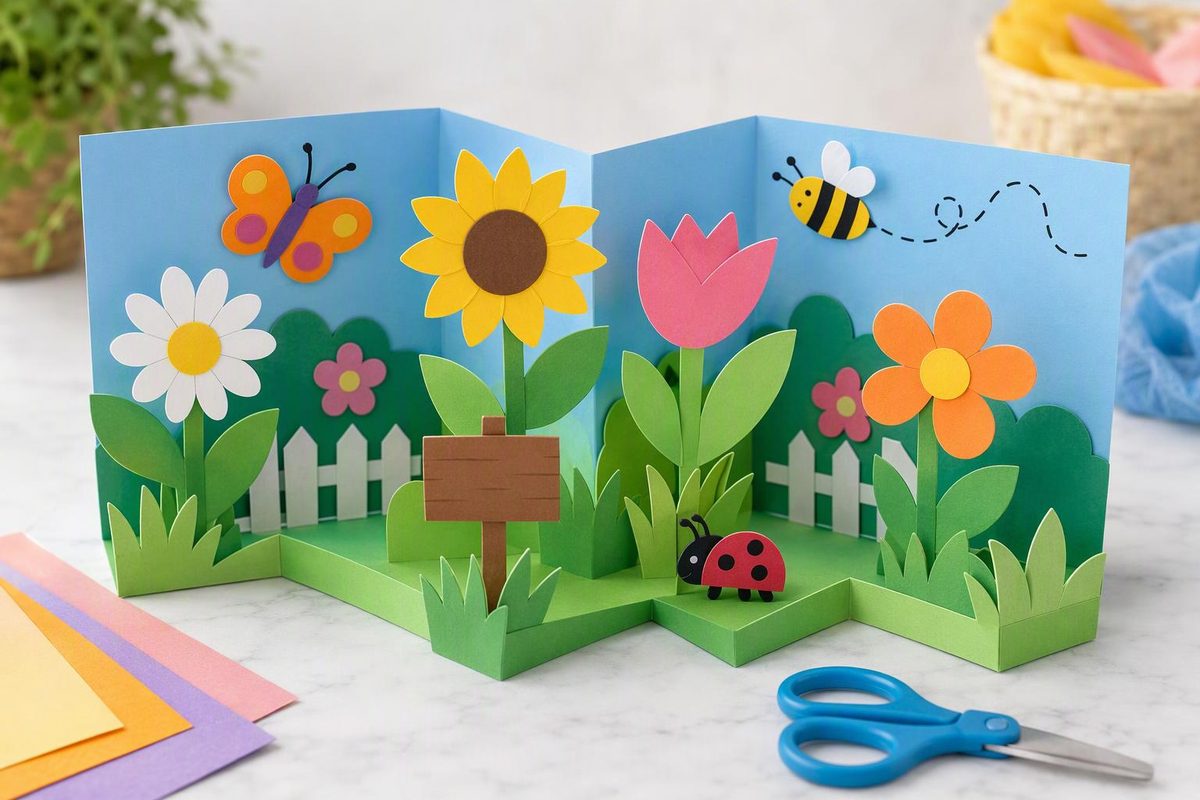
Turn one sheet of sturdy paper into a summer garden that opens like a book. Children ages three to five can add torn-paper flowers, a trail of drawn insects and a handmade garden sign. Make just one part today, or return to the same garden for another craft session.
Choose by the action you want to offer: flowers for tearing and gluing, insects for drawing and storytelling, or a sign for connecting spoken words with print. Each part also works on a flat sheet if folding is not a good fit.
Gather Supplies and Prepare the Garden
You’ll need:
- One large sheet of cardstock or sturdy drawing paper per child
- Colored paper, including scraps large enough to grasp and tear
- Crayons or washable, water-based, unscented markers
- Glue sticks labeled for children
- A washable work surface and a place to leave finished gardens
Fold the sturdy paper in half like a greeting card, then open it flat. The inside becomes the garden. Children can draw soil, grass or paths wherever they choose; there is no need to cover the whole background. An adult can prepare the fold if the child wants to concentrate on decorating.
For art materials, look for age-appropriate products with the ACMI Approved Product seal and a statement that they conform to ASTM D4236. These labels do not guarantee complete safety. Supervise children, keep materials out of mouths and wash hands with soap and water afterward, following American Academy of Pediatrics guidance on art supplies. Keep glue sticks capped when not in use, with loose caps managed by an adult. This project needs no beads, seeds, glitter or other tiny decorations.
Demonstrate a movement—tearing paper or pressing a glued piece—rather than making a finished garden to copy. NAEYC’s guidance on preschool art experiences emphasizes children’s choices and exploration, with opportunities to use small-motor skills and discuss their work.
1. Torn-Paper Flowers: Tear, Arrange and Press
Set out: Colored paper, glue sticks and crayons.
- Invite the child to tear paper into pieces for flowers. Broad petals, strips and irregular shapes all work. A flower can also be one large piece.
- Arrange the pieces on the garden before gluing. Ask, “Where would you like this flower to grow?”
- Glue each piece and press it onto the background. To make closing easier, place glued pieces on either side of the crease rather than across it.
- Draw stems and leaves, or add broad paper strips for them.
Skill opportunity: Tearing offers practice holding paper with one hand while pulling with the other. Arranging pieces gives the child decisions about position and overlap.
Simplify: Start a tear at the paper’s edge, or provide large prepared pieces. The child can choose their places and press them down while an adult handles the glue.
Extend: Offer two paper colors and invite a repeated arrangement of petals, if the child is interested. Accept a changed pattern or an entirely different design.
Checkpoint: Before adding more pieces, gently open and close the garden to check that paper is not bunching at the crease.
2. Garden Insects: Draw a Trail and Tell a Story
Set out: Crayons or markers; optional large paper rectangles for separate insect drawings.
- Invite the child to draw a garden visitor—a butterfly, beetle or imaginary insect. Dots and scribbles can represent a visitor too; recognizable shapes are not required.
- Add another visitor somewhere else in the garden, if wanted.
- Draw a line, dots or loops to show where one visitor travels. It might pass between flowers, stop at a leaf or disappear behind a stem.
- Ask, “What happens here?” Follow the child’s story rather than supplying one.
Skill opportunity: Drawing offers practice making and placing marks. Describing a visitor’s journey creates an opening for words such as between, beside and behind.
Simplify: Let the child point to the visitor’s route while an adult draws it with permission. Or offer a separate piece of paper so there is more room for broad marks.
Extend: Invite the child to count the visitors by pointing to each one once, or tell what happens at the beginning and end of the journey.
Checkpoint: A child who prefers drawing can skip the collage entirely. Their drawn garden is a complete project.
3. A Garden Sign: Choose a Name and Add a Message
Set out: A large paper rectangle, crayons or markers and a glue stick. An adult can cut the rectangle beforehand.
- Ask whether the child would like to name the garden. Offer an open prompt: “What would you call this place?”
- Write the child’s chosen words on the rectangle, leaving room for their drawing, marks or name.
- Read the words back. Let the child change the message if they want to.
- Glue the sign into an open space in the garden. No stick or stake is needed.
Skill opportunity: Dictation gives the child a way to see spoken words represented in print. Choosing where the sign belongs also involves planning its placement.
Simplify: Accept one word, a gesture or a drawing instead of a dictated message. A sign does not have to contain writing.
Extend: Make a second sign with a message for pretend visitors, such as where to enter or what they might notice.
Open the Garden for Play
Let the glue dry before folding the garden closed. Open it partway and try standing it on a table like an open book. If the paper slumps, lay it flat; it works just as well as a play scene.
Invite the child to give a finger-walking tour, tell another visitor story or choose where to add something next time. For a group, place individual gardens side by side rather than asking everyone to make matching flowers.
For separate projects with beach and ocean themes, try these six summer crafts with simple supplies. Pair the garden with low-prep summer play activities when children are ready to leave the craft table.