
4 Apple Crafts for Preschool With Simple Supplies
Try four preschool apple crafts with paper, paint and glue, plus clear steps, skill opportunities, easier options and practical safety checks.
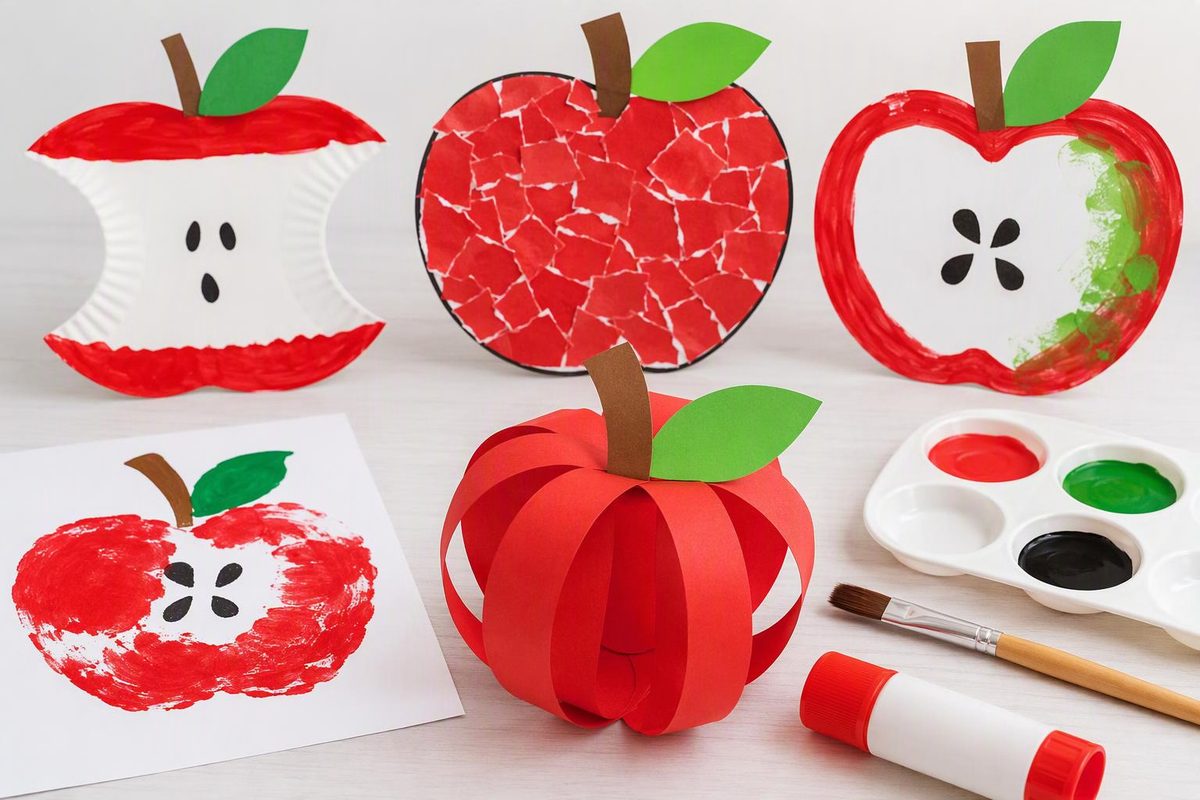
Choose an apple craft by the movement your preschoolers want to try: tear and glue, press and lift, cut and arrange, or draw and tell a story. These four options use everyday supplies, with a simpler route and an extension for each.
Offer red, green and yellow materials, but let children choose other colors too. Demonstrate how a tool works rather than making a finished apple for everyone to copy. NAEYC’s guidance on preschool art encourages children’s choices, exploration and ownership of their work.
Before you set out supplies
Cover the table and make space for wet artwork to dry. Put out only the materials needed for the chosen activity.
Use non-toxic paint, crayons and glue labeled for children, following their age and use instructions. Supervise closely, keep snacks away from the art table and wash hands afterward. The CPSC’s Art and Craft Safety Guide recommends these precautions and notes that “non-toxic” supplies can still be harmful when used in unintended ways.
For these projects, skip loose seeds, beads, toothpicks and hot glue. If a child mouths materials, skip loose collage pieces and offer closely supervised drawing instead; stop if art supplies go into the mouth. Adults handle knives. Offer child-sized blunt-tip scissors only when the child is ready, demonstrate how to keep fingers clear of the blades, and supervise their use. Pathways.org’s scissor guidance emphasizes child-friendly tools, demonstration and supervision.
1. Torn-paper apple collage
Choose this for: tearing, placing pieces and controlling glue.
Materials: Construction paper, a sturdy sheet of background paper, glue stick and crayon.
Adult setup: Cut colored paper into wide strips. Draw a large apple outline on the background if the child wants a boundary. No printer is needed: two rounded bumps at the top and a broad curved bottom are enough.
- Show how to hold a strip with both hands close together and pull in opposite directions.
- Let the child tear pieces and arrange them on the background before gluing.
- Glue down the pieces. Overlaps and gaps are welcome.
- Draw or glue on a paper stem and leaf if desired.
Simplify: Provide large, ready-torn pieces and help steady the background while the child applies glue.
Extend: Offer two paper colors and ask, “How will you arrange these?” A child might make patches, stripes or an invented apple.
Learning opportunity: Children use both hands to tear, then plan where pieces will go. Notice the action: “You held the paper still while you pulled that piece off.”
2. Apple-stamp painting
Choose this for: pressing, lifting and comparing marks.
Materials: An apple, washable children’s paint, a shallow paint tray, sturdy paper, paper towel and an adult-use knife.
Adult setup: Check food allergies and classroom rules before using an apple; use the paper crafts instead if food materials are not suitable. Away from children, cut the apple in half from stem to bottom, remove the seeds and blot the cut surfaces dry. Keep the knife out of reach.
- Spread a thin layer of paint in the tray.
- Show how to hold the rounded side and touch the flat side to the paint.
- Press the apple onto paper, then lift it straight up.
- Invite another print beside the first. Let children explore lighter marks, overlapping prints or different colors.
Simplify: An adult can load the stamp with paint while the child presses and lifts. If the apple is slippery or difficult to hold, switch to painting a large paper apple with a broad-handled brush.
Extend: Make several prints without adding more paint. Ask, “What changed from the first print to the last?”
Learning opportunity: The child experiments with pressure and notices how the amount of paint affects a mark.
Safety checkpoint: Painted apples are craft materials, not snacks. Keep any eating activity separate and discard the used fruit after crafting.
3. Paper apple core
Choose this for: beginner cutting and arranging parts.
Materials: White paper, colored construction paper, background paper, glue stick, crayons and optional child-sized scissors.
Adult setup: Prepare a broad white rectangle for the middle and two wide colored strips for the top and bottom. Keep the shapes simple rather than aiming for a realistic apple core.
- Let the child glue the white middle onto the background.
- Invite them to tear or snip the colored strips into shapes for the apple’s top and bottom.
- Arrange and glue those pieces so they overlap the white middle slightly.
- Draw seeds in the center and add a stem.
Simplify: Precut every part and let the child choose its position. Draw seeds rather than attaching small objects.
Extend: Invite the child to draw a whole apple beside the core and explain what is different.
Learning opportunity: Arranging the pieces creates a reason to talk about top, middle, bottom and beside. Cutting is optional, not a requirement for completing the craft.
4. Draw-and-collage apple orchard
Choose this for: shared planning, drawing and storytelling.
Materials: A large sheet of paper, crayons, colored paper, glue sticks and optional scissors.
Adult setup: Place the paper where a pair or small group can reach it. Offer drawing tools and paper pieces in separate trays.
- Invite children to draw tree trunks and leafy tops—or help draw these if requested.
- Make paper apples by tearing or cutting colored shapes.
- Let children decide where to glue them: on branches, on the ground or in a drawn basket.
- Ask, “What is happening in your orchard?” Offer to write their words beside the picture.
Simplify: Make one tree on an individual sheet and provide ready-cut apples.
Extend: Invite a child to count the apples on one tree, touching each once. Keep counting optional so the picture does not become a worksheet.
Learning opportunity: Children have opportunities to negotiate space, describe their ideas and connect spoken words with an adult’s writing.
For a seasonal display, pair the orchard with another child-chosen project from these flexible fall crafts for preschoolers. Ask each child whether they want their work displayed or taken home, and record a short comment about how they made it.