
5 Halloween Activities for Kids Using One Paper-Pumpkin Kit
Make one paper-pumpkin kit for five Halloween activities for kids ages 3–5, with art, counting, movement, rhythm and storytelling adaptations.
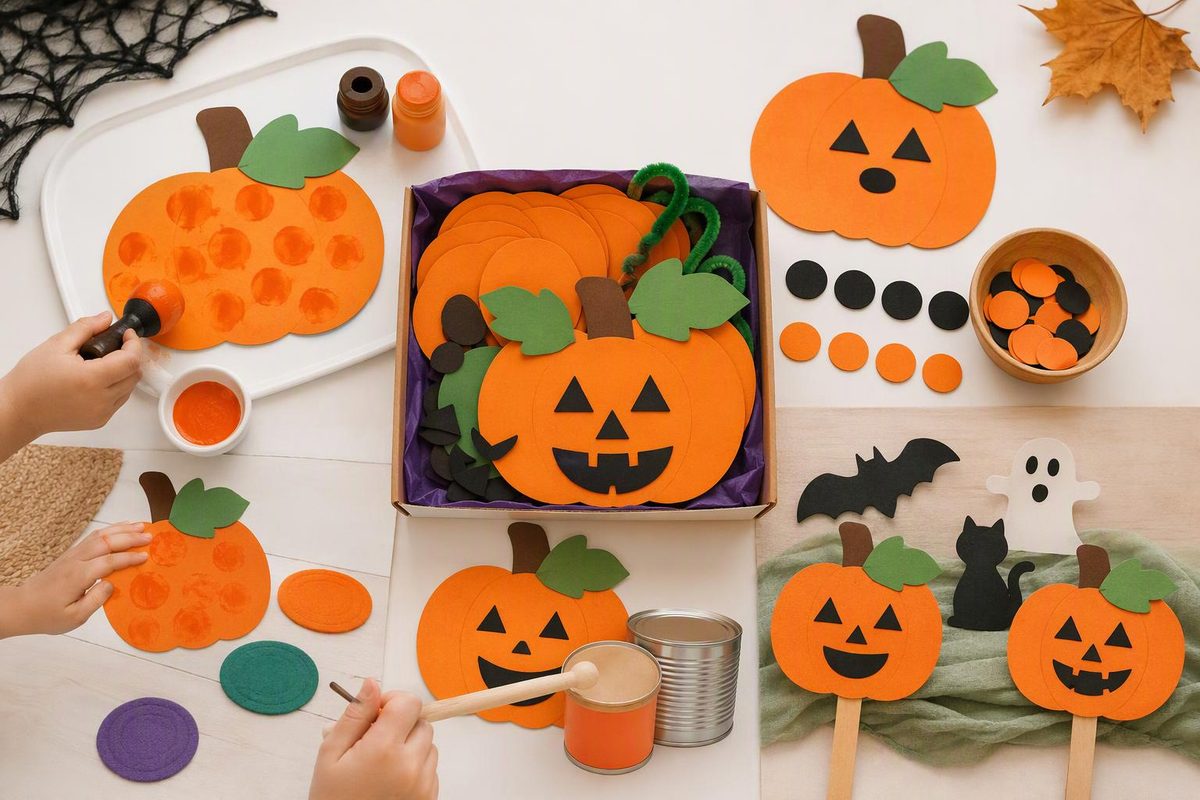
Six paper pumpkins can become an art invitation, a sorting game, a movement prompt, a rhythm game and a storytelling prop. These Halloween activities for kids ages three to five share one small set of supplies, so you can change the play without setting up five separate stations.
Choose the learning opportunity first: decorating for hand practice, sorting for early math, delivering for position words, tapping for repeated patterns, or storytelling for oral language. Start with one activity; save the others for another day if children want to keep exploring.
Make one reusable pumpkin kit
Materials
- Orange cardstock or sturdy paper
- A pencil and adult scissors
- Thick crayons or washable markers intended for children
- Two shallow trays or open boxes
- Scrap paper for an optional story background
Adult setup: Cut six pumpkin shapes: two small, two medium and two large. Keep even the smallest shapes roughly adult-palm-sized so they are easy to see and handle. Draw a simple stem on each, but leave the faces blank. Put the shapes and drawing tools on a table. For a larger group, make extra sets so each child who wants to decorate has a pumpkin.
Large paper pieces are not a substitute for supervision. Replace torn or soggy pieces, consider whether children mouth objects, and put marker caps out of their reach during use. Head Start recommends matching loose materials to children’s developmental levels, checking for choking hazards and mouthing, and closely monitoring their use.
Keep the theme gentle: pumpkins can be cheerful, sleepy, silly or undecorated. For children or families who do not celebrate Halloween, use the same kit as a fall pumpkin activity.
1. Give the pumpkins their own faces
Learning opportunity: Making marks, choosing details and describing artwork.
Set out: Pumpkin shapes and crayons or markers.
Invite each child to choose a pumpkin and decorate it. Demonstrate how to hold the paper steady if needed, rather than drawing a face for the child to copy. Eyes, stripes, dots, scribbles and no face at all are valid choices.
Try a noticing comment: “You put a long line across this pumpkin.” Then leave space for the child to explain—or simply keep drawing. If they name their pumpkin, offer to write the name on the back.
This invitation follows NAEYC’s guidance on open-ended art: let children explore materials, make their own choices and create work that does not have to match a sample.
- Simplify: Offer one pumpkin and two crayons. Hold the paper steady if the child asks for help.
- Extend: Invite children to describe a detail they added. Write their exact words on a separate scrap of paper.
- Cleanup: Collect drawing tools and caps before starting the next game. Ask before using children’s decorated pumpkins in shared play; use undecorated shapes if they prefer to keep their artwork separate.
2. Sort and count the pumpkin patch
Learning opportunity: Comparing size, grouping objects and counting one item at a time.
Set out: All six pumpkins on a clear tabletop.
Ask, “Which pumpkins could go together?” Children might group them by size, face or decorations. Follow the rule they choose instead of insisting on yours.
For a size comparison, place one small and one large pumpkin beside each other. Ask the child to show which is bigger. Then invite them to arrange small, medium and large pumpkins in a row.
Count one group together, touching or sliding each pumpkin as you say one number. Ask, “How many are in this group?” If a child skips an item, slow down and move the counted pumpkins into a separate space.
- Simplify: Use only the two small and two large pumpkins. Compare two at a time.
- Extend: Compare two groups: does one have more, or do they have the same number? Groups sorted by size will each have two. Rearrange a group and count again.
- Checkpoint: If counting becomes frustrating, return to matching pairs without counting.
3. Deliver pumpkins to their places
Learning opportunity: Listening, position words and controlled movement.
Set out: Two trays on stable, child-accessible surfaces, with a clear walking route between them.
Put the pumpkins in the first tray. Give one direction at a time: “Carry a pumpkin to the other tray.” Next, vary its destination: “Put it in the tray,” “Put it beside the tray,” or “Put it behind the tray.” Choose positions the child can reach without climbing or stretching across obstacles.
Let the child become the caller and direct your delivery, too. No race or winner is needed.
- Simplify: Demonstrate the position while saying the word. Use just “in” and “beside.”
- Extend: Try two connected directions: “Choose a small pumpkin, then put it beside the tray.”
- Adapt: Bring both trays to one table for seated play. A child can also point while an adult carries the pumpkin.
- Safety: Keep paper off the walking route. Costumes are optional; if worn, check that clothing and shoes fit and that nothing blocks vision or trails underfoot, following the American Academy of Pediatrics’ costume-safety guidance.
4. Tap a pumpkin pattern
Learning opportunity: Noticing repetition and connecting a visual pattern with actions.
Set out: Two small and two large pumpkins in a row: small, large, small, large.
Touch each shape and say, “Small, large, small, large.” Give each size an action: tap your knees for small and clap for large. Move along the row together, performing one action per pumpkin.
Ask, “What would come next?” Let the child point to the size or perform the action. Turn a pumpkin over if its face distracts from the size pattern.
- Simplify: Use two pumpkins and copy “tap, clap” together several times.
- Extend: Invite the child to choose two actions and build a repeating row for you to follow.
- Adapt: Use quiet finger taps or spoken words instead of clapping. Everyone can join seated.
5. Tell a pumpkin’s tiny adventure
Learning opportunity: Pretend play, descriptive language and sequencing events.
Set out: One or two decorated pumpkins and scrap paper for a setting.
Invite the child to choose a character and decide where it lives. They can draw a garden, house or entirely imaginary place. Begin with a short prompt: “This pumpkin wanted to visit someone. Where did it go?”
Move the paper characters as the child tells the story. If they need support, offer a choice: “Did it visit the garden or the house?” Accept gestures, sounds and home-language storytelling as ways to contribute.
- Simplify: Describe one action the child shows: “Your pumpkin went home.”
- Extend: Ask what happened first, what happened next and how the adventure ended. Record the child’s words if they want a written story.
- Cleanup: Save the pumpkins flat in a folder; let children choose whether to keep their story background.
Use the kit for a short group session
Try decorating → one delivery round → a shared story. Give a warning before changing activities, and leave room for children to finish or watch rather than requiring every child to take a turn. For a quieter session, replace delivery with tabletop sorting.
If you need separate stations or more movement choices, browse 24 adaptable Halloween activities for preschoolers.