
Mix, Marble and Make With Colored Clay
Mix colored modeling clay, compare new shades and make an open-ended sculpture with preschool-friendly adaptations and safety checks.
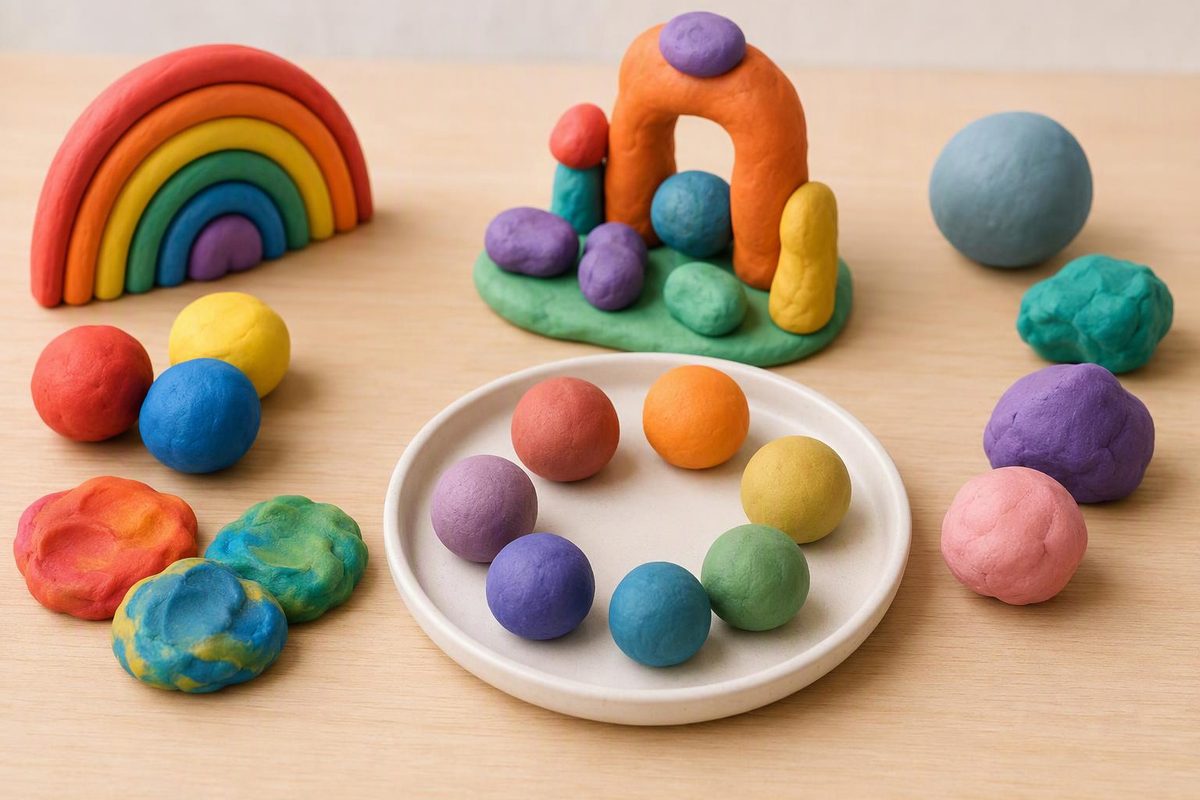
Small pieces of colored clay can make color mixing visible—and children can squeeze, fold and roll the material while watching it change. Begin with red, yellow and blue, investigate three pairings, then let children use their new colors in an open-ended sculpture.
Activity snapshot
- Main opportunity: observing and describing color changes
- Also practices: squeezing, pinching, rolling and making choices
- Setup: about 5 minutes
- Play time: 15–25 minutes
- Group size: one child or a small group
Choose the right colored clay
For this activity, “clay” means a soft modeling clay or modeling compound labeled for the children’s age—not ceramic clay or an adult polymer-clay product. Check the package because products behave differently: some remain soft, while others air-dry.
Look for the AP (Approved Product) Seal when possible. The Art and Creative Materials Institute says AP-marked materials have undergone toxicological evaluation and contain no materials in sufficient quantities to be toxic or injurious when used as intended. It says products with its CL cautionary seal should never be given to children in sixth grade or younger (ACMI). In the United States, consumer art materials must also carry a statement of conformance with ASTM D-4236 when practicable; the statement relates to required toxicological assessment and hazard labeling, not whether a particular activity suits an individual child (CPSC).
“Non-toxic” does not mean edible. If a child is still likely to mouth the material, choose a different activity for now. Follow the product’s age label and directions.
Materials
For each child or pair, gather:
- Child-appropriate red, yellow and blue modeling clay or compound
- White clay, optional
- A washable tray, placemat or work mat
- Three small reusable cups or sections of a divided tray
- A blunt plastic clay knife, optional
- Paper and a crayon for recording color discoveries, optional
Use pieces roughly the size of a large grape rather than handing over every full package. Small portions are easier to mix and leave the original colors available for another day.
Set up three color pairs
Place these pairs in separate cups:
- Red and yellow
- Yellow and blue
- Blue and red
Make the two pieces in each pair approximately equal in size. Keep the white clay to one side as an optional extension.
There is no need to prepare a finished sample. The changing material is the point of the activity, and different brands or proportions may produce different shades.
Mix, notice and make
1. Look before mixing
Invite the child to choose one pair. Name the colors together, then ask for a prediction:
- “What do you think these two colors might make?”
- “Will we still see both colors after we press them together?”
Accept a gesture, color choice or invented color name as readily as a spoken prediction.
2. Press and fold
Ask the child to press the two pieces together, flatten them with a palm, fold the clay and press again. Pause after two or three folds.
At this stage, streaks of both original colors may remain. Useful words include stripe, swirl, marbled, lighter, darker and blend. One air-dry modeling-compound manufacturer similarly notes that partial mixing creates a marbled effect, while thorough mixing produces a new shade (Crayola).
3. Keep mixing—or stop
Let the child decide whether to preserve the swirls or continue squeezing and folding until the colors are more even. Common results are:
- Red + yellow → orange
- Yellow + blue → green
- Blue + red → purple
If the result looks brownish or gray rather than bright, simply describe what happened. Unequal amounts and the pigments used in a particular product can change the result. There is no need to “correct” the child’s mixture.
4. Compare all three results
Place each new color beside a small untouched piece of each starting color. Try prompts that have more than one possible answer:
- “What changed?”
- “Where can you still find a streak of the first color?”
- “Which mixture changed fastest?”
- “What would you name this shade?”
For another way to explore the same three starting colors, try the preschool paint-mixing color wheel.
5. Turn the mixtures into something
Move from investigation to open-ended making. Children might roll the clay into balls, coil it into lines, press color “pancakes,” build a tiny creature or combine all three mixtures in an abstract sculpture.
NAEYC notes that playdough lets children compare objects and actions, observe how materials change, and manipulate the material by poking, rolling, flattening and squishing (NAEYC). Keep the learning opportunity in the play: a child does not need to produce a recognizable object or memorize color equations.
Simplify or extend
Simplify: Offer just yellow and blue. Start with softened clay and larger pieces that are easier to grasp. A child can press with a palm, use both hands together or watch an adult fold while choosing whether to continue.
Reduce the sensory load: Put each color inside a zip-top bag, remove the excess air and seal it. The child can press the colors together through the bag without touching the clay. Supervise the bag and discard it if it tears.
Extend: Change the proportions. Compare a mostly yellow mixture with a mostly blue mixture, or add a small piece of white to an existing color and observe the lighter tint. Children can arrange finished color samples from light to dark or dictate a label for each invented shade.
Support color-vision differences: Do not make color naming the only route into the activity. Mark the starting portions with simple tray symbols—one dot, two dots and three dots—and focus prompts on matching, amount, pattern and physical change.
Safety and cleanup checkpoints
- Read and retain the package directions, age recommendation and ingredient information.
- Check program and family allergy information. Do not assume that one brand has the same formulation as another.
- Supervise throughout, especially when children still mouth materials.
- Skip beads, buttons, toothpicks and other small decorations. The clay alone is enough.
- Use tools only if they are blunt, washable and appropriate for the individual child.
- Keep clay off food-preparation surfaces and wash hands after play.
- Follow the manufacturer’s storage or drying directions; do not bake or heat a modeling material unless its instructions specifically call for it.
- Clean visibly dirty craft tables after the activity. CDC guidance for early-care settings recommends cleaning craft areas after an activity with a product suitable for the surface and according to its label (CDC).
If you want to reuse a non-hardening product, separate unmixed portions before play. Once colors are blended, store each new shade in its own labeled container so the next invitation can begin with the colors the children made.