
Make a Creative Color Wheel With Preschoolers
Mix red, yellow and blue paint in a six-part creative color wheel, with simple prompts, adaptations and practical safety checks.
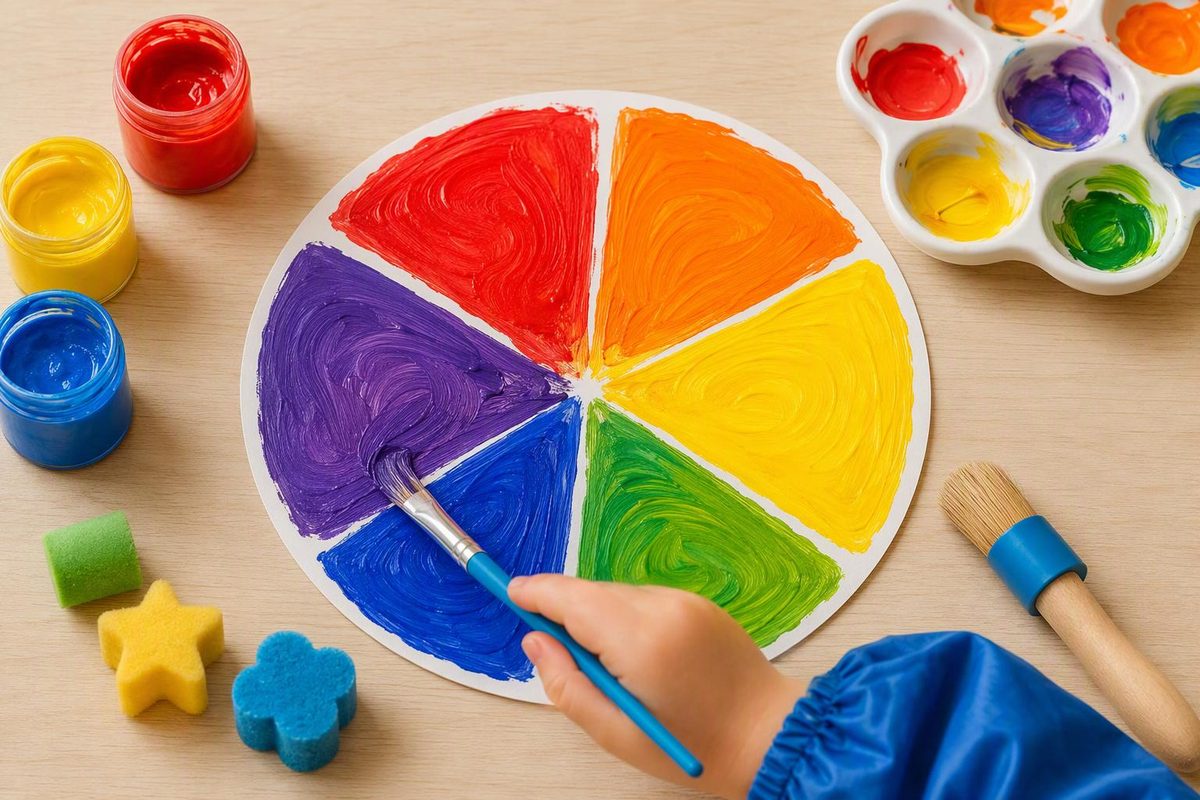
This creative color wheel gives preschoolers a simple question to investigate: What happens when two paint colors meet? Children place red, yellow and blue around a divided circle, then combine pairs to make orange, green and violet. The sections make the changes easier to see without requiring every finished wheel to look alike.
Best for: One child or a small group of children ages 3–5 Activity time: About 20–30 minutes, plus drying Adult preparation: Divide the circles and set out small amounts of paint Learning opportunities: Color mixing, prediction, descriptive language and controlled brush or sponge movements
Materials
For each child, gather:
- One sturdy paper plate or a circle cut from heavyweight white paper
- Washable red, yellow and blue tempera paint made for children
- Three small paint cups or a divided tray
- Brushes or chunky sponge pieces
- A pencil and ruler for adult setup
- A smock or old shirt
- A washable table covering
- Optional: a separate mixing tray
- Optional mark-making tools, such as a toy wheel, fork, sponge or corrugated cardboard edge
Choose tools to match the child’s current habits. Avoid cotton swabs, small sponge pieces and other loose small items if a child may put them in their mouth.
Read each art-material label and follow its directions. In the United States, the CPSC says art materials must receive periodic toxicological assessments and carry an ASTM D-4236 conformance statement when practicable. ACMI says its AP Seal identifies materials evaluated as non-injurious for their intended use. Neither label turns paint into food: supervise painting and keep materials away from mouths and eyes (CPSC art-material requirements; ACMI materials-safety guidance).
Prepare the wheel
- Divide the circle into six wedge-shaped spaces, like six large pizza slices.
- Mark every other wedge with a small pencil dot. These three separated spaces will hold red, yellow and blue.
- Pour a small amount of each paint color into its own cup.
- Put the paper on a nonslip mat or secure its back with painter’s tape if it slides.
- Keep a blank sheet nearby for testing color mixtures or tools.
A blank diagram can show where the first three colors go. There is no need to provide a polished sample for children to reproduce; the colors can follow the wheel while the marks, textures and color names remain open-ended.
Make the color wheel
1. Add the three starting colors
Invite the child to paint one dotted wedge red, the next dotted wedge yellow and the final dotted wedge blue. An empty section should remain between each pair.
Try comments and questions that draw attention to the child’s actions:
- “I see short red lines and long red lines.”
- “What tool would you like to use for blue?”
- “Where is the empty space between red and yellow?”
It is fine if paint crosses a pencil line. The sections organize the investigation; they are not a test of precision.
2. Predict what will happen
Point to the empty wedge between red and yellow. Ask, “What do you think might happen if we mix these two colors?” A child can answer with a word, a gesture or a choice between two color cards. The prediction does not need to be correct.
3. Mix the three new colors
Put a fresh dab of each starting color into the empty wedge between that pair. Let the child blend them:
- Red + yellow → orange
- Yellow + blue → green
- Blue + red → violet or purple
Use a clean tool for each mixture, or wipe the tool before beginning the next one. This keeps the third starting color from entering the mix accidentally.
The exact shades will depend on the paints, the proportions and how thoroughly they are combined. A brownish green or red-violet is something to investigate, not a mistake. Ask:
- “What changed when you added more yellow?”
- “Where can you still see both starting colors?”
- “How could you make a different green?”
- “What would you name this color?”
If one mixture becomes muddy, leave it on the wheel. Try the same pair again on the testing paper with a clean tool and smaller dabs.
4. Add a creative layer
Once all six areas contain paint, offer one or two mark-making tools. A child might drag a fork through wet paint, stamp sponge dots, roll a toy wheel across two sections or press a cardboard edge into repeating lines.
The added marks turn the wheel into an individual artwork while leaving the color-mixing record visible. For other open-ended painting ideas, browse these preschool spring art activities.
Simplify or extend
Simplify: Explore one color pair on a separate sheet instead of completing the full wheel. Tape down the paper, use a short-handled brush or offer a chunky sponge that is easy to grasp. An adult can place the two dabs while the child mixes them.
For a child who does not want paint on their hands, place two small dabs inside a sturdy, sealed zip-top bag and tape all four edges to the table. Supervise in case the bag opens or tears, and offer the paper wheel as an optional next step.
Extend: Offer white paint on a separate tray and ask how the child might make one color lighter. Or take the dry wheel on a color hunt and look for nearby objects that resemble each section, without requiring an exact match.
For a group: Prepare one large collaborative wheel. Give each pair of children one section and let them choose a tool. Keep separate brushes in the red, yellow and blue cups so the starting paints remain distinct.
What to notice
The useful part of this activity is the investigation, not six perfectly filled wedges. Notice whether a child:
- Makes or communicates a prediction
- Connects an action—adding, stirring or dragging—with a change
- Uses words, gestures or comparisons to describe a color
- Adjusts pressure or movement with a brush or sponge
- Repeats a mixture or changes the proportions to create another shade
After the wheel dries, write the child’s own color name or explanation beside it. Recording “It turned swampy when I added lots of blue” preserves the observation without correcting the shade or repainting the section.