
Make a Preschool Self-Portrait With Mirrors and Simple Supplies
Set up preschool self-portrait art with mirrors, crayons, paper or paint, plus gentle prompts and adaptations that keep children’s choices central.
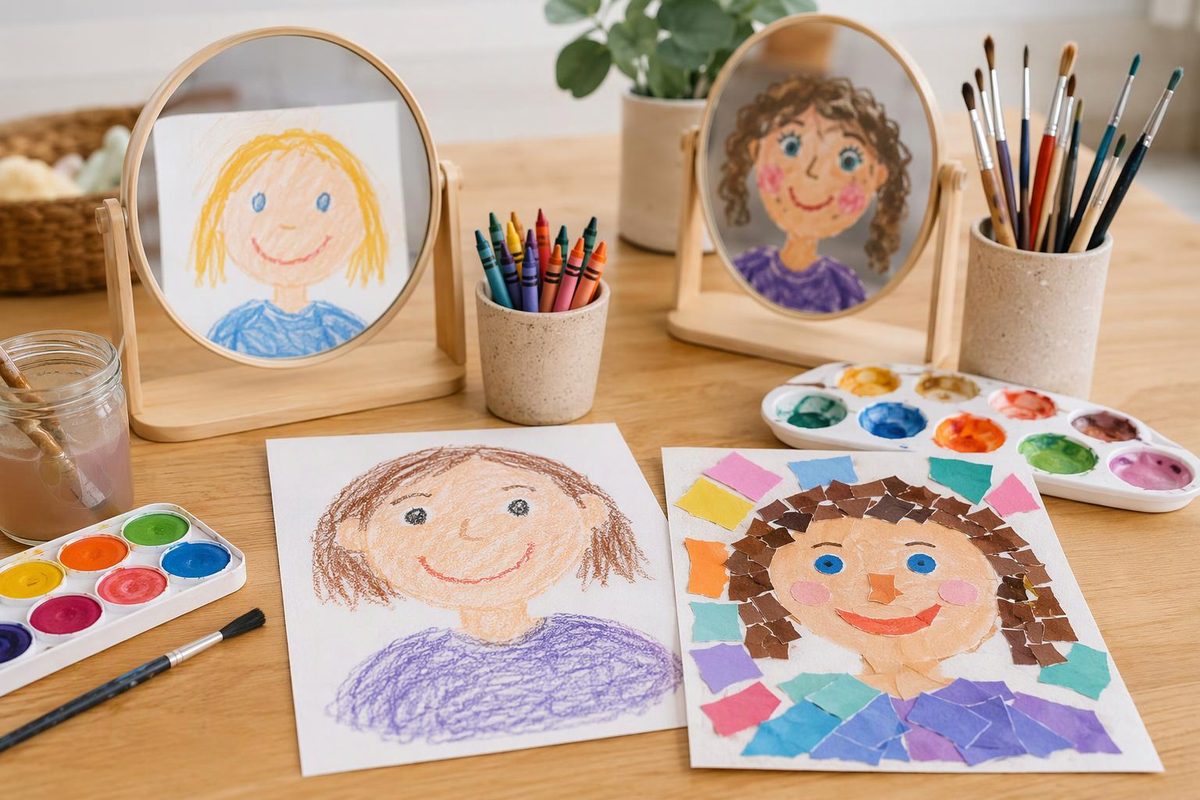
For a preschool self-portrait, start with blank paper, crayons and a shatter-resistant mirror. Invite the child to look at themselves and make a picture in their own way. There is no need for a face template, a required list of features or a finished example to copy.
Choose drawing for close looking and mark-making, paper collage for tearing and arranging, or painting for exploring color and brush movements. Each version gives children a way to represent themselves—not a test of how realistically they can draw.
Gather materials and set up
For the drawing invitation, use:
- Plain paper, with larger sheets available
- Chunky crayons or washable markers intended for children
- A broad range of skin and hair shades, alongside other colors
- A child-use, shatter-resistant mirror with smooth, intact edges
- Optional tape to keep the paper from sliding
Place the mirror securely where the child can see their face without holding it while drawing. Keep crayons within easy reach. At a classroom table, limit the group to the number of children who can comfortably see a mirror and use the materials.
A mirror, paper and skin-tone drawing materials are also the basis of Lillio’s preschool mirror self-portrait activity. Offer the full color selection without assigning a “correct” shade; children can choose observed colors, imagined colors or both.
Safety check: Use age-appropriate, clearly labeled art supplies and follow their directions. Keep food and drinks away from the art table, supervise use and wash hands afterward. The U.S. Consumer Product Safety Commission’s art safety guide advises against art materials with cautionary or warning labels for pre-K through grade six and notes that “non-toxic” products can still be harmful when misused. For the collage option below, use paper rather than loose buttons, beads or googly eyes.
1. Draw a mirror self-portrait
Skill opportunities: Looking closely, making lines and marks, choosing details and describing an idea.
These steps guide the adult’s setup and conversation; they are not a drawing sequence the child must follow.
- Introduce the invitation. Say, “A self-portrait is a picture you make of yourself. You can look in this mirror while you make yours.” Let the child explore their reflection before drawing.
- Invite one observation. Ask, “What do you notice?” Give time to answer, point or simply look. If the child wants another prompt, try, “What happens to your mouth when you smile?”
- Let the child begin anywhere. They might start with hair, a shirt, a large shape or several marks. Do not draw the head for them or direct where each feature belongs.
- Keep the mirror available. If the child pauses, offer, “Would you like another look, or do you want to keep drawing?” Looking back is an option, not a requirement.
- Invite their words. Ask, “Is there anything you’d like to tell me about your picture?” With permission, write their exact words on a separate label and read them back.
You do not need to turn every mark into a question. Comments such as “You made long lines here” leave more room for the child’s meaning than “Those must be your eyelashes.” This approach follows NAEYC’s process-art guidance: avoid samples to copy, notice what children do and keep the artwork their own.
Simplify: Tape down a large sheet and offer a few easy-to-grasp crayons. A child can make a brief drawing, point to features or direct an adult to draw. If an adult acts as the child’s hands, follow the child’s choices rather than completing the face independently.
Extend: Invite a detail the child wants to explore: glasses, curls, a head covering, clothing or their whole body. Another option is to add themselves doing something they enjoy.
2. Make a torn-paper self-portrait
Choose this version when a child prefers moving pieces around to drawing.
Add: A sturdy paper backing, large paper scraps in varied colors and child-use glue sticks.
Set out the mirror and scraps. Invite the child to tear paper and arrange a picture of themselves on the backing. They can use overlapping shapes, strips or a mixture of paper and crayon marks. Let them move the pieces before deciding what to glue.
Ask, “Would you like to try a different place for that piece before you stick it down?” Avoid supplying a ready-made kit with two eyes, one nose and one mouth; the child decides which details belong.
Skill opportunities: Tearing, using both hands, arranging pieces and applying glue.
- Simplify: Provide large, pre-torn pieces. Help hold the backing or open the glue stick as needed.
- Extend: Invite layered paper for hair or clothing, then add drawn details after gluing.
3. Paint a self-portrait
Add: Thick paper, child-use washable paint, brushes, shallow paint containers and a table covering.
Keep the mirror nearby and invite the child to paint themselves. Offer a range of colors without requiring realistic color matching. If they want to mix a new shade, provide a separate space for testing small amounts before painting on the portrait.
Skill opportunities: Exploring color, varying brush movements and planning where paint will go.
- Simplify: Offer a broad brush and a few colors at a time, with more available on request.
- Extend: Once the paint is dry, let the child choose whether to add crayon or marker details.
Paint belongs on the paper, not on faces. Follow the product’s intended use and supervise throughout.
When a child wants help—or says “I’m done”
If a child says, “I can’t draw me,” offer a choice: “Would you like to start with something you notice, try paper pieces or watch for a while?” You can demonstrate how a tool makes a line on your own scrap paper without drawing a model face to reproduce.
Accept the picture the child chooses to make, including scribbles, imaginary colors or a portrait without recognizable features. Do not add missing parts after the child finishes. NAEYC identifies painting, gluing and collage as opportunities to use small-motor skills, and discussing or dictating about art as opportunities for language—not reasons to make every picture look alike.
Before displaying the portrait, ask whether the child wants to share it. Add their words, if offered, rather than an adult interpretation. If you repeat the invitation later, date each piece and keep the child’s comments; use the collection to notice their interests and material choices, not to rank portraits by realism.