
5 Dinosaur Art Activities for Preschool With Simple Supplies
Try five dinosaur art activities for ages 3–5, with simple supplies, clear setup, skill opportunities, easy adaptations and safety checks.
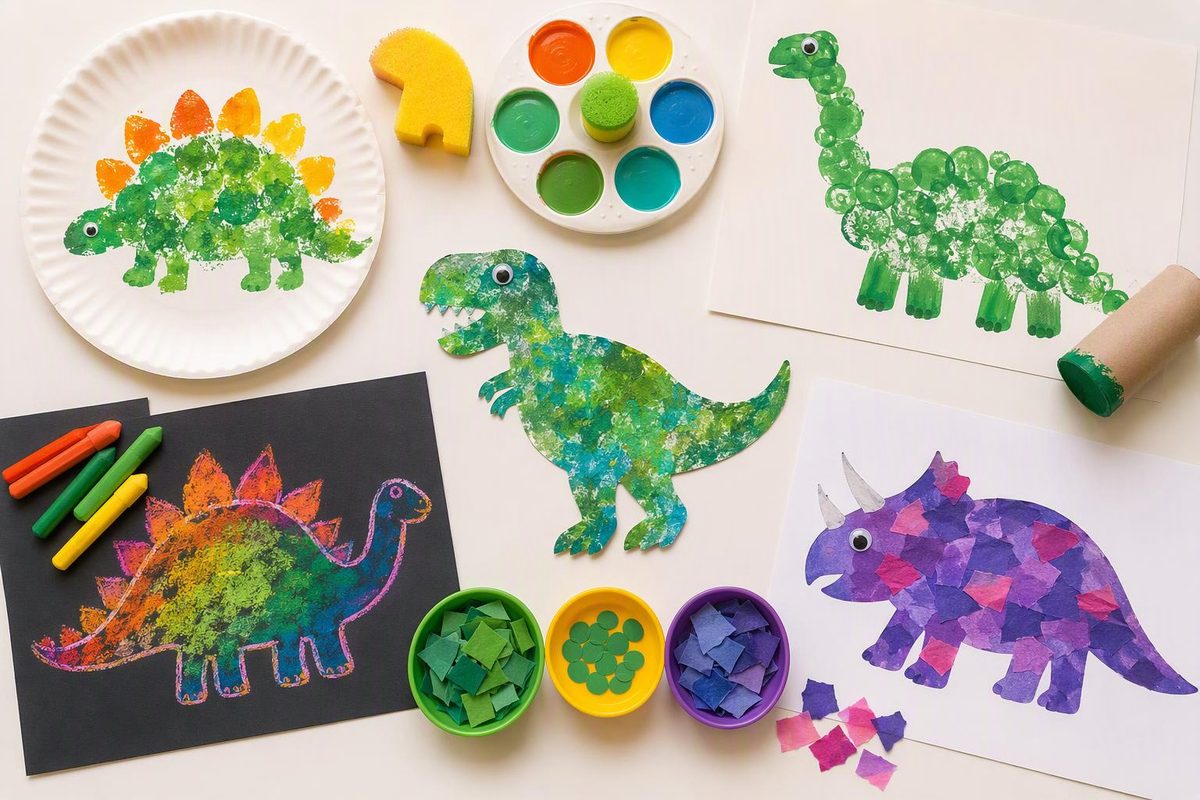
Dinosaur art activities for preschool can start with stripes, rubbed textures or a patch of mixed paint—not a dinosaur template. These five invitations give children ages three to five room to explore materials and invent their own dinosaurs and landscapes.
Choose by the kind of practice you want to offer: - Texture rubbings: holding paper steady and comparing marks; no paint. - Color-mixing dinosaurs: brushing, mixing and noticing changes; needs drying space. - Crayon-resist scenes: drawing and exploring how materials work together; needs drying space. - Dinosaur habitat collage: arranging, tearing and pressing; no paint. - Shared dinosaur mural: large drawing movements and optional storytelling; needs a wide work surface.
Show a tool movement on scrap paper if needed, rather than making a finished dinosaur for children to copy. NAEYC’s process-art guidance emphasizes children’s choices and exploration, and suggests commenting on what you notice in their work. The invitations below are planning guidance for adults, not a checklist children must finish. A picture can remain a collection of marks; it does not have to become a recognizable dinosaur.
Set up the art space
Gather paper, crayons, washable children’s paint, brushes and child-appropriate glue sticks. Each activity lists its extra supplies below. Cover the table for painting and clear a flat drying spot before starting.
Choose labeled art materials intended for children and suitable for their age, without hazard warnings. Supervise closely, keep food and drinks away from the art area, and wash hands afterward. The CPSC’s Art and Craft Safety Guide recommends these precautions and notes that even “non-toxic” materials can be harmful when used in unintended ways.
Skip beads, buttons and googly eyes; children can draw details. Keep caps and loose materials out of mouths. If a child is mouthing supplies, pause hands-on use and offer participation through pointing or dictating while an adult handles materials. Use brushes for children who prefer not to touch paint.
1. Texture rubbings for imaginary dinosaur skin
Materials: Thin drawing paper, large crayons with wrappers removed, tape if needed, and clean corrugated cardboard with exposed ridges and smooth edges.
Adult setup: If the cardboard’s ridges are covered, peel away its smooth top layer before the activity. Place a large piece on the table. Lay paper over it and tape the paper’s corners down if needed.
Invitation: 1. Demonstrate rubbing the side of a crayon across the paper on a separate scrap. 2. Invite the child to try different colors, directions or pressure. 3. Move the paper to a smooth part of the table and compare the marks. 4. Ask whether they want to turn the textured patch into an imaginary dinosaur by drawing a head, legs or tail.
These are invented skin patterns, not fossil replicas.
Skill opportunity: Children can practice stabilizing paper with one hand while moving the crayon with the other, and describe smooth or ridged marks.
Simplify: Secure the paper and offer one easy-to-grasp crayon. Extend: Make two rubbings with strokes going in different directions. Ask, “What changed?”
2. Color-mixing dinosaurs
Materials: Thick paper, two colors of washable children’s paint, a shallow mixing tray and broad brushes.
Adult setup: Put small amounts of the two colors in separate areas of the tray, leaving space between them for mixing. Offer blank paper; draw a broad dinosaur outline only if the child requests one.
Invitation: 1. Let children try each color on paper. 2. Invite them to pull a little of each into the tray’s empty space and mix. 3. Use the new mixture for patches, stripes, a dinosaur or its surroundings. 4. Pause to notice the colors before adding more paint.
Skill opportunity: Mixing offers a chance to predict and observe; brushing gives practice making broad strokes and smaller marks.
Simplify: Offer one paint color and one brush, with mixing available later. Extend: Try a mixture with more of one color, then compare it with the first mixture.
Checkpoint: If mixing becomes the main interest, let the picture wait. The colors do not need to match a particular dinosaur.
3. Crayon-resist dinosaur scenes
Materials: Thick white paper, wax crayons, children’s watercolor paints, a broad brush and a small stable water cup.
Adult setup: Set out the crayons first. Keep paint and water nearby for the next part.
Invitation: 1. Invite children to draw a dinosaur scene, trails, nests or other marks with wax crayons, pressing firmly. 2. Brush a light watercolor wash across part of the drawing. 3. Look together at where the wax marks remain visible. 4. Let the child decide whether to paint the rest or leave some paper untouched.
Skill opportunity: Drawing and brushing offer different hand movements; comparing the wax lines and painted areas encourages observation.
Simplify: Use a colored crayon so the child can see the marks clearly. Extend: Add white-crayon marks before painting and look for them as the wash crosses the paper.
Checkpoint: Avoid scrubbing or soaking the paper. Empty the water cup when painting is finished.
4. Dinosaur habitat collage
Materials: Backing paper, large colored-paper scraps, glue sticks and crayons.
Adult setup: Offer wide strips and broad scraps rather than tiny pieces. This is an invented landscape for a dinosaur story, not a reconstruction of a prehistoric habitat.
Invitation: 1. Ask, “Where might your dinosaur go in this picture?” 2. Let children tear or arrange paper into places such as a hill, pond, shady patch or cave. 3. Move pieces around before gluing, then press them onto the backing. 4. Draw a dinosaur—or leave space for one to arrive in a story.
Skill opportunity: Arranging loose pieces gives children a chance to plan and revise. Tearing and pressing provide hand-use practice.
Simplify: Offer large ready-torn pieces and help with glue as requested. Extend: Invite the child to describe a route through the landscape using words such as around, between or beside.
5. Shared dinosaur drawing mural
Materials: A large sheet of paper—or several sheets taped together—tape, and crayons or washable markers.
Adult setup: Secure the paper to a low table. Leave enough room for each child to reach a drawing space without leaning across someone else’s work.
Invitation: 1. Invite children to add dinosaurs, paths, weather or any marks they choose. 2. Ask permission before connecting one child’s picture to another’s. 3. Offer to write a child’s words beside their drawing. 4. Let children return later to add another part of the story.
Skill opportunity: A large surface invites sweeping arm movements alongside smaller details. Describing the picture offers optional spoken-language practice.
Simplify: Give a child an individual sheet that can join the mural later; sharing the drawing surface is not required. Extend: Invite children to tell a short story together, with each contributing an event if they wish.
When displaying the work, ask whether children want their words included. A comment such as “I made the rain go sideways” tells viewers more about the child’s choices than an adult-written label alone.
For projects with assembled dinosaur bodies, a hatching card or a puppet, see five simple dino crafts for preschool.