
Make Dot Marker Pages That Fit the Skill You Want to Practice
Make simple dot marker pages for letters, counting, patterns and open-ended art, with preschool adaptations and practical safety checks.
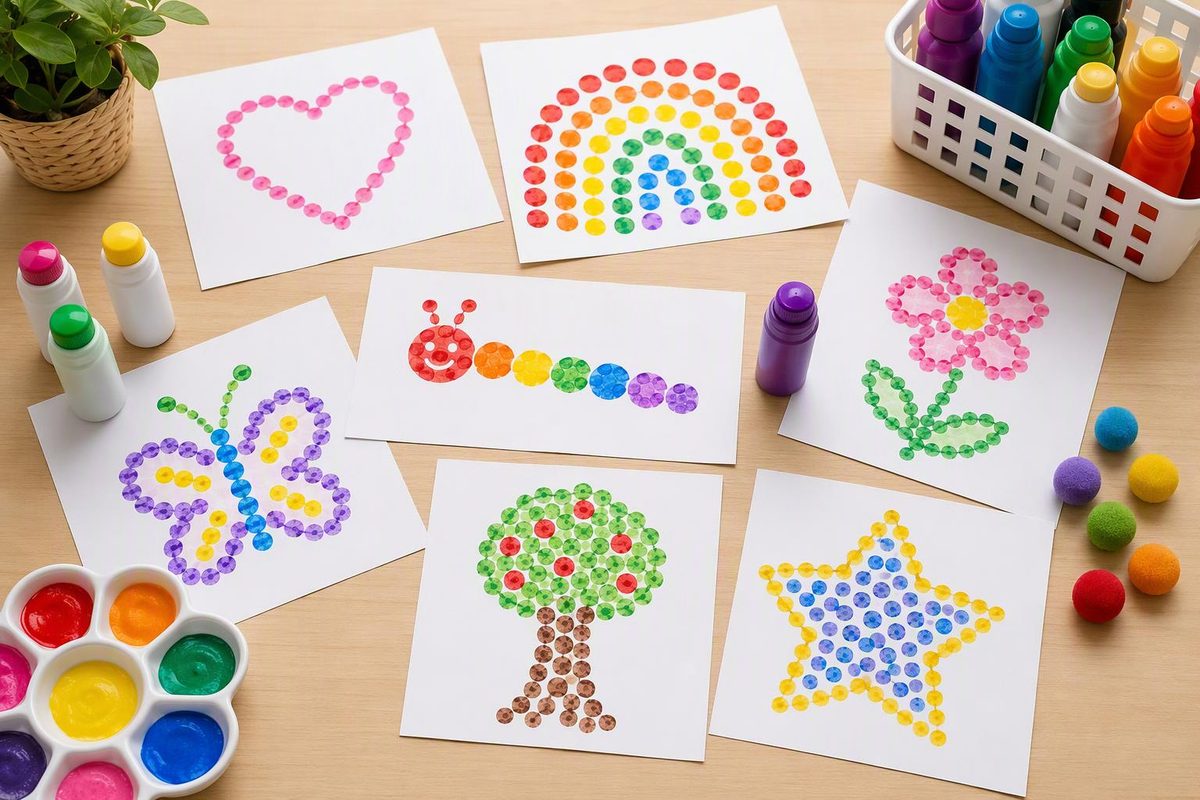
Dot marker pages give preschoolers a simple action: place the marker tip on the paper, press and lift. The page can invite free art, letter exploration, counting or pattern play without becoming a worksheet children must finish perfectly.
You do not need a printable. Draw the page by hand, or add circles to a document before printing. Start with fewer, larger targets and adjust after watching how the child uses the marker.
Quick activity plan
Learning opportunity: Using an art tool with increasing hand-eye coordination; noticing colors, quantities, shapes or letters, depending on the page
Materials:
- Child-appropriate dot markers or paint daubers
- Plain or printed paper
- Thick marker or crayon for drawing the page
- Scrap paper for testing
- Washable table covering or tray
- Art smock, if useful
Setup: 5 minutes
- Press each dot marker on scrap paper to learn how much pressure it needs.
- Use a round object wider than the marker tip to trace large targets.
- Put 6 to 12 targets on a first page. Leave generous space between them.
- Place one or two marker colors beside the page. Keep loose caps in an adult-controlled container.
Demonstrate once: “Touch, press, lift.” Then let the child choose where to begin. A dot partly outside a circle still counts as using the tool; there is no need to correct or cover it.
8 dot marker pages to make
1. Open dot page
Scatter circles across the paper without making a picture. Invite the child to fill some, all or none of them, then add dots anywhere else.
This is the least rule-bound version and a useful first look at how the child handles the marker. It also preserves the choice and exploration associated with process-focused art. A NAEYC article describes process art as open-ended, without a sample to copy or a right way to create, and suggests neutral observations such as, “Look at all the yellow dots you painted” (NAEYC).
2. First-letter page
Write one large uppercase letter and place circles along its lines. Say the letter name while pointing to it, but do not require a particular starting point or stroke order.
For a child who is not ready to aim at circles, make a wide outlined letter and invite dots anywhere inside it. For another hands-on route to the same letter, use building, matching or movement ideas from these Letter C activities.
3. Name dot page
Write the child’s name in large outlined letters. Add just a few targets inside each letter. Keep the name visible while the child dots so the child can notice the familiar printed form while hearing the name spoken.
Avoid asking the child to produce the name from memory. The page is an invitation to explore familiar print, not a handwriting assessment.
4. Count-and-dot page
Draw separate boxes containing one to five circles. Invite the child to touch each circle and make one mark on it. Count together only if the child is interested.
For a simpler version, use one box with three circles. To extend the activity, ask, “How many are dotted? How many are still empty?” A child can also choose a numeral card and make that many dots on blank paper.
5. Color-match page
Draw large circles and color a small spot inside each one. The child can match a red marker to a red spot, blue to blue and so on.
Begin with two colors that are easy to tell apart. If exact matching becomes frustrating, change the invitation: “Which color would you like here?” That turns the same page back into art rather than a test.
6. Two-color pattern strip
Draw a horizontal row of large circles. Fill the first four as a model—red, blue, red, blue—and leave the remaining circles empty. Say the colors aloud and ask what might come next.
If continuing the pattern is not yet a good fit, let the child copy a two-dot pair or make a new arrangement. To extend it, try an AAB pattern such as yellow, yellow, green.
7. Path page
Make a wide curved path from one simple picture to another: a bee to a flower, a car to a garage or a raindrop to a puddle. Put circles along the route.
Children can dot every target, choose a few or stamp beside the path. This page offers aiming practice while leaving room for a story: “Where is the car going?”
8. Finish-the-picture page
Draw an open-ended scene with space for dots:
- Apples on a tree
- Spots on a ladybug
- Bubbles above a fish
- Lights on a holiday tree
- Raindrops under a cloud
- Seeds inside a watermelon
Ask an observational question rather than prescribing a finished product: “Where could your dots go?” Add crayons afterward so the child can turn dots into faces, flowers, wheels or an entirely different picture.
Adjust the page to the child
Head Start describes preschool fine-motor development as increasing control, strength and coordination of small muscles. Its developmental progression moves from simple hand-eye tasks toward more complex tool use with greater precision, so children will not all need the same target size or number of dots (Head Start).
Simplify:
- Tape the paper to the table so it does not slide.
- Use a half-sheet with 3 to 6 large circles.
- Offer one marker at a time.
- Let the child stamp freely on blank paper first.
- Try a chunky sponge stamper if the dot marker is hard to press.
Extend:
- Invite the child to draw the targets for someone else.
- Add a simple color key or repeating pattern.
- Compare groups using “more,” “fewer” or “same.”
- Dictate or write a sentence about the finished picture.
- Put paper on a vertical easel for a different working position, provided the marker is intended for that surface and setup.
Safety and cleanup checks
Choose supplies labeled for children and follow the manufacturer’s age, use and cleanup directions. The Art and Creative Materials Institute says to look for its AP (Approved Product) Seal on creative products for children in sixth grade or younger. It says products with a CL (Cautionary Labeling) Seal should not be given to that group (ACMI).
A statement that an art material “Conforms to ASTM D-4236” indicates that it has undergone the toxicological assessment and hazard-labeling process required for art materials. It does not by itself tell you that the marker is washable or suitable for every surface (CPSC).
Supervise the activity, especially if a child mouths tools or removes caps. Keep caps off the floor and out of children’s mouths, and count markers and caps when the activity ends. Use the markers on the intended art surface—not skin—and stop using a product if it causes irritation. Protect clothing and test the ink on the work surface before setting out several colors.
For a quick reset, place used markers in a tray, recap them after the page is finished and wipe the table according to the product directions. Save unfinished pages without treating completion as the goal; the child can return later or decide the picture is done.