
7 Letter E Activities for Preschoolers by Skill
Try seven letter E activities for preschoolers, with E/e matching, short-e sound play, letter building and simple crafts—no printer needed.
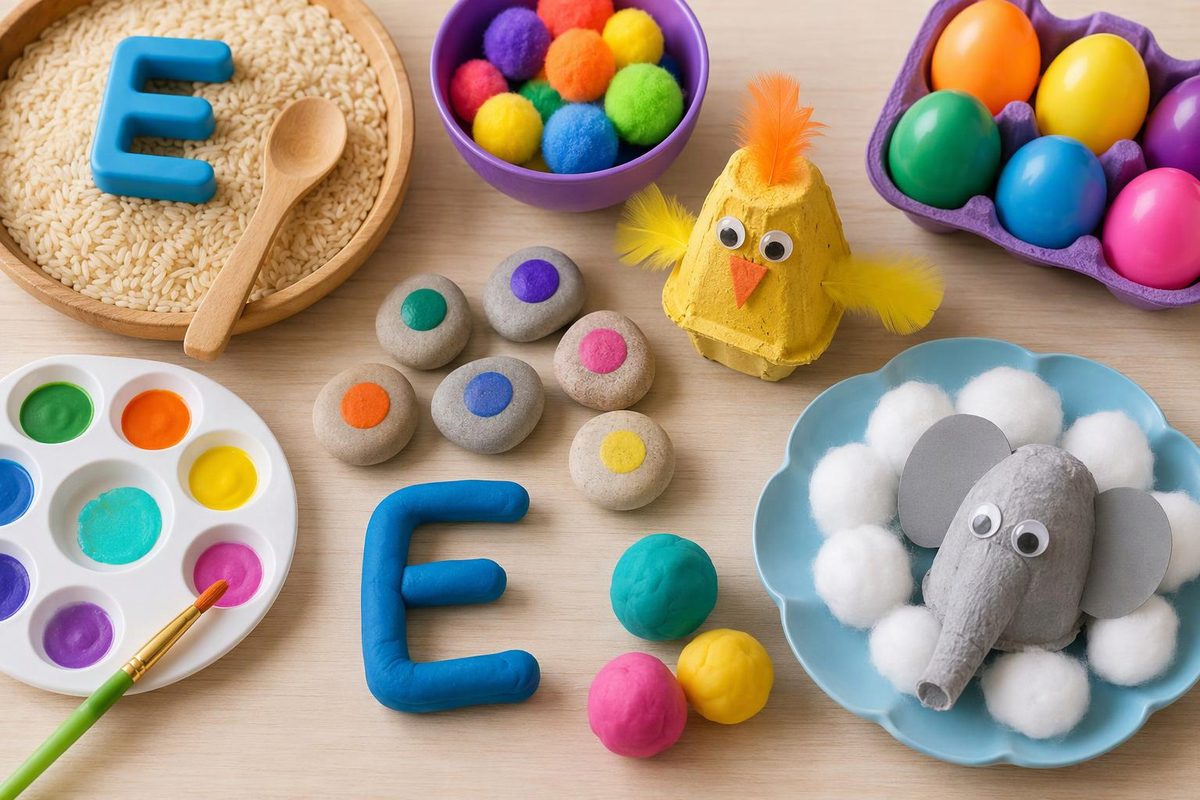
A paper-strip E, an envelope delivery game and a pretend echo can each offer a different way to explore this letter. Choose one activity for the child’s current interest: finding E, matching E with e, listening for its sound or exploring how to form it. There is no need to complete the whole list.
All seven ideas use ordinary supplies and adult-drawn letters or pictures—no printer or worksheets needed. For help choosing a starting skill, see our guide to preschool letter activities.
Keep the letter name and sound separate
Show E e and say, “These are uppercase E and lowercase e. Their letter name is E.” For sound play, model the short-e sound heard at the start of elephant, elbow and empty, which are included in Super Teacher Worksheets’ beginning short-e examples.
Use a brief prompt: “Elephant starts with short e. This letter can represent that sound.” Don’t use the spoken letter name as the model for short e, or suggest that every word beginning with E has the same sound. Children can explore one sound now without learning all of E’s uses.
1. Find E on paper eggs
Focus: Uppercase recognition. Materials: Large paper egg shapes, marker, basket or tray.
Write E on several eggs and put a few other familiar letters on the rest. Spread them across a table. Keep an E model beside the basket and invite the child to collect matching eggs.
When an F is selected, place it beside E: “Let’s look at the bottom. Which one has another line?” Keep the comparison friendly rather than turning each choice into a test.
Simplify: Offer just two eggs, one E and one different letter. Extend: Add lowercase e eggs after introducing the two forms. Say whether the child is looking for uppercase E only or both forms.
2. Deliver E and e envelopes
Focus: Matching uppercase and lowercase. Materials: Paper envelopes, marker, two boxes or trays.
Label one box E and the other e. Write one of those forms on each envelope. Let the child pretend to deliver the mail, matching each envelope to its box.
At the end, place an E envelope beside an e envelope: “They look different, but both are the letter E.” This keeps case sorting connected to letter identity.
Simplify: Use two envelopes and deliver them together. Extend: Make an E/e pair and send both to a shared mailbox labeled E e. If children walk between mailboxes, keep the route clear and use walking feet.
3. Build uppercase E with paper strips
Focus: Letter shape and construction. Materials: One long paper strip, three shorter strips, paper, glue stick, an E model.
Arrange the long strip vertically on the left. Invite the child to add the three arms to its right: one at the top, one in the middle and one at the bottom. Compare the arrangement with the model before gluing.
Try the prompt, “Where could the next arm go?” Children can move the pieces as often as they like; an adult can handle cutting.
Simplify: Draw an E outline for placing the strips. Extend: Remove the model briefly and invite the child to rebuild E, then uncover it to check together.
4. Finger-trace E and e
Focus: Exploring letter formation without a pencil. Materials: Paper and a thick marker.
Draw a large E and e. For uppercase E, model a line down the left, then lines across to the right at the top, middle and bottom.
For lowercase e, begin at the left end of the short horizontal line, halfway up the letter. Move right across that line, curve up and around to the left, then down and around toward the right, leaving the opening visible. This uses the “across, around, stop” sequence in Reading Universe’s letter-formation guidance. Demonstrate slowly and let the child follow with a finger. If the child’s preschool uses a handwriting program, keep your model consistent with it.
Simplify: Explore only uppercase E, one stroke at a time. Extend: Offer a crayon and fresh paper for copying beside the model. Stop if the child would rather return to building or matching.
5. Sort beginning sounds with pictures
Focus: Connecting short e with spoken words. Materials: Simple pictures of an elephant, elbow, empty cup, sun and ball; an E e card.
Name every picture together first. Clarify that the cup picture means empty, not cup. Say each word naturally, then repeat its beginning sound. Invite the child to place the short-e pictures beside E e.
This adapts the letter-and-sound matching practice described in Reading Rockets’ practical ideas for parents, which includes beginning-sound guessing games.
Simplify: Offer elephant and sun, and model both choices. Extend: Ask the child to suggest another word, then listen to its beginning together. Naming the picture is part of the task, so a different picture label is not automatically a sound error.
6. Make an elephant beside E
Focus: Themed art with a visible letter-and-sound connection. Materials: Paper, crayons, glue stick, large paper shapes for an elephant.
Write E e in one corner. Offer a body shape, a head, ears and a long paper trunk for the child to arrange freely. Draw the eye rather than adding a small plastic one.
Point to the finished elephant and the letters: “Elephant begins with short e.” Keep the letter separate and readable; the elephant does not need to look like an E.
Simplify: Draw an elephant for the child to decorate. Extend: Invite the child to dictate an elephant story and write it below the picture. The storytelling is extra language play, not a test of E knowledge.
7. Play a short-e echo game
Focus: Listening and oral participation. Materials: An E e card; no other supplies.
Explain that an echo repeats a sound. Hold up the card, say the short-e sound once and invite children to echo it. Then call “elbow” and touch your elbow; children repeat the word and movement. Try “empty” while showing empty hands.
Keep the sequence short and let children listen without repeating if they prefer.
Simplify: Use just one word and gesture. Extend: Take turns being the caller. Return to the card occasionally so this stays connected to E, rather than becoming only a copying game.
A quick supply check
Use art materials labeled for children, supervise their use and wash hands after crafting. The American Academy of Pediatrics recommends checking art-supply safety labeling, including the ACMI Approved Product seal. Keep markers capped when not in use, store caps out of reach and keep supplies out of mouths.
Paper eggs and drawn pictures keep these activities food-free. If a child mouths materials, use adult-held cards and let the child point rather than handle loose pieces. Let pointing, moving pieces or listening count as participation; writing E can remain optional.