
Build a Paper Parade Balloon After Balloons Over Broadway
Turn a Balloons Over Broadway read-aloud into a preschool paper-bag parade balloon project with a sketch, build, test, safety check and adaptations.
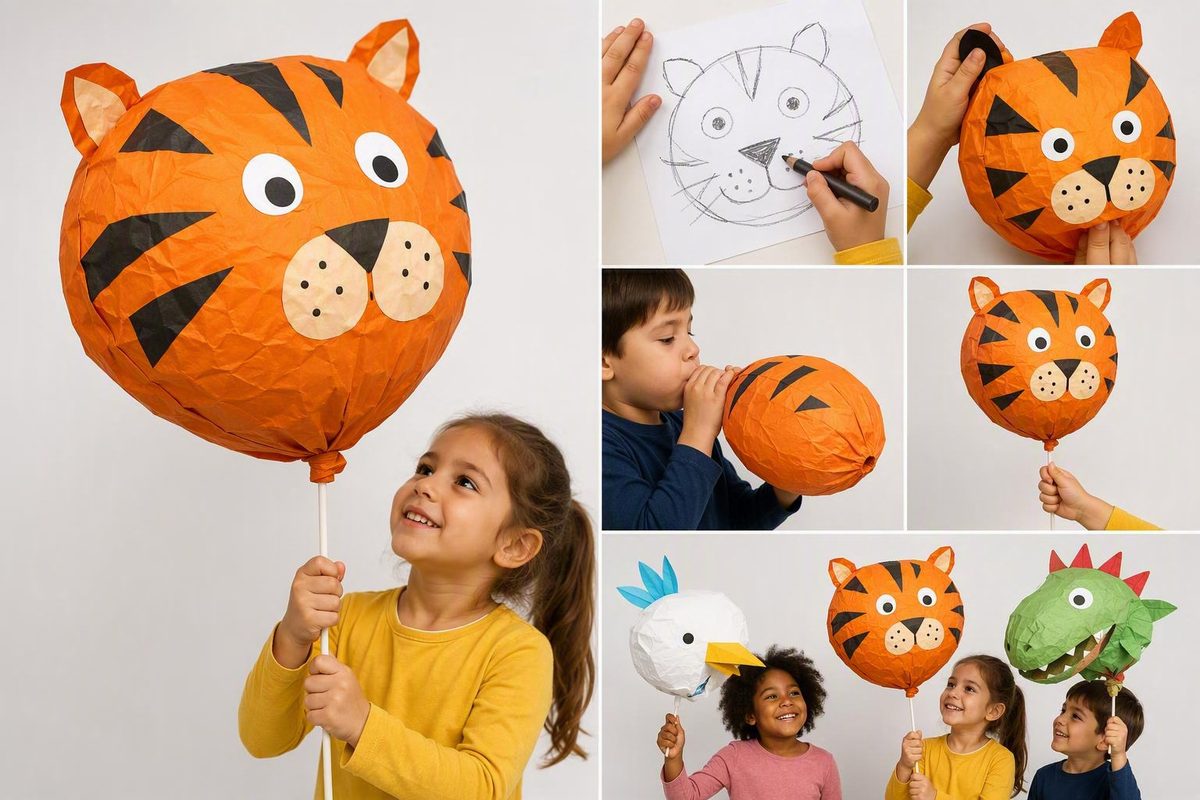
This Balloons Over Broadway project turns a read-aloud into a small design challenge: children plan a parade character, build a lightweight model and improve it after a test walk. It uses paper bags instead of real balloons, so it works at a classroom table without inflation or helium.
Melissa Sweet describes Balloons Over Broadway as a picture-book biography of puppeteer Tony Sarg and calls the parade creations “upside-down puppets.” The author’s page also offers separate educator resources for the book. See the book description and educator links on Melissa Sweet’s website. For a short piece of background to share with children, Smithsonian reports that Sarg introduced enormous inflatable cartoons and caricatures to the parade in 1927. Read the Smithsonian history.
Project at a glance
- Best for: Preschool and pre-K, with adult help adjusted to the child
- Adult preparation: About 10 minutes
- Activity time: About 30–45 minutes, plus the read-aloud
- Main opportunities: Planning, revising, describing shapes and controlling hand movements
- Finished piece: A stuffed paper-bag character with two paper “control lines” for a tabletop or walking parade
Materials
For each child or pair:
- 1 plain paper lunch bag
- Scrap paper to crumple for filling
- Washable markers or crayons
- Construction-paper scraps
- Glue stick
- Child-safe scissors, if appropriate
- Masking or painter’s tape
- 2 wide paper strips, each about 12 inches long
- Optional: tissue paper, paper streamers or large paper shapes
Avoid beads, buttons, wiggle eyes and other small decorations when they do not fit your group’s current mouthing behavior. Do not use sticks, skewers or long cords as handles.
Before the read-aloud
Show the cover without explaining the whole project. Ask:
- “What do you notice above the street?”
- “Where might the people controlling it stand?”
- “How could something be like a puppet if the people are underneath it?”
During the book, pause where children can notice sketches, shapes, strings, tests or changes. Afterward, give the design prompt:
Make a paper parade character that can travel around our short parade route without its pieces falling off.
This keeps the task open. A child can make an animal, imaginary creature, food character or abstract combination of colors and shapes; there is no model to copy.
Make the paper parade balloon
1. Plan the character
Invite each child to draw a quick idea. Ask what viewers should notice first and which paper shapes could make that feature. A scribble with a spoken explanation is a valid plan.
2. Form the body
Loosely crumple scrap paper and place it inside the lunch bag. Leave enough room to fold the opening over twice. An adult can tape the fold closed.
Turn the bag so the broad side faces the child. This is the character’s main body.
3. Add recognizable features
Draw directly on the bag or cut and glue large paper shapes for ears, wings, fins, feet or facial features. Press each glued piece for a slow count of five.
Pause before adding more and ask, “Which side is the front?” Marking the front helps the child orient the character during the parade.
4. Add two control lines
Tape one end of each wide paper strip to the underside of the bag, with one strip near each end. These are pretend control lines, not strings. The child holds the free ends while the bag remains above their hands.
5. Test and improve
Mark a short route on a table or open floor with painter’s tape. Include one gentle turn. Children walk—not run—the route while carrying their models at a comfortable height.
Use three checkpoints:
- Can the character face forward?
- Do its added pieces stay attached?
- Can the handler make the turn?
If something does not work, return to the table. A child might use more tape, shorten a paper strip, remove a heavy feature or change where a wing is attached. NAEYC presents preschool engineering as a cycle of finding a problem, imagining and planning, creating, and improving, so the repair is part of the project rather than a mistake to hide. See NAEYC’s preschool design-process guidance.
Hold the parade
Place a few blocks or chairs along the route as buildings, leaving a wide, uncluttered path. Children can parade one at a time or in pairs while the audience describes what it sees: “I notice two triangle ears” or “The long strips help the handler turn.” Avoid ranking the designs.
For another flexible seasonal activity with sorting, counting and different entry points, use this Thanksgiving preschool activity.
Simplify or extend
Simplify: Prepare a filled, sealed bag and offer a small tray of large precut shapes. A child can decorate only the front, use one short paper handle or move the model along a tabletop while seated. A child who does not want to carry a model can announce characters or help place route markers.
Extend: Ask the child to work within two constraints: the character must fit through a marked “street,” and both control strips must remain attached. After the first test, invite a second sketch showing one planned change. Children can also compare which shapes make a model taller, wider or easier to turn without treating one result as the correct design.
Safety check
Keep real latex or rubber balloons out of this preschool version. The U.S. Consumer Product Safety Commission warns that uninflated and broken balloons can choke or suffocate children under 8 and says broken pieces should be collected and discarded immediately. Read the CPSC balloon warning.
Use short, wide paper strips rather than cords; never tie a handle to a child. Supervise cutting, pre-cut pieces when needed and keep the walking route clear. Check that tape is suitable for the surface before marking a classroom floor.