
Children’s Collage Art: Tear, Layer and Arrange
Set up children’s collage art with simple paper supplies, four open-ended ideas, glue tips and adaptations for preschoolers ages 3–5.
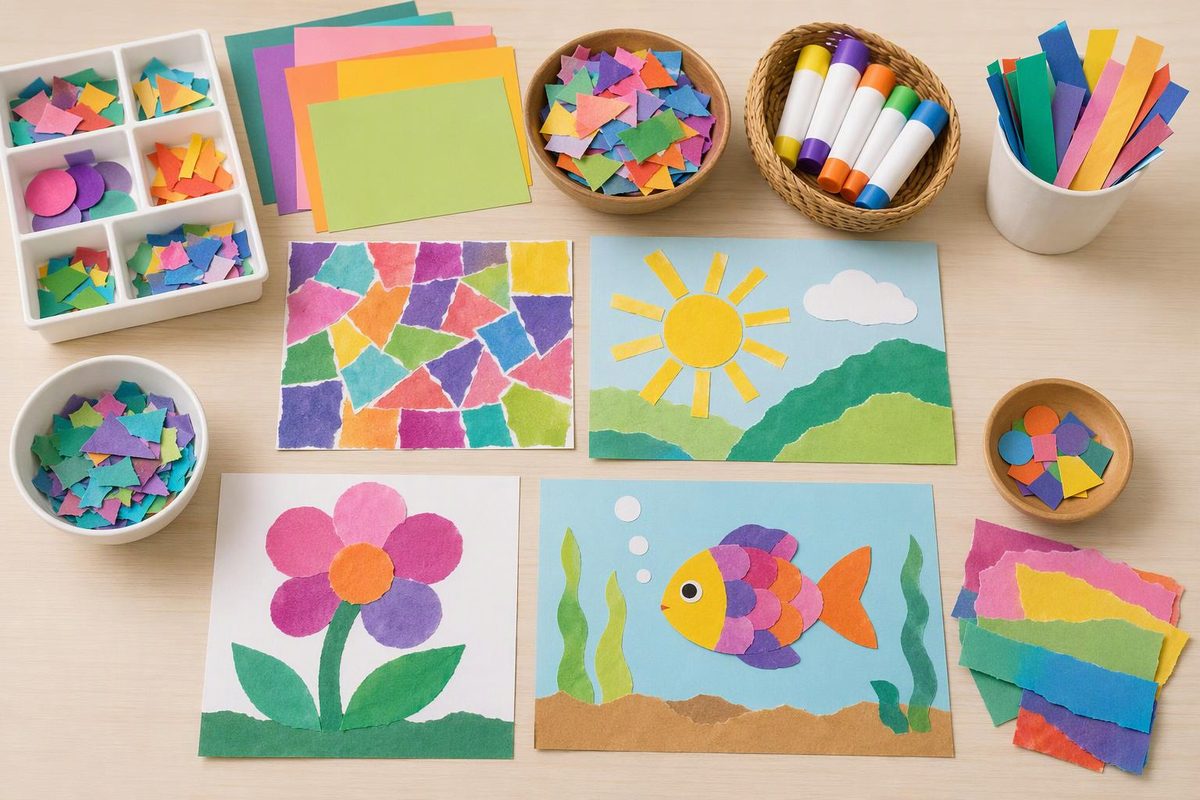
Collage art combines separate pieces—such as torn paper, pictures or fabric—on a backing. For preschoolers ages 3–5, start with paper scraps and glue. Children can explore colors, edges and overlapping shapes without having to make a recognizable picture.
The main learning opportunities are using both hands, controlling glue, making choices and describing arrangements. Choose one technique to introduce, then let children decide what their collage becomes. NAEYC’s preschool collage guidance recommends modeling tools and techniques rather than providing a finished collage for children to copy.
Set up a simple collage tray
You’ll need:
- Cardstock or clean, flat cardboard for the backing
- Construction-paper scraps, tissue paper or plain paper
- A child-appropriate, non-toxic glue stick or white school glue
- A small brush if using liquid glue
- Shallow trays for scraps
- A table covering and a designated drying space
- Optional: child-sized, blunt-tip scissors and crayons
Begin with two or three paper choices rather than a large mixed-material collection. Separate them into trays so children can see and reach each type. Write each child’s name on their backing before work begins. Put a backing at each place and keep extra supplies out of children’s reach until needed.
Read labels and choose supplies intended for children; avoid products with hazard warnings. Supervise directly, keep food and drinks away, and wash hands afterward. “Non-toxic” does not mean a material is safe to eat. These precautions follow the CPSC’s Art and Craft Safety Guide.
For a first session, leave out beads, buttons, sequins, staples and glitter. A paper-only setup offers plenty to explore with fewer materials to manage. If a child mouths materials, stay close and stop or change the activity if it cannot be used safely.
Teach the process, not a picture
- Make some pieces. Show how to hold paper with both hands, with fingertips close together near an edge, and pull in opposite directions. Offer strips or make a small starter tear if needed.
- Try an arrangement. Invite children to move a few pieces around before gluing. Pieces can touch, overlap or stay apart. Planning first is an option, not a rule.
- Attach one piece. Demonstrate glue on a scrap of paper: spread a thin layer, place the piece and press gently. Start with a glue stick for flat paper, or offer a small amount of white glue with a brush.
- Continue choosing. Children can add, cover, rotate or leave spaces. There is no required number of pieces and no need to fill the backing.
- Leave it flat to dry. Let the collage dry according to the glue instructions before lifting or displaying it.
Tearing, placing and pressing are opportunities to practice fingertip control and coordinated hand movements. NAEYC’s torn-paper activity specifically models a fingertip pincer grip and holding glued paper until it sticks.
Four open-ended collage invitations
Use the same basic setup for each. Offer one invitation at a time, while leaving room for a child’s different idea.
1. Torn-edge collage
Offer two contrasting paper colors and a plain backing. Invite children to tear long strips, small patches or unexpected shapes, then arrange them however they wish.
- Practice opportunity: Holding with one hand while the other pulls.
- Simplify: Provide pre-torn pieces alongside paper for tearing.
- Extend: Compare a torn edge with a cut edge. Ask, “Which edge would you like to use next?”
2. Tissue-paper layers
Offer pieces of tissue paper in several colors. Children can place some side by side and overlap others. Use a glue stick gently, or brush a thin layer of glue onto the backing before adding tissue.
- Practice opportunity: Gentle handling and noticing what changes when layers overlap.
- Simplify: Use larger tissue pieces and help apply glue where the child indicates.
- Extend: Try the same tissue on light and dark backings and discuss what the child notices.
3. Shape-and-space collage
Offer paper strips, broad curves and irregular shapes. Children who can manage scissors may cut their own pieces under supervision; others can use prepared scraps. Invite them to try turning a piece before attaching it.
- Practice opportunity: Exploring position with words such as above, beside and under.
- Simplify: Offer a few large shapes at a time.
- Extend: Suggest testing two arrangements before choosing one, without requiring a particular result.
4. Picture-and-drawing collage
Provide adult-selected magazine pictures, colored scraps and crayons. Children can combine pictures and paper, then draw connecting lines or additional details. Their work may become a scene, an invented object or an abstract arrangement.
- Practice opportunity: Connecting materials with ideas and stories.
- Simplify: Let the child select pictures while an adult cuts them out.
- Extend: Offer to write the child’s description on a separate label. For a face-focused version, see our preschool self-portrait art ideas.
Help without taking over
If tearing is frustrating, offer thinner paper or a starter tear. If paper slides, help the child use less glue and press it in place. If an edge lifts, try a little glue beneath that edge rather than covering the whole collage with more glue.
A child who dislikes sticky fingers can use a glue stick, brush or adult help while still choosing every piece and its position. Adapt to what the child can comfortably manage, not an age-based expectation.
Comment on a choice—“You put the wide strip over the small pieces”—or invite conversation: “Tell me about this part.” Accept pointing, a brief answer or silence. NAEYC’s process-art guidance emphasizes children’s choices, open-ended conversation and room to experiment. A collage does not need a story or a recognizable subject to be finished.