
6 Letter O Activities for Pre-K by Literacy Skill
Try six letter O activities for pre-K, with O/o matching, short-o sound play, letter building, tracing and movement using simple supplies.
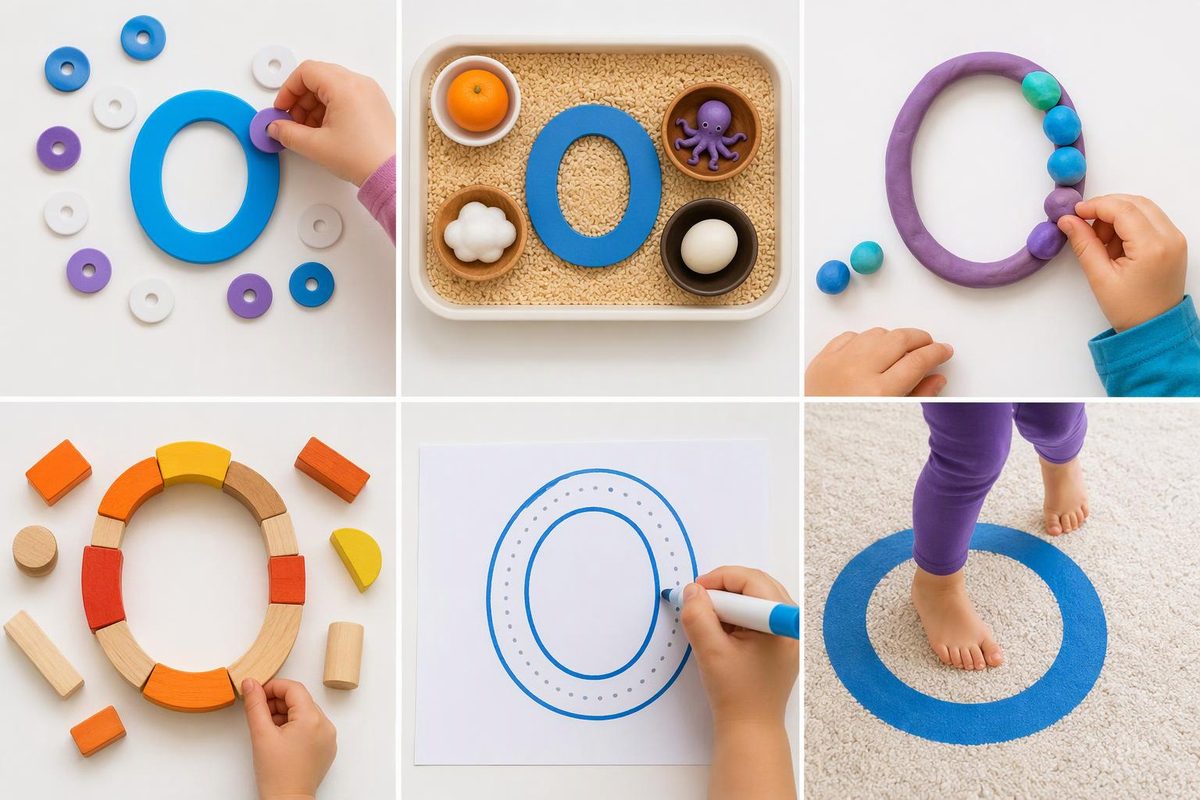
Choose a letter O activity for the skill you want to explore: finding O, matching O with o, hearing a beginning sound, or making the letter’s closed curve. These six invitations use hand-drawn cards and simple supplies—no printer or worksheet needed.
Start with one activity rather than working through all six. A child can participate by pointing, moving a card or following a model without having to write.
Prepare a small O kit
Gather paper, an adult marker, children’s crayons, and two trays or baskets. Adults can cut the cards and curved paper pieces beforehand. Keep cards large enough to handle easily; these activities do not need beads, buttons or food.
Draw top, middle and bottom writing lines on a model card, then write O o. Use plain lettering, with uppercase O reaching from the top to the bottom line and lowercase o sitting between the middle and bottom lines. Both have a closed, rounded curve, so show them together in context rather than teaching that every large circle is uppercase and every small circle is lowercase.
For the card games, begin with just a few letters. Reading Rockets’ alphabet-matching guidance recommends plain fonts and fewer letters for learners who are just beginning, and describes both same-case and uppercase-to-lowercase matching.
1. Find O among other letters
Skill focus: Letter recognition.
Materials and setup: Make four cards: two O cards, one C and one L. Place them face up on a table beside the O model.
- Point to the model and say, “This letter is O.”
- Invite the child to find a matching O and place it beside the model.
- Shuffle the remaining cards and look for another O.
- Compare O and C: “O closes all the way around. C has an opening.”
Simplify: Offer only O and L. Let the child hold the model beside each choice.
Extend: Try a separate set with lowercase o, c and l, or find a printed O in a book title or classroom label.
Checkpoint: Look for matching the letter, not simply finding something round. If a child points to a wheel, acknowledge the similar shape and return to the written O: “The wheel is round. Here is the letter O.”
2. Match O and o families
Skill focus: Connecting uppercase and lowercase forms.
Materials and setup: Write O o, C c and L l across a lined reference strip. Make separate cards for those six letters, with the same writing lines and letter heights as the strip.
- Place the uppercase cards in a row.
- Offer one lowercase card at a time.
- Help the child use the reference strip to find its uppercase partner.
- Name the completed pair: “Uppercase O and lowercase o. They are both the letter O.”
Simplify: First match O to another O, then o to another o. Introduce cross-case matching with the reference strip still visible.
Extend: Remove the reference strip for one turn, then bring it back whenever the child wants to check.
Checkpoint: Name the cases while pointing. Because O and o look alike, the reference strip and writing lines give children context that loose circles of different sizes do not.
3. Close the curve
Skill focus: Noticing O’s shape through letter building.
Materials and setup: Draw a large, thick O on paper. Cut a matching paper O band and divide it into two curved halves that can meet to cover the model.
- Lay one curve over half of the model.
- Invite the child to turn and move the second curve until the ends meet.
- Follow the completed shape with a finger: “Around, and closed.”
- Move one piece away and ask, “What changed?” Then rebuild O.
Simplify: Position both pieces almost correctly and invite the child to close the gaps.
Extend: Take away the background model and build O beside it. Try a smaller set for lowercase o, with the O o model card nearby.
Checkpoint: Joining the curve is the goal; gluing and decorating are unnecessary. For a separate art invitation, try these letter O art activities.
4. Trace, then try O
Skill focus: Exploring letter formation.
Materials and setup: Draw a large, single-line O on paper. Add a starting dot and an arrow showing the direction you will model. Provide a crayon and blank paper.
- Model one continuous curve: “Start here, go around, and close.”
- Invite the child to follow the path with a finger.
- Offer a crayon for tracing, if they want it.
- Let them try an O beside the model rather than filling a row.
For this model, start at the top and move left around the curve. If the child’s school uses a particular handwriting program, use its starting point and wording consistently.
Simplify: Stay with finger tracing or make a large O in the air together.
Extend: Add writing lines and model lowercase o between the middle and bottom lines, beside the taller uppercase O.
Checkpoint: Notice where the child begins and whether the curve closes. An uneven O is still something to discuss; perfect roundness is not the task.
5. Listen for short o
Skill focus: Beginning-sound listening linked to a written letter.
Materials and setup: Use pictures of an octopus, an ox, a sun and a fish. Draw them yourself or use pictures already available. Set out an O card and a blank sorting mat.
- Name every picture together before sorting; introduce unfamiliar words.
- Say “octopus” naturally, then isolate its beginning sound—not the letter name. Point to O: “O can represent this sound.”
- Invite the child to place pictures with that same beginning sound by O. Put the others on the blank mat.
- Say each word again together to check.
Use octopus and ox as short-o examples; the linked Cambridge entries provide UK and US pronunciations.
Simplify: Compare just octopus and sun, with the adult doing the naming and sound modeling.
Extend: Say the words without showing the pictures first, then reveal them to check.
Checkpoint: The letter name and short-o sound are different. Open begins with long o—the letter-name sound—so save it for a later comparison rather than putting it in this short-o group. Cambridge’s pronunciation of open makes that contrast clear. Use your natural pronunciation rather than asking children to imitate an unfamiliar accent.
6. Deliver the O mail
Skill focus: Recognizing O and o during pretend play.
Materials and setup: Label one basket O o and another C c. Prepare paper “mail” cards marked O, o, C or c, with writing lines as in Activity 2 and a reference strip nearby.
- Invite the child to be the mail carrier.
- Hand over one card and help them name its letter.
- Let them carry it to the matching basket.
- Check the delivery together and swap roles.
Simplify: Play seated with two trays and only uppercase cards.
Extend: Mix uppercase and lowercase cards, or invite the child to label new mail by copying from the reference strip.
Safety: If children walk between baskets, keep the route clear and the baskets stable. Make it a delivery game, not a race.
After a few turns, note what was comfortable and what needed a model: finding O, matching O/o, hearing short o or closing the curve. Use that observation to choose the next invitation, rather than treating the six activities as a checklist.