
4 Letter O Art Activities for Preschoolers With Simple Supplies
Try four letter O art activities with paper, crayons and paint, plus clear O and o connections, simple setup and easy preschool adaptations.
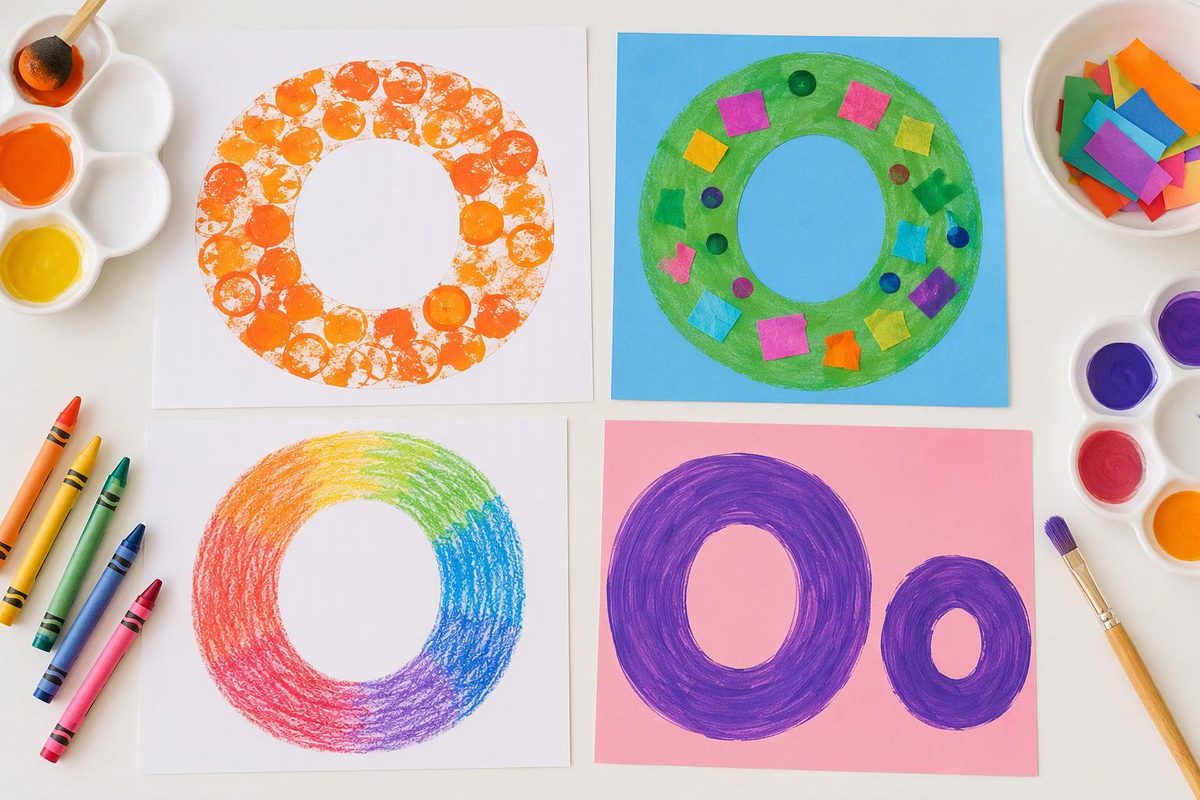
Start with torn-paper O collage for a no-paint activity, loop printing for exploring marks, an O-shaped octopus for a picture-and-word connection, or oval collage for arranging shapes. Each uses a hand-drawn letter model—no printable needed.
Keep the literacy invitation brief: point to O, name it, and invite children to follow its closed curve with a finger. Then let them make choices about colors, textures and placement. These are guided letter-art activities, not fully open-ended process art; you can still borrow NAEYC’s advice to notice children’s choices and avoid making their work match an adult sample.
Set out a small, safe art kit
Gather paper, crayons, glue sticks and, for printing, washable paint labeled for children’s use. Cover the work surface and keep a drying space nearby.
Choose age-appropriate, clearly labeled, non-toxic supplies without cautionary warnings, supervise closely, keep food and drinks away, and wash hands afterward. The CPSC’s Art and Craft Safety Guide also notes that “non-toxic” does not mean a material is harmless when used incorrectly. Adults can prepare all the cutouts, including the inside cuts in paper letters.
Write O o on a separate card. Both have a closed, rounded shape; make the uppercase O larger and the lowercase o smaller in your model, and name each as you point. Keep the card visible even if the artwork covers the original outline.
For help choosing recognition, sound or formation practice, see these letter activities organized by preschool literacy skill.
1. Torn-paper O collage
Materials: Construction paper, contrasting paper scraps, glue stick and crayon.
Adult setup: Draw a large, thick O using an outer curve and a smaller inner curve. Leave a wide band between them for gluing.
- Invite the child to trace around the O with a finger.
- Offer paper to tear into pieces. Larger pieces are fine.
- Spread glue on a short section of the band, then press paper onto it.
- Continue around the letter for as long as the child wants. Leave the center visible if they want the O shape to show clearly.
Letter prompt: “This is O. Its curve goes all the way around and closes.”
Practice opportunity: Tearing, pressing and arranging pieces, alongside noticing the letter’s shape. The child does not need to cover every gap.
Simplify: Provide ready-torn pieces and apply the glue for the child.
Extend: Offer a smaller lowercase o beside the uppercase O. Invite the child to decorate both and point to the one you name.
2. Loop-print painting
Materials: A clean cardboard craft tube, shallow paint tray, washable children’s paint, paper and crayon.
Adult setup: Check that the tube’s rim is smooth and sturdy. Put a thin layer of paint in the tray and write O o on a separate card.
- Show how to dip just the tube’s rim into paint.
- Press the rim onto paper, then lift it straight up.
- Let the child choose where to make more prints: spread apart, overlapping or in a row.
- Compare a clear loop print with the O on the card. “Your print has a closed curve like this letter O.”
The prints are loop shapes, not automatically letters. Naming the written O keeps the alphabet connection clear without turning every mark into a handwriting task.
Practice opportunity: Pressing and lifting a tool, comparing marks and using words such as overlap, inside and around.
Simplify: Hold the tray steady and offer one paint color.
Extend: Once the paint dries, invite the child to draw a large O and a small o among the prints. Drawing is optional; pointing to the model is another way to participate.
3. Paper O octopus
Materials: A large paper O cutout, eight broad paper strips, backing paper, glue stick and crayons.
Adult setup: Cut a wide-band O and eight strips. Children can choose the paper colors; the octopus does not need to look realistic.
- Arrange the O and strips on the backing paper, with the strips’ upper ends tucked behind the O’s lower edge.
- Help the child lift the O aside, glue the upper ends of the strips to the backing paper, then glue the O over them.
- Invite them to draw eyes, patterns or water around their octopus.
- Write octopus nearby and point to its first letter.
Letter-and-sound prompt: “Octopus begins with O.” If you are exploring sounds, say the word naturally and listen to its beginning: octopus is a short-o example. It also has eight arms, so the paper strips offer an optional counting connection. Cambridge Dictionary gives the pronunciation and eight-arm definition.
Practice opportunity: Arranging and gluing parts, connecting a written initial with a spoken word, and counting one strip at a time.
Simplify: Attach the arms and O beforehand and let the child decorate.
Extend: Invite the child to count the eight strips before gluing or dictate a sentence about their octopus. Do not make correct counting a condition for enjoying the craft.
4. Oval collage with an O label
Materials: Large paper ovals in several colors and sizes, backing paper, glue stick and crayons.
Adult setup: Cut out the ovals. On a separate card, write oval with a clearly visible initial O.
- Offer the shapes without a finished picture to copy.
- Let the child move, overlap and rotate them before choosing where to glue.
- Invite drawn details if they want to turn the arrangement into a creature, garden or something else.
- Point to the word card: “These shapes are ovals. The word oval starts with O.”
Sound checkpoint: Oval begins with long o—the letter-name sound—not the same beginning sound as octopus. Cambridge’s pronunciation of oval makes this distinction clear. If you are focusing only on short o, use this activity for letter recognition and shape vocabulary rather than as a short-o example.
Practice opportunity: Comparing sizes, planning an arrangement and talking about the picture.
Simplify: Offer a few large ovals rather than many choices.
Extend: Invite the child to add an O or o label, or dictate a title for you to write. Keep their chosen arrangement intact—even if it becomes something you did not expect.