
3 Letter Q Art Activities With Paint, Paper and Crayons
Try three letter Q art activities for preschoolers: Q prints, a paper quilt and a queen portrait, with clear steps and easy adaptations.
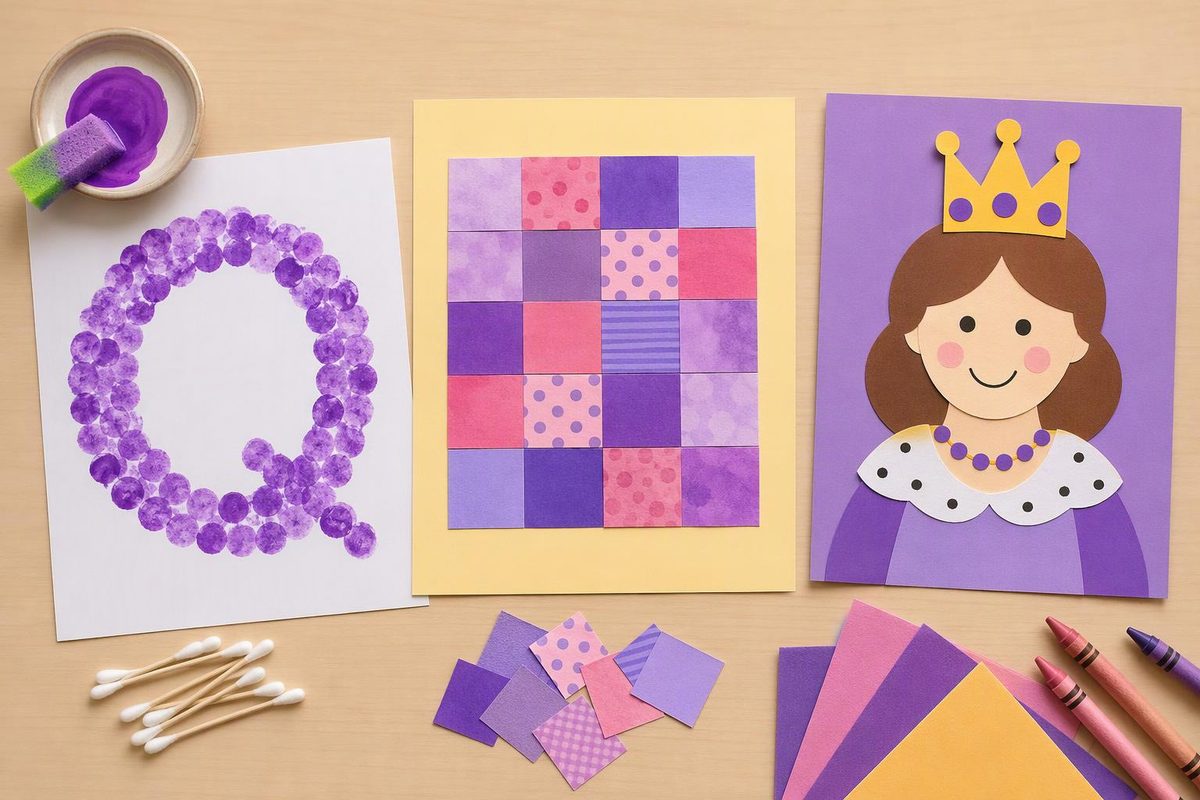
Choose one letter Q art activity to match what children want to explore:
- Q printing: noticing the uppercase letter’s round shape and short tail.
- Paper quilt: arranging and gluing patches, with an optional repeating pattern.
- Queen portrait: drawing a character and dictating a story.
These invitations suit preschoolers ages three to five, with adult preparation and help as needed. Children can choose colors, placement and details rather than copy a finished sample. NAEYC’s guidance on process-focused art emphasizes children’s choices, exploration and ownership of their work; the letter theme here adds a small, optional literacy connection.
Set up the Q connection
Write a clear Q q on a separate card. Use an uppercase Q with a round body and short diagonal tail, and a lowercase q with a round body and a stem extending down on the right. Keep the card nearby rather than requiring every picture to become a letter.
For a beginning-sounds connection, point to qu in quilt or queen. Say the whole word naturally, then briefly emphasize its beginning: “/kw/—quilt.” Both quilt and queen begin with the sounds /k/ and /w/ together. Avoid presenting the letter name, “cue,” as that beginning.
If children are still exploring letter recognition, simply name Q and invite them to point to it. You can choose a different literacy goal using these letter activities by skill.
Safety setup: Use age-appropriate, non-toxic crayons, paint and glue, and read their labels. Avoid supplies with cautionary warnings, and use materials only as intended. Supervise closely, keep food and drinks away from the art table, and wash hands afterward, following the CPSC’s children’s art-material guidance. Use paper decorations instead of loose gems, sequins or buttons. Adults can do all cutting; children who are ready may use child-sized, blunt-tip scissors with supervision.
1. Print circles and turn them into Qs
Materials: A wide-rimmed paper cup, washable children’s paint, a shallow tray, a paintbrush, sturdy paper and the Q card.
Adult setup: Put a thin layer of paint in the tray. Test the cup’s rim on scrap paper and adjust the amount of paint until it leaves a clear outline.
- Invite the child to dip the cup’s rim, press it gently onto paper and lift it straight up.
- Let them make several prints, including overlapping circles if they wish.
- Show the Q card. Ask, “What could we add to make one of these circles look like Q?”
- Offer the brush to add a short diagonal stroke through the lower-right edge of a chosen circle. Leave the other prints as circles if the child prefers.
Learning opportunity: Pressing and lifting offers practice controlling a printing tool. Adding the tail makes the difference between a plain round shape and this uppercase Q visible.
Simplify: Offer one paint color and steady the paper. The child can point to where the tail should go while an adult adds it.
Extend: Once the paint is dry, invite the child to find a Q print and compare it with the lowercase q on the card. No copying is required.
2. Arrange a paper patchwork quilt
Materials: A large paper rectangle, colored paper squares, crayons and a glue stick.
Adult setup: Cut generous squares that are easy to pick up. Show a quilt or a picture of one and explain that today’s version will be made from paper, without sewing.
- Invite children to decorate several squares with lines, dots, pictures or their own marks.
- Let them move the patches around on the large rectangle before gluing. They may place them edge to edge, overlap them or leave gaps.
- Glue each patch in its chosen spot and press it down.
- Offer to write quilt beside the collage. Point to its first letter and match it to Q on the card.
Learning opportunity: Moving patches before attaching them offers practice planning an arrangement. Gluing and pressing give children specific hand movements to explore.
Simplify: Use four large patches and offer two colors. Help apply glue if needed, while leaving placement to the child.
Extend: Invite a child who enjoys patterns to make a two-color repeating row. Ask, “What comes next?” rather than requiring the whole quilt to follow a pattern.
3. Draw a queen and add a paper crown
Materials: Drawing paper, crayons, colored paper and a glue stick.
Adult setup: Cut a few broad paper crown shapes. Keep the portrait space blank; children do not need a face template.
- Invite the child to draw an imaginary queen. Ask, “What is your queen doing?”
- Offer a paper crown to decorate with drawn shapes, lines or colors.
- Let the child glue the crown onto the portrait wherever it belongs in their picture.
- Offer to write queen and a sentence the child dictates, such as “My queen has a purple garden.” Point out Q and q using the letter card.
Learning opportunity: Drawing offers practice making intentional marks. Dictating a sentence lets children see their spoken ideas represented in print.
Simplify: A child can decorate only the crown and tell you about its owner. A detailed face is not necessary.
Extend: Invite a second drawing showing where the queen lives or what she does next. Add the child’s words if they want them recorded.
Keep the finished work as the child made it. If the Q is hard to recognize or the crown lands sideways, use the separate letter card for a clear model rather than correcting the artwork.