
4 Letter R Art Activities for Preschool With Simple Supplies
Try four letter R art activities with paper, crayons and paint, plus clear R and r shape prompts, beginning-sound connections and easy adaptations.
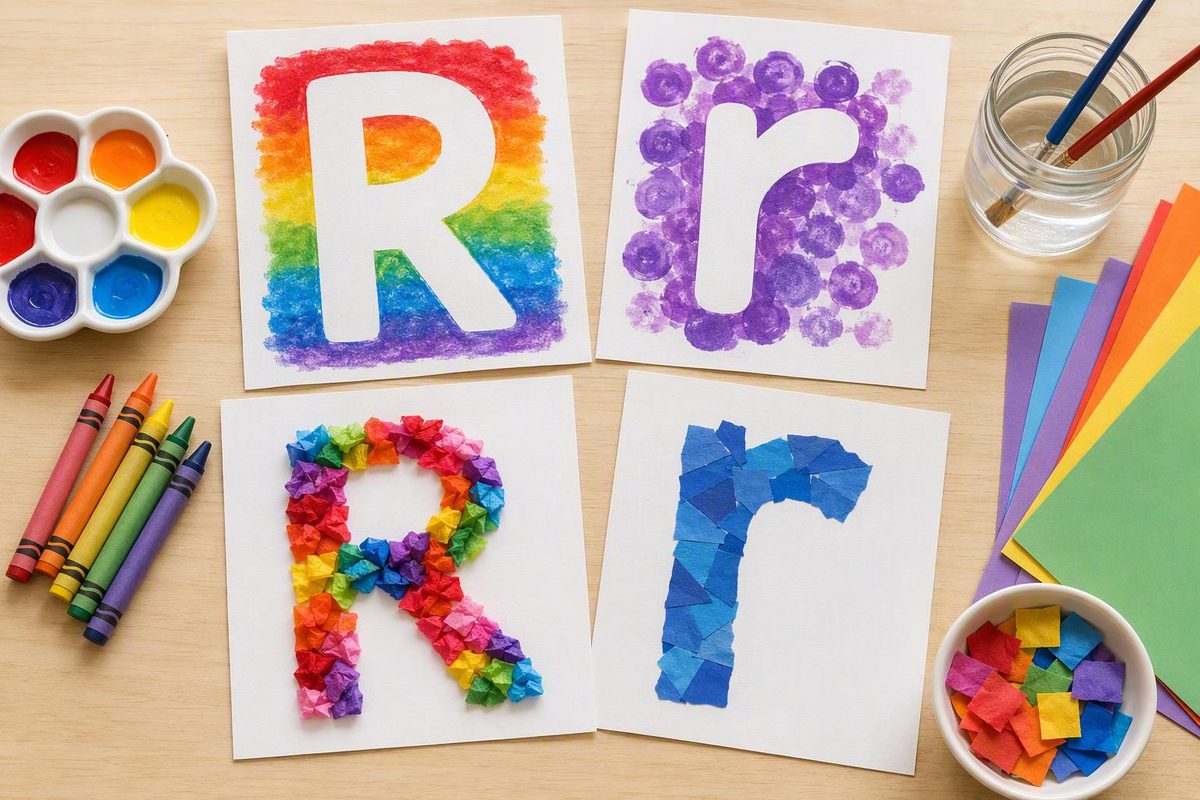
Try a rainbow collage, a paper robot, a rabbit drawing or a rainy-day painting. Each gives preschoolers a different way to explore R or r without needing a printed worksheet.
Choose the rainbow collage for noticing uppercase R, the robot for building its parts, the rabbit picture for introducing lowercase r, or the rain painting for matching both cases.
Set up the letter connection
Draw an uppercase R and a lowercase r on a reference card. Point out their shapes:
- Uppercase R: a long straight line, a curved section at the top, and a slanting leg that reaches down to the right.
- Lowercase r: a short straight line with a small curved shoulder near the top. It has no closed loop or slanting leg.
Say, “This letter’s name is R. Listen to the first sound in rain.” Model /r/ without adding an “uh.” Letter names, printed shapes and sounds are related but separate parts of alphabet knowledge, as explained in Reading Rockets’ alphabet guidance. A child can point or listen without having to write or repeat the sound.
These are guided letter activities, not entirely open-ended process art. Keep the letter model clear, but let children choose colors, textures and picture details. NAEYC’s process-art guidance emphasizes children’s choices and exploration rather than copying an adult’s finished artwork.
Basic supplies: paper, crayons, washable markers and glue sticks; the rain painting also uses child-use washable paint, a broad brush and a table covering. Adults can prepare cutouts; offer child scissors only with supervision and when the child can use them safely. Choose labeled, non-toxic art supplies intended for children, without cautionary warnings. Supervise their use and wash hands afterward, following the CPSC’s Art and Craft Safety Guide. Keep marker and glue caps with the adult.
1. Rainbow R collage
Focus: noticing the whole uppercase shape while tearing and placing paper.
Materials: a sheet of paper, colored paper scraps, glue stick and a dark marker.
Adult setup: Draw a broad, hollow uppercase R that fills most of the page. Make the straight stem, top curve and diagonal leg wide enough for paper pieces. Leave a clear opening inside the top curve.
- Invite the child to tear colored paper into pieces they can comfortably handle.
- Offer the pieces beside the R and let the child choose where to glue them. They can make stripes, patches or a mixed-color collage.
- Once the glue has set, follow the letter’s shape together with a finger. Point out the straight stem, top curve and slanting leg.
Letter prompt: “Rainbow starts with /r/. Where is the leg on your R?” The colors do not need to follow rainbow order; this is a collage, not a color-sequence test.
Simplify: Prepare large pieces and offer two colors. The child can choose pieces while an adult helps apply glue.
Extend: Let the child decorate a lowercase r beside the uppercase letter. Name them together: “Uppercase R and lowercase r.”
2. Build an R robot
Focus: arranging letter parts and explaining a design.
Materials: paper, glue stick, crayons, and adult-cut paper pieces: one long rectangle, a thick curved band and one strip for the diagonal leg.
Adult setup: Make an R reference card. Cut the curved band so its ends can meet the top and middle of the straight stem, forming R’s upper loop. Lay the loose pieces beside the card rather than assembling a finished robot for the child to copy.
- Invite the child to arrange the pieces into R before gluing. Use the card as a guide if needed.
- Ask where the curved piece and diagonal leg belong. Help adjust the pieces only as much as needed to show the letter.
- Glue them down. Add drawn eyes, buttons, arms or an imaginary control panel to turn R into a robot.
Letter checkpoint: Keep the diagonal leg visible. “Without this slanting leg, our letter looks like P. Adding it makes R.” Place most robot decorations around the letter so its shape remains easy to find.
Simplify: Draw a faint R underneath for matching, or offer the letter already assembled so the child can add robot details.
Extend: Invite the child to dictate a sentence about the robot. Write it below the picture and point to r in the word robot.
3. Rabbit drawing with lowercase r
Focus: linking a picture and beginning sound with lowercase r.
Materials: paper, crayons or markers, and an r reference card.
Adult setup: Draw a large lowercase r on one side of the page, leaving room beside it for a picture.
- Say rabbit and invite the child to draw one. Offer a verbal starting point if wanted: “You could begin with a body and add long ears.”
- Let the child decide where the rabbit lives and add grass, a burrow or other details.
- Find the lowercase r together. Invite the child to trace it with a finger or decorate it with crayon marks.
Letter checkpoint: Keep rabbit ears on the rabbit picture rather than adding them to r; extra strokes can obscure the letter’s shape.
Simplify: Offer an adult-cut paper oval for the child to glue down and turn into a rabbit.
Extend: Write rabbit beneath the drawing as the child watches. Ask them to find its first letter and match it to the r card.
4. Rain painting with an R–r match
Focus: making intentional brush marks and recognizing both letter cases.
Materials: paper, crayons, blue washable paint, a broad brush and two paper cards labeled R and r.
Adult setup: Put a small amount of paint in a shallow tray. Leave the letter cards outside the painting area until the picture is dry.
- Invite the child to draw a rainy-day scene: a window, umbrella, puddle or something they imagine.
- Use the brush to add rain. Explore short dabs, long lines or dots without requiring a particular raindrop shape.
- After the painting dries, show R and r. Name both and invite the child to glue them along the edge as a letter pair.
Letter prompt: “Rain begins with /r/. These letters look different, but both are R.”
Simplify: Use blue crayons instead of paint, and offer the two cards together for the child to place.
Extend: Add another familiar letter card. Ask the child to choose uppercase R and lowercase r before gluing. If case matching is the next goal, try more playful letter activities organized by skill.