
4 Letter J Art Activities With Paper, Crayons and Paint
Try four letter J art activities for preschoolers, with simple supplies, clear steps, J and j connections, and easy ways to simplify or extend.
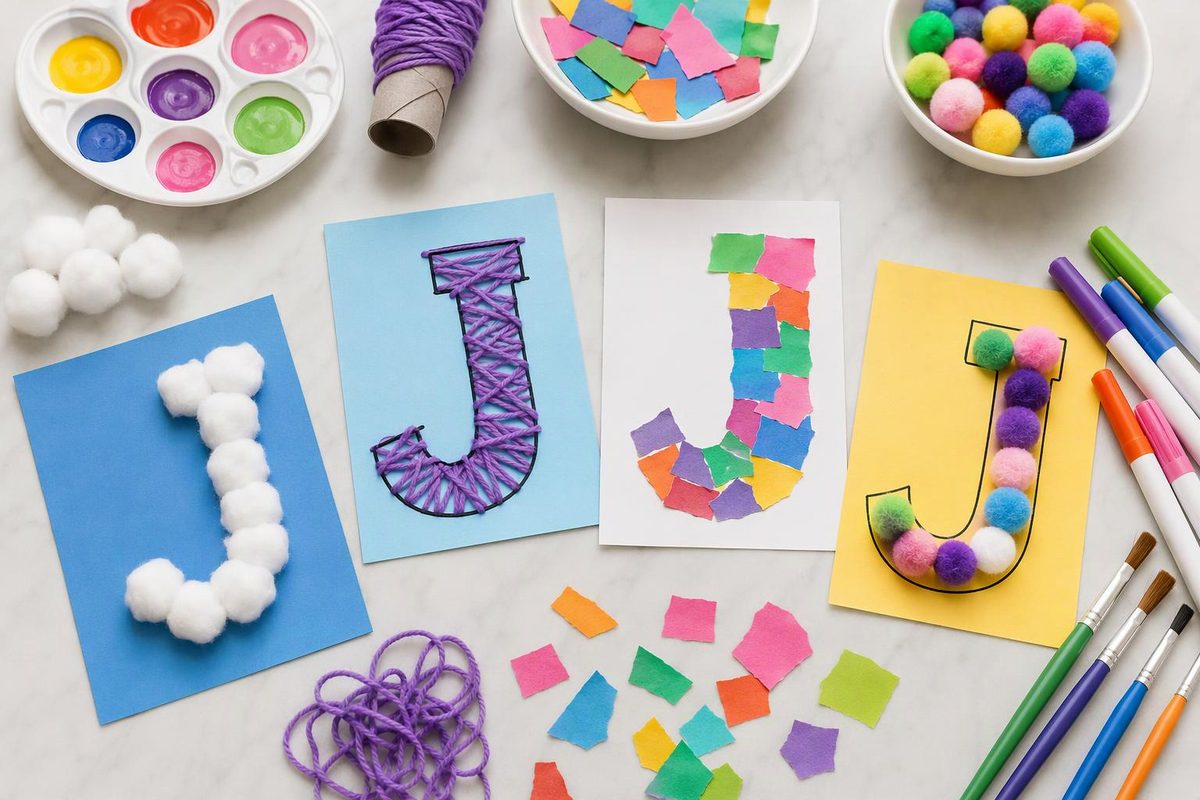
Make a textured J, paint a jellyfish, design a jacket or print spots on a paper jaguar. These letter J art activities give preschoolers ages three to five different ways to join: tearing and gluing, drawing lines, arranging paper and stamping paint.
Choose the textured J for letter-shape exploration, the jellyfish for line-making, the jacket for design choices or the jaguar for printing. One activity is enough for a session; no printer is needed.
Set up the letter and the art space
Gather construction paper, crayons, child-use glue sticks and, for the painting options, washable children’s paint and brushes. Adults can prepare the outlines and cutouts beforehand. Children who are ready to cut can use child-sized blunt-tip scissors with close supervision.
Choose age-appropriate art supplies labeled non-toxic, follow their directions and avoid products with hazard warnings. Keep food and drinks away from the art table, supervise use and wash hands afterward. The CPSC’s Art and Craft Safety Guide recommends these precautions and notes that “non-toxic” does not make unintended use safe. These projects need no beads, buttons, loose glitter or food ingredients.
On a separate card, write J j. Use a simple uppercase J with a long downward stroke that curves left at the bottom; a short top bar is optional. Add a writing line so you can show lowercase j with a dot above its stem and a curve extending below the line.
Say, “This is J. Listen to the first sound in jacket.” Give the short beginning sound rather than adding “uh.” Keep the card beside the artwork so children can still see the letter if decorations cover an outline.
Offer the steps as invitations, not a model everyone must copy. Although these are letter-themed crafts, children can choose colors, marks and arrangements. NAEYC’s guidance on process-focused art emphasizes children’s choices and exploration of tools and materials rather than identical finished products.
1. Torn-paper J collage
Materials: Sturdy paper, contrasting scrap paper, glue stick and a crayon.
Adult setup: Draw a wide uppercase J outline, leaving plenty of room for paper pieces along the stem and curve.
- Invite the child to follow the J with a finger: down, then curve left.
- Offer scrap paper to tear into pieces. Large pieces are fine.
- Let the child add glue and arrange pieces along the letter. Overlapping is welcome; filling every gap is unnecessary.
- Set the letter card beside the collage and find the long stem and curved bottom together.
Learning opportunity: Tearing, holding the page and placing pieces offer small-hand movements alongside noticing J’s shape.
Simplify: Supply pre-torn paper and help apply glue if needed. The child chooses where pieces go.
Extend: Make a lowercase j beside the uppercase letter. Offer a separate paper piece for its dot and compare the two shapes.
2. Jellyfish line painting
Materials: Paper, crayons or washable paint, and a brush.
Adult setup: Draw a broad dome near the top of the page, with a horizontal bottom edge and open space beneath it.
- Invite the child to color or paint the dome in any colors.
- From its bottom edge, draw or paint trailing lines. Try straight, wavy, short or long marks.
- Add water marks around the jellyfish if the child wants a background.
- Write J j — jellyfish in a clear corner, or offer a separate word card.
Letter connection: Say “jellyfish” naturally, then repeat its first sound while pointing to J. The picture represents a J word; it does not need to resemble the letter itself.
Learning opportunity: Children can explore how changing a hand movement changes a line.
Simplify: Use crayons only, or offer a larger page for broad movements.
Extend: Invite the child to invent two kinds of trailing lines and describe how they differ. Avoid requiring a set number of lines.
3. Design a paper jacket
Materials: Construction paper, crayons, glue stick and large paper scraps.
Adult setup: Cut a jacket silhouette with a body and two sleeves. Draw a line down the middle to suggest an opening.
- Ask, “What would you like your jacket to look like?”
- Let the child draw stripes, swirls or other designs.
- Offer paper scraps for pockets, patches or a collar. Children may glue pieces wherever they choose.
- Draw buttons or a zipper rather than attaching small hardware. Label the finished design jacket, with permission.
Letter connection: Point to the first letter in jacket and compare it with the lowercase j on the card.
Learning opportunity: Choosing, arranging and explaining design details gives children a chance to plan and talk about their work.
Simplify: Skip collage and decorate the jacket with crayons.
Extend: Invite the child to dictate a sentence about the jacket: “My jacket has…” Write their words without changing the design to match an adult’s idea.
4. Jaguar spot printing
Materials: Paper, crayons, washable paint, a shallow paint tray and a large sponge piece.
Adult setup: Draw or cut a simple cat silhouette with ears, legs and a long tail. Call it a pretend jaguar; detailed animal drawing is not required. An adult should prepare a sponge piece large enough for the child to hold comfortably. Check that it is intact and does not crumble. If the child mouths materials, choose the crayon option below rather than offering a loose sponge.
- Invite the child to color the paper animal.
- Put a small amount of paint in the tray. Demonstrate pressing the sponge into a thin layer, then onto spare paper.
- Let the child print spots across the jaguar. They can overlap prints or leave open spaces.
- Once dry, add a face with crayons if wanted. Place a J j — jaguar card beside it.
Letter connection: Say “jaguar” and listen together for the same beginning sound as “jacket.”
Learning opportunity: Pressing and lifting the sponge lets children explore repeated marks, spacing and paint amounts.
Simplify: Draw spots with a thick crayon instead of using paint.
Extend: Offer a second large sponge with a different shape. Ask, “What changes when you print with this one?” The child can compare the marks without needing to make a pattern.
When displaying the work, keep J j visible and invite children to tell you about a choice they made. If finding letters, matching uppercase and lowercase, or hearing beginning sounds is the next goal, choose a follow-up from these preschool letter activities by skill.