
4 Letter M Art Activities With Paper, Paint and Preschool Choices
Try four letter M art activities for preschoolers, with M and m shape prompts, simple supplies, beginning-sound connections and easy adaptations.
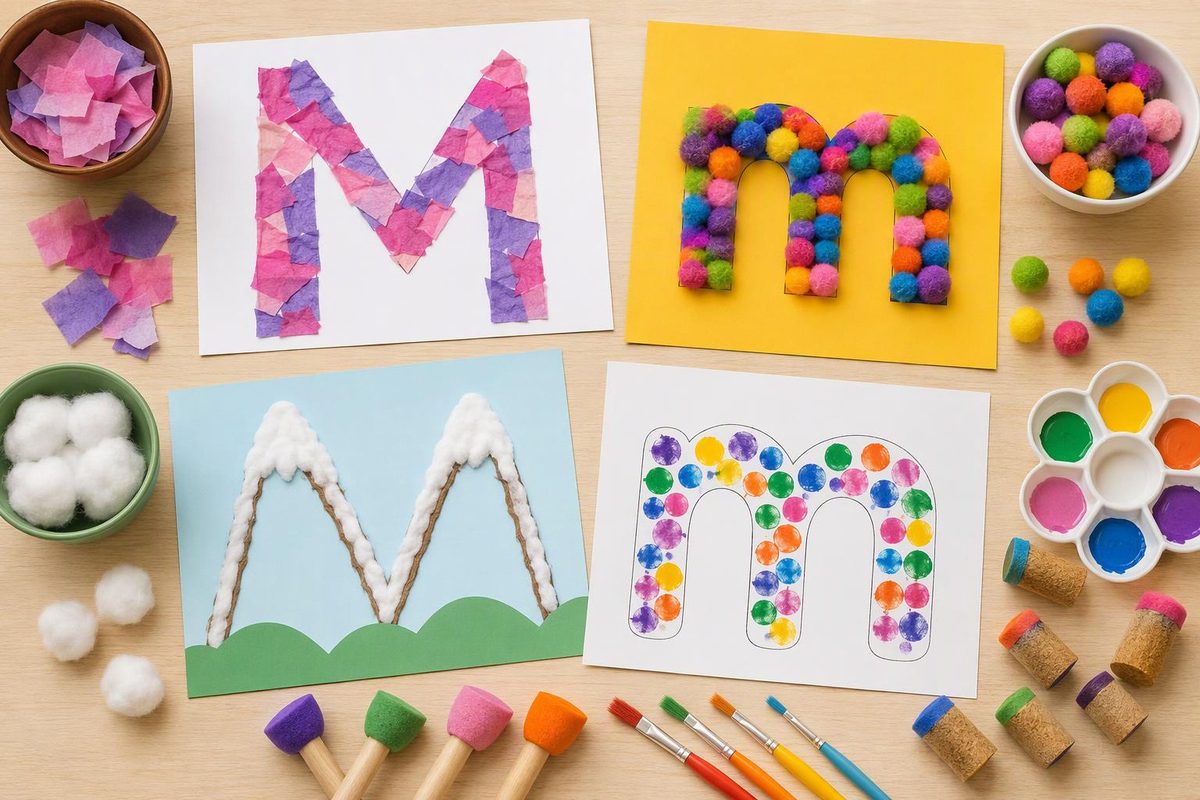
Build an M mosaic, paint a muddy-colored m, make a moon collage or turn M into a monster. Choose one activity for the skill you want to explore: noticing letter shapes, controlling a brush, hearing a beginning sound or describing an imagined creature.
These are guided letter-art invitations, not projects that need identical results. Keep a plain M m card nearby, but let children choose colors, textures and arrangements. NAEYC’s art guidance encourages children’s choices and adults’ descriptive comments rather than correcting artwork to match a sample.
Set up the letter and materials
On a scrap of paper, write a large M and a lowercase m:
- M: two upright outside lines, with two slanting lines meeting at a low point in the middle.
- m: a short upright stem followed by two rounded humps. Use a simple handwritten model.
- Sound: say, “Listen to the first sound in moon: mmmmoon.” Model a gentle mmm, without adding “uh.” The letter’s name is em; it represents /m/ in moon. Reading Rockets’ letter-and-sound activities include matching m with /m/ and comparing words’ beginning sounds.
You can show the shape without asking children to write it independently. For more help choosing between recognition, sound play and formation, see letter activities by preschool literacy skill.
Use crayons, glue sticks and water-based paints intended for children. Check labels for intended use; on U.S. supplies, look for “Conforms to ASTM D-4236” and no cautionary warnings. Closely supervise, keep food and drinks away from the art area, and wash hands afterward. These precautions follow the CPSC Art and Craft Safety Guide. Adults can prepare all cut shapes.
1. Paper-mosaic M
Focus: noticing M’s straight lines while tearing, arranging and gluing paper.
Materials: background paper, colored paper scraps, glue stick and a marker for adult setup.
Setup: Draw a large, thick outline of uppercase M, leaving wide spaces inside its strokes for paper pieces. Keep it upright on the page so the center point dips down.
- Invite the child to tear paper into pieces. Offer larger, already-torn pieces if needed.
- Before gluing, move a finger along the outside uprights and the two slants: “These slants meet down here.”
- Let the child arrange scraps along the M’s strokes, then glue them down. Overlapping pieces and uncovered spaces are fine.
- Compare the collage with the plain letter card. Ask, “Where is the middle dip?” rather than testing every part.
Simplify: Put glue on one short section at a time and let the child press paper onto it.
Extend: Offer two upright paper strips and two diagonal strips. Invite the child to arrange an M beside the collage before attaching the strips.
Checkpoint: Leave the surrounding background clear enough to see the letter. If the child wants to collage the entire sheet, keep the separate M card visible instead of removing their work.
2. Muddy-color lowercase m painting
Focus: color experimentation and following a rounded path with a brush.
Materials: paper, water-based children’s paint in red, yellow and blue, a shallow mixing tray and a broad brush.
Setup: Draw a large lowercase m with a thick line. Put out small amounts of paint; this activity uses mixed paint, not real mud.
- Invite the child to mix the colors in the tray and notice what happens. The mixture may become brownish; any resulting color can be their “muddy” color.
- Show the short stem and two humps on the letter card.
- Invite the child to paint along the large m or make rounded brush marks around it. Staying on the line is optional.
- Say, “Mmmud starts with /m/.” Let the child name their color or dictate a sentence about it.
Simplify: Offer one premixed color and a large brush, or use brown crayons for a no-paint version.
Extend: Invite the child to paint a second m beside the model, if copying interests them.
Checkpoint: Keep a clean m card nearby if paint covers the original line. Use brushes rather than treating ordinary paint as skin paint.
3. Moon-sky collage
Focus: connecting a picture and spoken word with M, while placing and layering paper.
Materials: dark background paper, white or yellow paper, glue stick and crayons.
Setup: Offer a large paper circle, a crescent shape or paper children can tear into their own moon.
- Ask, “What could your moon’s sky look like?” Children can draw clouds, stars, houses or an imaginary landscape.
- Let them choose where to glue the moon. There is no required scene to copy.
- Say moon, stretching its first sound: “Mmmmoon.” Show M m on the card.
- With permission, write moon beside the artwork. Point to its first letter and compare it with the card’s lowercase m.
Simplify: Supply one large moon shape and let the child choose its position and add crayon marks.
Extend: Invite the child to dictate a moon story. Write their words without requiring them to copy the sentence.
Checkpoint: Keep the moon and its label separate enough that you can point to each. This project connects M to a word; it does not need a letter-shaped moon.
4. M-shaped monster
Focus: recognizing uppercase M while making design choices and describing details.
Materials: paper, crayons or washable markers, optional colored paper and a glue stick.
Setup: Draw a broad uppercase M as the monster’s body. Keep another undecorated M on the table.
- Invite the child to add eyes, a mouth, patterns, arms or feet. Draw these details rather than using loose craft eyes.
- Ask, “What does your monster like to do?” Let its expression and decorations follow the child’s idea.
- Say, “Mmmmonster starts with /m/.” Compare the body with the plain M.
- Invite the child to give the monster a name. It can begin with any letter; you can write it as dictated.
Simplify: Use crayons only and offer a larger M body.
Extend: Invite the child to draw another M-shaped monster and describe one way the two are different.
Checkpoint: Details may hide the letter’s outline. Point to the plain card for the letter connection rather than changing the child’s creature.