
Five Preschool Gifts Children Can Make Their Own
Choose a preschool Mother’s Day craft for tearing, drawing or storytelling, with simple supplies, clear steps, easy adaptations and inclusive messages.
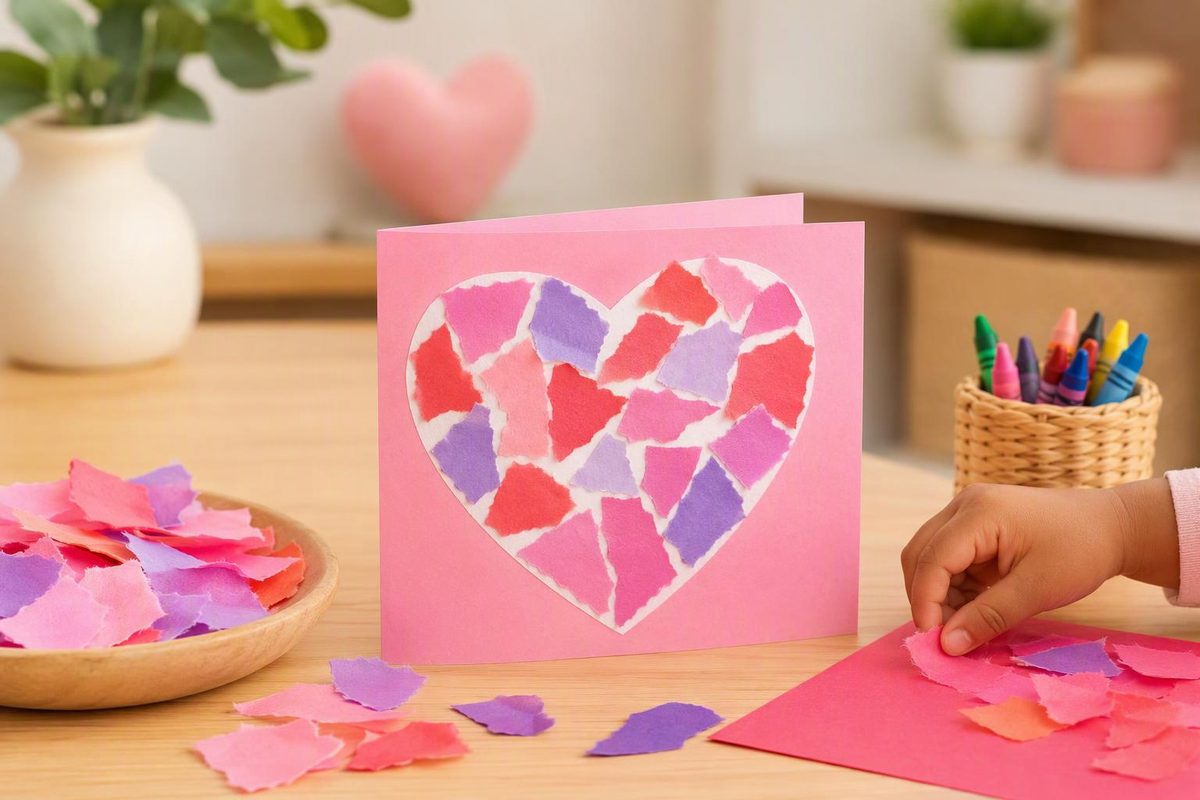
The easiest Mother’s Day craft for preschool is a portrait in a paper frame: it needs only paper and crayons or washable markers, with no cutting or glue required. For tearing and gluing, choose a flower card; for a child who wants to talk about their person, make an accordion memory book. All five gifts below use simple supplies, with no printer needed.
Choose what the child wants to do; the picker shows a matching craft and its supplies.
Match the Craft to the Child’s Choice
Portrait in a Paper Frame
Gather: Plain paper and crayons or washable markers. Paper scraps and glue are optional.
Adult setup: Draw a broad border, leaving a large space for the picture. No cutting needed.
Make it easier: Offer chunky crayons and a larger sheet; leave scribbles as they are.
Source: The five project instructions in this guide. Children can choose a different craft or leave off the gift message.
Set Up a Gift Table With Room for Choice
Gather cardstock or construction paper, colored paper scraps, crayons, washable markers and child-appropriate glue sticks. Offer child-sized blunt-tip scissors only with close supervision; adult-cut pieces work for every project below.
Use art materials labeled for children and follow their age and use instructions. The U.S. Consumer Product Safety Commission’s Art and Craft Safety Guide recommends avoiding supplies with cautionary warnings for young children, supervising closely and washing hands afterward. “Non-toxic” does not mean edible. Keep food and drinks away from the craft table, and put glue caps, marker caps and unused tools out of reach.
Before adding a greeting, ask whom the gift is for. Children may want to celebrate Mom, Mama, Grandma or another caring person—or make more than one gift. Educators in a NAEYC-hosted discussion about inclusive family celebrations recommend asking families what makes sense for them. Check privately rather than asking a child to explain their family in front of the group. Offer an ordinary art activity without a gift message, too.
Demonstrate a movement, such as pressing down a glued piece, rather than displaying a finished craft everyone must copy. NAEYC’s guidance on process-focused art encourages children’s choices and identifies painting, gluing and collage as opportunities to use small motor skills.
1. Torn-Paper Flower Card for Tearing and Gluing
Skill opportunity: Using both hands to tear paper, placing pieces and pressing them into glue.
Materials: One sheet of cardstock, colored paper scraps, a glue stick and crayons.
Fold the cardstock into a card. Provide several colors of paper; an adult can start a few tears along the edges.
- Invite the child to tear pieces for a flower. Long strips, uneven petals and overlapping pieces all work.
- Let the child arrange the pieces on the front of the card before gluing.
- Show how to rub glue on the card, place a piece and press it down. Continue wherever the child chooses.
- Offer a crayon for a stem, leaves or other marks. Add the child’s message inside.
Make it easier: Offer large, already-torn pieces. An adult can apply glue where the child points.
Add a challenge: Invite the child to count the petals, touching each one once. Compare two flowers: “Which has more petals?” Keep counting optional rather than requiring a particular number.
Check for loose edges before closing the card. Let any wet glue dry first.
2. Hand-Outline Bouquet for Tracing and Decorating
Skill opportunity: Holding a hand in place, following an outline and arranging several shapes.
Materials: Colored paper, a background sheet, crayons, glue and adult-use scissors.
Ask whether the child would like a hand traced. There is no need for paint on skin.
- Help the child place one hand on the paper. Trace around it with a crayon, or invite the child to try tracing.
- An adult cuts out the outline. Make another only if the child wants more flowers.
- Let the child decorate the hand shape with lines, dots or scribbles.
- Glue it onto the background with the fingers pointing upward. Draw a stem beneath it and add leaves or a paper vase.
Make it easier: Skip tracing and offer broad flower shapes to decorate and place.
Add a challenge: Let a child who is ready for supervised cutting try an easy paper stem or leaf. An adult can still cut the curves between fingers.
If tracing feels uncomfortable, switch immediately to a drawn or torn-paper flower. The gift does not need a hand outline to be personal.
3. Portrait in a Paper Frame With No Cutting
Skill opportunity: Representing an idea through drawing and describing it in words.
Materials: Plain paper, crayons and washable markers. Colored scraps and glue are optional.
Lightly draw a broad rectangular border around the paper, leaving a large drawing space in the middle. This is a flat paper frame; nothing needs to be cut out.
- Ask, “Would you like to draw your person, yourself, or something you do together?”
- Let the child draw without requiring particular facial features or colors.
- Invite the child to decorate the border with marks or paper scraps.
- Ask whether they want to tell you about the picture. Write their words in an open space, with permission.
Make it easier: Offer chunky crayons and a larger sheet. Scribbles can stay exactly as they are.
Add a challenge: Invite the child to add a name, an initial or their own writing-like marks. You can write a name on separate paper if they request a model.
Do not “correct” the portrait or add missing body parts. Ask where the child wants your writing so it does not cover their drawing.
4. Color-and-Collage Bookmark With Flat Decorations
Skill opportunity: Holding the paper steady while making marks, arranging pieces and exploring a repeating pattern.
Materials: Cardstock, crayons, flat paper scraps and a glue stick.
An adult cuts a bookmark about 2½ inches wide and 7 inches long. Keep decorations flat; skip ribbon, beads and raised embellishments.
- Invite the child to decorate one side with colors, shapes or scribbles.
- Offer a few paper scraps to arrange and glue down.
- Ask whether they want a name or short message on the back.
- Leave it flat until the glue has dried.
Make it easier: Use crayons only, or make a wider bookmark that is easier to hold.
Add a challenge: Offer two colors for a repeating pattern. Arrange red-blue-red-blue pieces and ask, “What could come next?” The child can also choose an entirely different arrangement.
Press down lifted edges and trim overhanging paper after drying so the bookmark can sit between pages.
5. “Together” Memory Book for Pictures and Stories
Skill opportunity: Choosing memories, connecting pictures with spoken words and moving through a simple sequence.
Materials: A long strip of sturdy paper, crayons and a marker for adult writing.
An adult folds the strip into four roughly equal panels, alternating the folds like an accordion. Leave room for a small drawing and sentence on each panel.
- Let the child decorate the front and choose a title, such as “For Mama” or “Together.”
- Offer one prompt at a time: “What do you like doing together?” or “Is there something you want to tell your person?”
- Invite a drawing on each remaining panel. One picture is enough if the child is finished.
- Write the child’s words beside the pictures, then read them back and ask whether they want anything changed.
Make it easier: Make a two-panel folded card with one drawing and one dictated sentence.
Add a challenge: Ask the child to tell you about the panels in order. They may want to add another page or their own lettering.
Keep the child’s phrasing rather than turning it into an adult-written poem. Accept “I don’t know” or a decision not to add words.
Let the Child Choose the Message
Offer wording rather than assigning it: “Happy Mother’s Day,” “I love you,” “For Grandma” or simply the recipient’s name. A child may prefer their home language, their own marks or no greeting.
Write the child’s name and date on the back with permission. Check that glued pieces are secure and fully dry before packing the gift flat in a folder. For classroom groups, label the back before moving projects to a drying area so each child’s work stays with its maker.