
5 Dad’s Day Preschool Crafts Children Can Make Their Own
Make five preschool Father’s Day gifts with paper, crayons and glue, plus clear steps, skill connections and easy adaptations for different abilities.
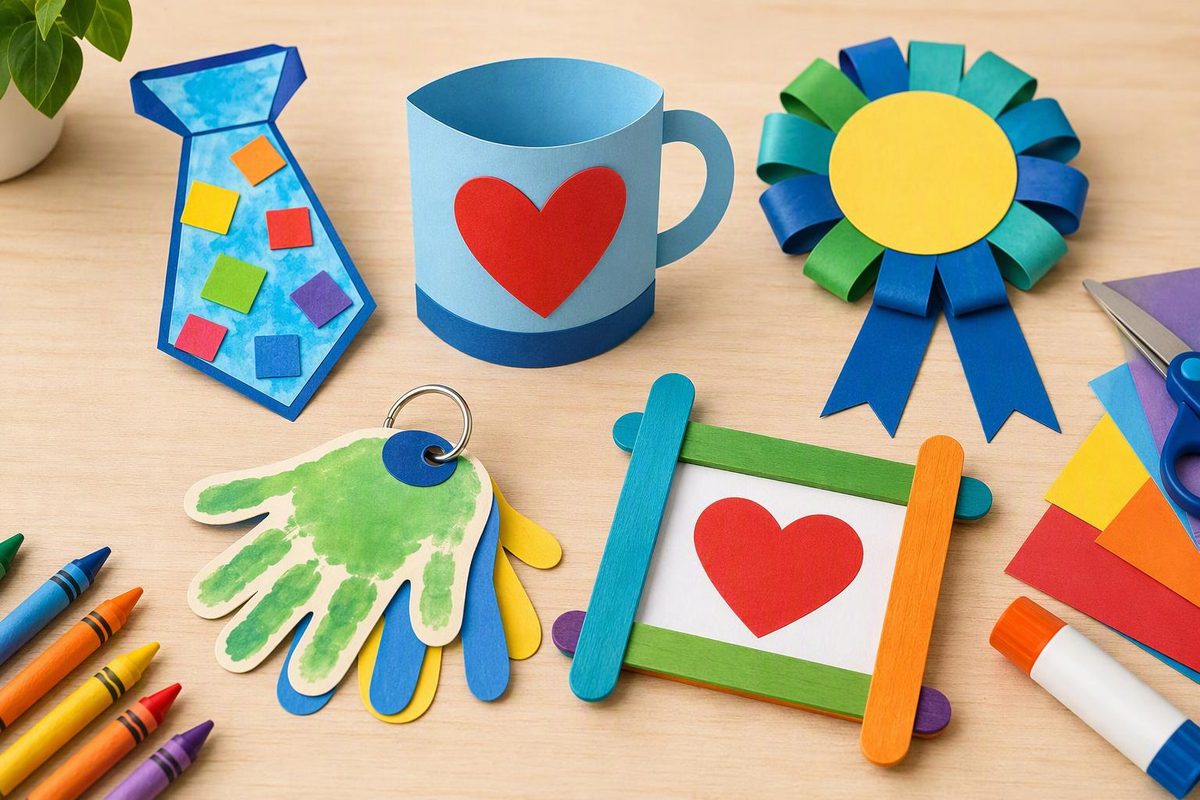
These Dad’s Day preschool crafts give children ages three to five something meaningful to make without requiring matching ties or perfect handprints. Choose the torn-paper card for tearing and gluing, the bookmark for patterns, or the little memory book for storytelling. Two more options offer mark-making and printing practice.
Let children choose colors, arrange pieces and decide when their work is finished. NAEYC’s guidance on preschool art encourages child choice and describes painting, drawing, gluing and collage as opportunities to use small-motor skills.
Set up one small craft tray
Gather cardstock or sturdy paper, colored paper, chunky crayons, washable markers and child-appropriate glue sticks. Adults can use scissors to prepare the strips and shapes. The printing option also needs washable children’s paint, a brush and a large, soft sponge without an abrasive scrubber layer.
Cover the work surface and leave a flat space for finished work to dry. Choose age-appropriate, clearly labeled art supplies and follow their directions. The CPSC Art and Craft Safety Guide recommends close supervision, keeping food and drinks out of the art area, and washing hands afterward. “Non-toxic” does not mean edible. Keep marker and glue-stick caps under adult control, and skip beads, buttons and loose glitter for these projects.
Make the recipient flexible. Before a classroom project, privately ask families who the gift should be for and what name the child uses. Offer “Dad,” “Papa,” a grandparent’s name or another chosen recipient—and enough paper for more than one gift. Educators discussing inclusive Father’s Day celebrations on NAEYC’s Hello community recommend asking families rather than assuming how they celebrate. A child can also make ordinary art without a holiday message.
1. Torn-paper celebration card
Materials: Folded cardstock, colored paper, glue stick, crayon.
Adult setup: Fold the card and provide strips of colored paper. Leave the inside blank for a message.
- Invite the child to tear the strips into pieces. Any shape works.
- Let them move the pieces around the card front before gluing.
- Show how to swipe glue onto one small area, then press paper onto it.
- Ask, “What would you like your card to say?” Write their words inside and read them back.
Skill opportunity: Tearing uses both hands; arranging and pressing pieces offers fine-motor practice.
Simplify: Start a small tear at the edge, or supply larger ready-torn pieces. The child can point to where each piece belongs.
Extend: Invite the child to make a border using two alternating colors. Keep this optional rather than turning the whole card into a pattern assignment.
Checkpoint: Lift the card gently. If pieces fall off, invite the child to add glue underneath them.
2. Pattern bookmark
Materials: A wide cardstock strip, washable markers or crayons, a second scrap strip for experimenting.
Adult setup: Cut a bookmark roughly 2 by 7 inches. No hole, ribbon or tassel is needed.
- Let the child test dots, lines and other marks on scrap paper.
- Invite them to choose two marks or colors for the bookmark.
- Start a pattern together, such as dot–line–dot–line, then ask what might come next.
- Add a name or a child-dictated message on the back.
Skill opportunity: Repeating marks offers pattern practice alongside drawing-tool control.
Simplify: Use one color and make freely placed marks. A decorated bookmark is still a finished gift.
Extend: Ask the child to describe their pattern or invent a different one on the back.
Checkpoint: Keep it flat: thick decorations make it harder to close a book around the bookmark.
3. “Things We Do Together” accordion book
Materials: A long strip of sturdy paper, crayons, adult writing pen.
Adult setup: Fold the strip into four accordion panels. Title the first panel “Things We Do Together,” using the recipient’s name if the child wants it.
- Ask, “What do you like doing with this person?” Allow time to think; a single memory is enough.
- Invite the child to draw on the remaining panels.
- Ask them to tell you about each drawing. Record a short caption in their own words.
- Read the book together, opening one panel at a time.
Skill opportunity: Drawing and dictating connect pictures, spoken language and print.
Simplify: Use a single folded card with one drawing and one caption.
Extend: Invite the child to tell a short sequence: “First we… Then we…”
Checkpoint: Keep captions away from the fold lines so they are easy to read when each panel opens.
4. Traced-hand high-five card
Materials: Cardstock, crayon or washable marker, optional colored-paper hand shape, glue stick.
Adult setup: Offer a flat sheet or folded card. Ask whether the child would like their hand traced; use a drawn hand shape instead if not.
- Help the child rest a hand comfortably on the paper.
- Trace around it without pressing the drawing tool against their skin.
- Invite the child to decorate the outline with marks, colors or drawn pictures.
- Offer “A high five for you!” as a message, or write the child’s chosen words.
Skill opportunity: Decorating inside and around the outline offers mark-making and placement practice.
Simplify: Let the child decorate a large adult-prepared hand shape and glue it onto the card.
Extend: Count the five fingers together, touching each one once.
Checkpoint: There is no need to hold still for a perfect outline. Keep a wobbly line rather than repeatedly retracing it.
5. Sponge-print picture gift
Materials: Sturdy paper, washable children’s paint, large soft sponge, shallow paint tray, brush.
Adult setup: Put out a small amount of paint. Keep the sponge whole and large enough to grasp; adults should do any cutting.
- Demonstrate touching the sponge lightly to paint, pressing it onto scrap paper and lifting straight up.
- Invite the child to print wherever they choose on their picture paper.
- Let them explore overlapping shapes or spaces between prints.
- Once dry, add a child-dictated title or message along the edge.
Skill opportunity: Pressing and lifting offers tool-control practice; comparing prints invites talk about shape, color and position.
Simplify: Offer one paint color, or substitute a crayon drawing for a child who prefers dry materials.
Extend: Try a second color and ask what the child notices where the prints overlap.
Checkpoint: Test one print first. If it makes a puddle, brush off some paint before continuing.
Finish without taking over
Ask the child whether they want to add their name, make a mark or have you label the back. For children ready to copy letters, offer a name model using the approaches in preschool name activities by skill stage.
Let paint and glue dry completely before placing the gift in an envelope or paper bag. Label the recipient discreetly for classroom handoff, and preserve the child’s words—even when the message is simply about a favorite shared game.