
Plant a Seed, Then Keep the Learning Growing
Plant seeds, water carefully, observe roots and measure growth with 10 flexible preschool activities, adaptations and safety checks.
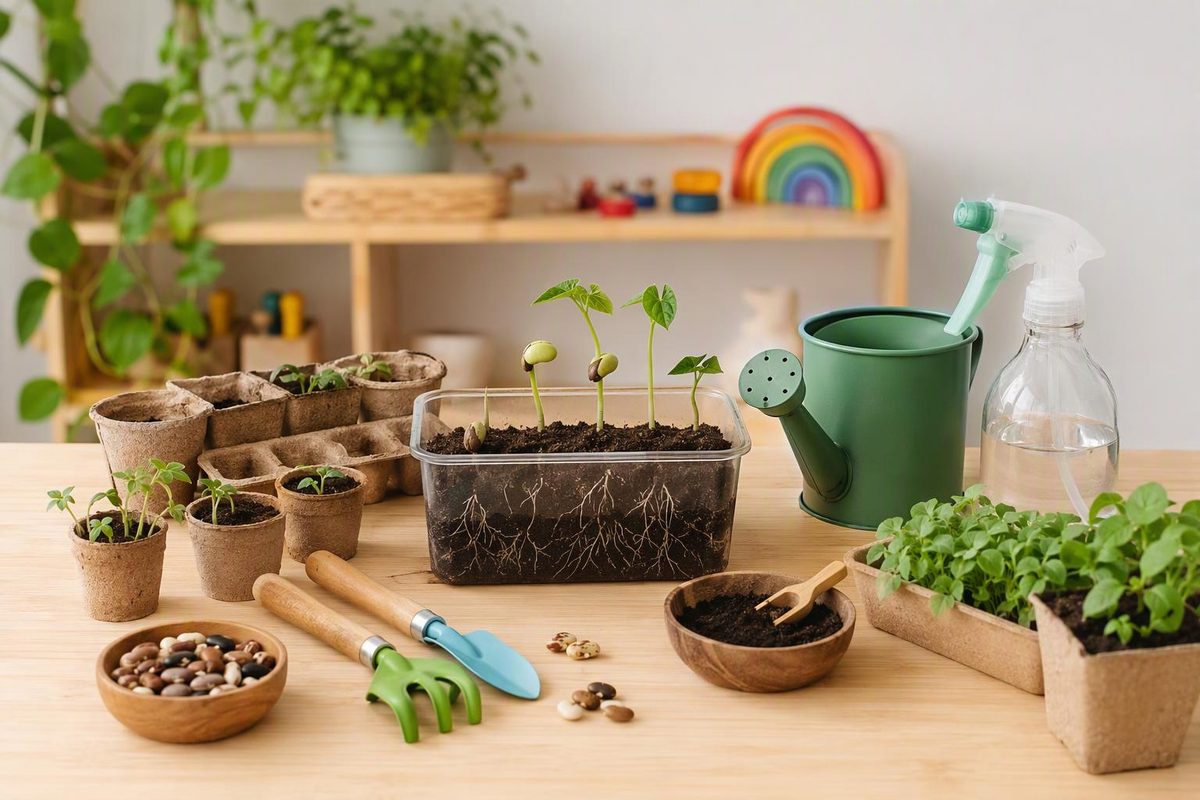
A preschool garden does not need a garden bed. One pot per child, a shared window box or a few classroom containers can support planting, watering, observation, counting and conversation. Many vegetables can grow in containers on a patio, balcony or sunny windowsill, according to Oregon State University Extension. Head Start also presents plant parts, seeds and planting as connected topics for early scientific inquiry (Head Start).
Start with the planting activity below, then choose short care activities as the plants grow. The goal is not a perfect crop. It is to let children participate in real, manageable work and notice change over time.
Basic supplies
- Clean 2- to 3-inch pots with drainage holes
- Waterproof tray
- Seed-starting mix or lightweight potting mix
- Seeds and their packets
- Shallow dishes for holding seeds
- Child-size scoops or large spoons
- Spray bottle or small watering can
- Craft sticks and a marker
- Paper, crayons and tape
- Optional gloves
Lettuce, cucumbers, tomatoes, marigolds and zinnias are among the indoor seed-starting options suggested by KidsGardening. Choose a plant that fits your available light, container and growing season, and follow its packet.
Confirm that every species within children’s reach is appropriate for your setting, and teach children to ask before tasting any plant. Poison Control cautions that some plants are poisonous when eaten, some can irritate skin and even nonpoisonous plants can present a choking risk (Poison Control).
Adults should make drainage holes and manage fertilizer or other garden products. Use seeds as planting materials, not snacks, and supervise closely while small seeds are out.
1. Plant a seed in sequence
Learning opportunities: sequencing, fine-motor control, vocabulary and shared responsibility
- Before children arrive, moisten the planting mix until it feels like a damp sponge rather than dripping wet.
- Let each child scoop mix into a pot, stopping below the rim.
- Read the packet together. Find the picture, plant name and planting-depth information.
- Help the child make a hole of the recommended depth, add one or two seeds and cover them gently.
- Mist the surface without washing the seeds out of place.
- Add a labeled craft stick and set the pot on a waterproof tray.
Drainage holes, pre-moistened mix and gentle watering help keep the mix moist without leaving it waterlogged. Planting depth varies, so use the seed packet rather than one rule for every seed (KidsGardening).
Simplify: Offer a prefilled pot and let the child press a large seed into a prepared hole.
Extend: Invite children to retell the steps using first, next and last.
2. Match seed packets to plant labels
Set out two or three seed packets and matching plant markers. Children compare pictures, colors or printed names, then place each marker beside the correct pot.
Learning opportunities: visual matching, plant-name vocabulary and print awareness
Simplify: Use one clearly different pair at a time, such as lettuce and zinnia.
Extend: Copy the first letter of each plant name onto a separate card and match all three items. For another garden-related route into seasonal play, see these preschool spring ideas.
3. Give the plant a measured drink
Fill a small watering can only partway, or mark a fill line on a clear cup. Let children pour slowly while everyone counts to three.
Make watering a decision rather than an automatic daily task. Germinating seeds need consistently moist—not soggy—mix. For established container plants, check the surface and water when it feels dry. Containers need drainage, and excess water should not be left collecting around the pot (KidsGardening; Oregon State University Extension).
Learning opportunities: controlled pouring, counting and cause-and-effect observation
Simplify: Use a spray bottle and give a concrete direction such as “five squeezes.”
Extend: Compare the pot before and after watering. What looks or feels different?
4. Make a plant-care turn board
Create three picture cards: check soil, water if needed and look for changes. Place one or two children’s names beside the cards each day. A child can participate by pointing, observing or carrying the empty watering can; every job does not need to involve pouring.
Learning opportunities: turn-taking, following a sequence and shared responsibility
Simplify: Assign one job and show its photograph.
Extend: Ask the day’s helpers to report one observation at group time.
5. Hunt for plant parts
Once seedlings appear, look without pulling or picking. Invite children to find:
- A stem
- A leaf
- The place where the stem enters the soil
- A new leaf that is smaller than the others
Add roots only if they are naturally visible through a clear seed viewer or during transplanting. Head Start’s plant-life guide connects explorations of plant parts, seeds and planting (Head Start).
Learning opportunities: observation, comparison and plant-part vocabulary
Simplify: Ask children to point to one named part.
Extend: Draw the plant and add child-dictated labels.
6. Measure growth without a ruler
Tape a vertical strip of paper behind the pot. Once a week, mark the top of the plant and write the date. Alternatively, compare its height with linking cubes placed beside—not on—the plant.
Use observational language: “Today it reaches six cubes.” Avoid promising that every plant will grow at the same speed.
Learning opportunities: nonstandard measurement, counting and comparison words
Simplify: Let the child indicate whether the new mark is above or below the old one.
Extend: Count the cubes or compare two plants using taller, shorter and same height.
7. Keep a one-page plant journal
Fold paper into four boxes labeled seed, sprout, more leaves and later. Revisit the same page rather than requiring a worksheet each day. Children can draw, add a sticker, make a line in the plant’s current color or dictate one sentence.
Learning opportunities: noticing change, representing an observation and sequencing
Simplify: Offer two crayons and ask, “What do you notice?” Accept pointing or choosing a color as the observation.
Extend: Add the date and invite the child to predict what might change next.
8. Build a window-light map
Walk around the room in the morning and afternoon. Place a paper sun on a simple room map where children notice bright light and a cloud where the area remains dim. Use the map to discuss where pots might receive suitable light without blocking exits or creating a trip hazard.
Light needs vary by plant. Oregon State University Extension says fruiting vegetables such as tomatoes, green beans and peppers generally require six to eight hours of direct sun, while leafy and root crops tolerate some light shade (Oregon State University Extension). Check the packet for the plant you chose.
Learning opportunities: comparing light, mapping and gathering information at different times
Simplify: Compare just two locations: brighter and darker.
Extend: Record whether the chosen spot is sunny at two different times.
9. Make a clear-cup seed viewer
This is an observation model, not a long-term pot.
- Line the inside of a clear cup with a strip of construction paper.
- Fill the center with crumpled paper towels.
- An adult places three or four intact dried beans between the cup and paper liner.
- Add enough water to saturate the towels, then keep them moist.
- Watch for a swelling seed coat, root, stem and leaves.
KidsGardening says roots may begin appearing in two to three days under suitable conditions, although temperature and moisture can affect timing. Beans sprouted this way generally do not transplant well or grow to maturity in the cup (KidsGardening).
Learning opportunities: close observation, life-cycle vocabulary and ordering changes
Safety: An adult should control and count the dried beans. Skip this activity for any child likely to mouth the materials.
Extend: Draw the viewer every other day and put the drawings in order.
10. Transplant a seedling together
When a seedling needs a larger container, let children help prepare its new pot.
- Put potting mix in the new pot.
- Make a space for the root ball.
- Have an adult ease the seedling from its starter pot while children observe the roots.
- Set it at the appropriate depth, fill around it gently and water.
- Move the original label into the new pot.
Keep the task cooperative: one child scoops, one steadies the empty new pot and one carries the label. Illinois Extension suggests letting small groups care for particular containers and using a watering schedule so children can participate over time (Illinois Extension).
Learning opportunities: cooperation, comparing size and caring for a living thing
Simplify: Let a child add one scoop of mix or carry the label.
Extend: Compare the old and new containers and discuss why the plant needs more room.
Safety and cleanup
- Verify the identity and safety of every plant kept within reach.
- Closely supervise seeds, craft sticks and gardening tools.
- Do not let children taste soil, seeds or plants during the activity.
- Use clean containers and packaged potting mix rather than soil from an unknown site.
- Let children choose gloves, a scoop or observation if they dislike touching mix.
- Wipe tables, empty standing water and store supplies out of reach.
- Wash hands with soap and water after soil contact. The CDC recommends handwashing after gardening or touching soil, even when gloves were worn (CDC).
A predictable rhythm—check, water only if needed, observe and record—turns a one-day planting project into a continuing preschool investigation.