
4 Saint Patrick’s Day Crafts for Preschool With Simple Supplies
Make four preschool St. Patrick’s Day crafts with paper, paint and glue, plus clear steps, skill opportunities, easier options and safety checks.
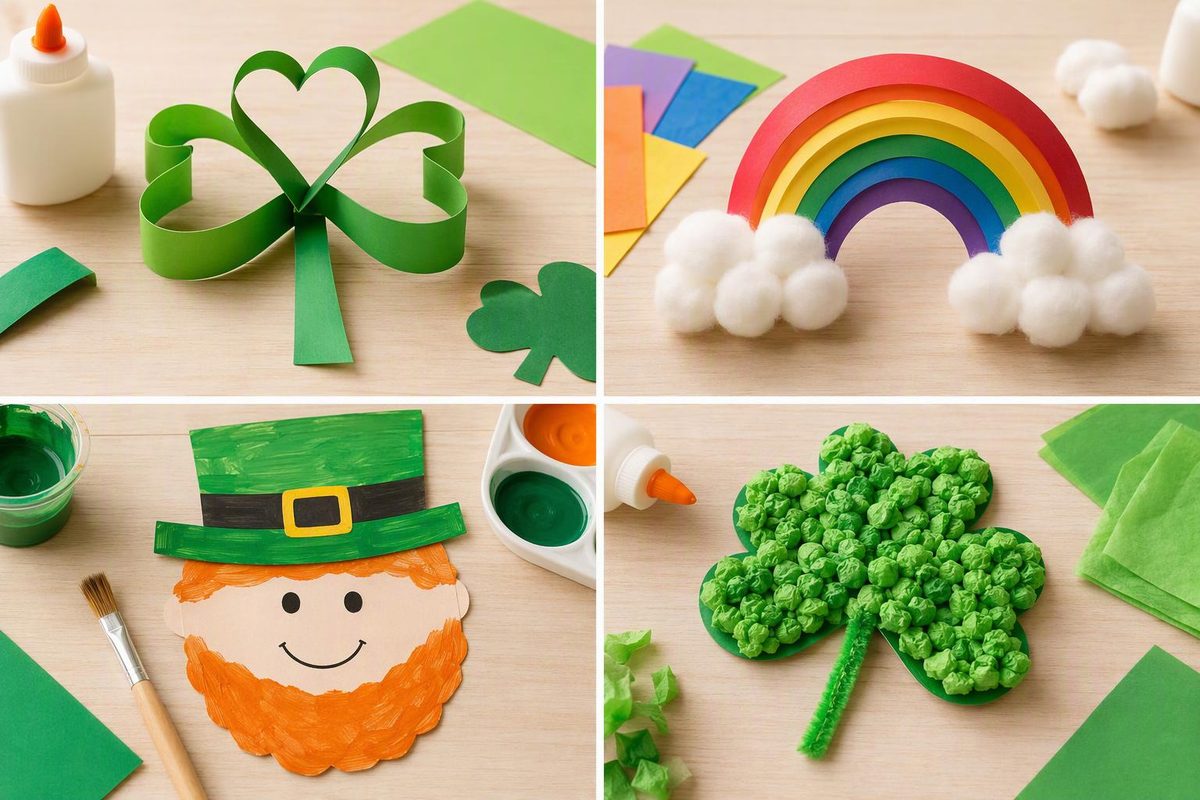
Choose a torn-paper shamrock for tearing and gluing, a rainbow collage for arranging colors, a paper pot of gold for counting, or a green-paint exploration for mixing and describing. These Saint Patrick’s Day crafts for preschool use ordinary supplies and offer different ways for children ages three to five to participate.
St. Patrick’s Day falls on March 17 and celebrates Ireland’s patron saint through religious and cultural events. A simple introduction is: “Some people celebrate St. Patrick’s Day with parades and shamrocks.” The National Museum of Ireland describes these traditions. Treat the rainbow and pretend-gold projects below as playful seasonal crafts, not a complete lesson about Ireland.
Set out a small, supervised craft tray
Gather the basics for your chosen craft:
- Construction paper: green for the shamrock, assorted colors for the rainbow, or black and yellow for the pot of gold
- Plain white paper or cardstock
- Crayons and glue sticks
- Child-sized, blunt-tip scissors, if using them
- Children’s yellow and blue washable paint, wide brushes and a washable tray for the painting activity
Use art supplies intended for children, keep their labeled containers, and look for the ACMI Approved Product seal and a statement that they conform to ASTM D4236. Supervise use, keep paint and glue out of mouths, and wash hands afterward. These precautions follow the American Academy of Pediatrics’ art-material guidance.
These versions need no glitter, beads, real coins or food. For a child who mouths materials, avoid loose collage pieces; offer drawing with supplies handed out one at a time, and pause if materials go toward the mouth. Adults can do all cutting; children can still choose, arrange, glue and tell you about their work.
Demonstrate how to use a tool on scrap paper rather than presenting a finished picture to copy. Leave colors and placement open. NAEYC’s guidance on preschool art emphasizes children’s choices, exploration and ownership. The projects below have suggested steps, but matching an adult’s result is not the goal.
1. Torn-paper shamrock collage
Materials: Green paper scraps, cardstock, glue stick and a green crayon.
Adult setup: Draw a large shamrock with three rounded leaf shapes and a stem on the cardstock. A shamrock has three leaves, unlike a four-leaf clover; EPIC The Irish Emigration Museum explains the distinction.
Make it:
- Offer green paper strips. Show how to hold one with both hands and pull gently in opposite directions to tear it.
- Invite the child to arrange the torn pieces on the shamrock before gluing.
- Apply glue to a small area, press down the pieces, then move to another area.
- Add crayon marks wherever the child wants them. Gaps and pieces outside the outline can stay.
Skill opportunity: Using both hands to tear, handling paper pieces and choosing where to place them.
Simplify: Start a tear for the child, or provide large torn pieces. Cover just one leaf if that is enough.
Extend: Offer light and dark green scraps. Ask, “How could you group these?” Let the child choose a sorting rule before making the collage.
Checkpoint: If tearing becomes frustrating, switch to arranging. Tearing is an invitation, not a requirement.
2. Rainbow-strip collage
Materials: Colored paper strips, a sheet of blue or white paper, glue stick and crayons.
Adult setup: Cut broad strips in several colors. Put them in a shallow tray with the backing paper beside it.
Make it:
- Let the child choose strips and lay them on the backing without glue.
- Try placing them side by side, overlapping them or making a fan shape.
- Glue the arrangement down, working with one strip at a time.
- Draw clouds, rain, sunshine or a pretend place beneath the colors.
Skill opportunity: Comparing colors, planning an arrangement and holding paper steady while gluing.
Simplify: Offer three strips and a smaller backing sheet. Straight strips are fine; there is no need to cut curved bands.
Extend: Invite the child to make a repeating two-color pattern, or draw an arc-shaped rainbow and compare it with the collage.
Checkpoint: If a child wants a particular strip under another one, help lift it before the glue dries. Ask about the plan instead of rearranging it yourself.
3. Paper pot of gold
Materials: Backing paper, a large black paper pot shape, large yellow paper circles, glue stick and crayons.
Adult setup: Cut a simple rounded pot with a wide top and several yellow circles. Use flat paper pieces rather than real or plastic coins.
Make it:
- Glue the pot near the bottom of the backing paper.
- Invite the child to place a few pretend gold pieces above the pot’s rim.
- Before gluing, count together if the child is interested: touch each circle once as you say its number.
- Glue down the circles. Add a drawn rainbow or a story about the pretend treasure.
Skill opportunity: Matching one number word to each object, arranging pieces and dictating a story.
Simplify: Offer one to three circles. Focus on placing and pressing them, without requiring counting.
Extend: Ask, “What happens if we add one more?” Rearrange the same circles and count again. Children who want writing practice can add a numeral.
Checkpoint: Keep counting separate from gluing at first so the pieces can move. If counting interrupts the child’s story or design, return to the art.
4. Mix-and-paint green paper
Materials: Children’s yellow and blue washable paint, white paper, a wide brush and a washable mixing tray. Optional: ready-made green paint.
Adult setup: Put small amounts of yellow and blue paint apart on the tray. Cover the work surface and leave a clear space for drying.
Make it:
- Invite the child to brush a little of each color into the middle of the tray.
- Notice what happens as the colors mix. Try adding more yellow or more blue.
- Paint patches, lines or swirls on the paper.
- Let the paper dry flat. Keep it as a painting, or later tear it into pieces for the shamrock collage.
Skill opportunity: Brush control, making predictions and describing changes in color.
Simplify: Offer ready-made green paint and one wide brush. A child who dislikes wet materials can explore different green crayons instead.
Extend: Make two mixtures and compare them. Ask, “Which looks lighter?” or “What changed when you added more blue?”
Checkpoint: Follow the paint label’s directions for use and cleanup. Keep brushes out of mouths and wash hands with soap and water afterward.
Display the child’s decisions
Ask, “Would you like to tell me about your craft?” Write down the child’s words if they want a caption. A useful observation is specific: “You overlapped the blue and yellow strips,” rather than “That looks perfect.”
If you are planning a longer seasonal theme, pair one craft with a movement or outdoor choice from these spring ideas for preschool learning through play. One craft tray is enough; save the remaining ideas for another day.