
Easy Preschool Water Play With Cups and a Sponge
Set up preschool water play with a shallow basin, cups and a sponge, plus clear safety checks, playful prompts and easy adaptations.
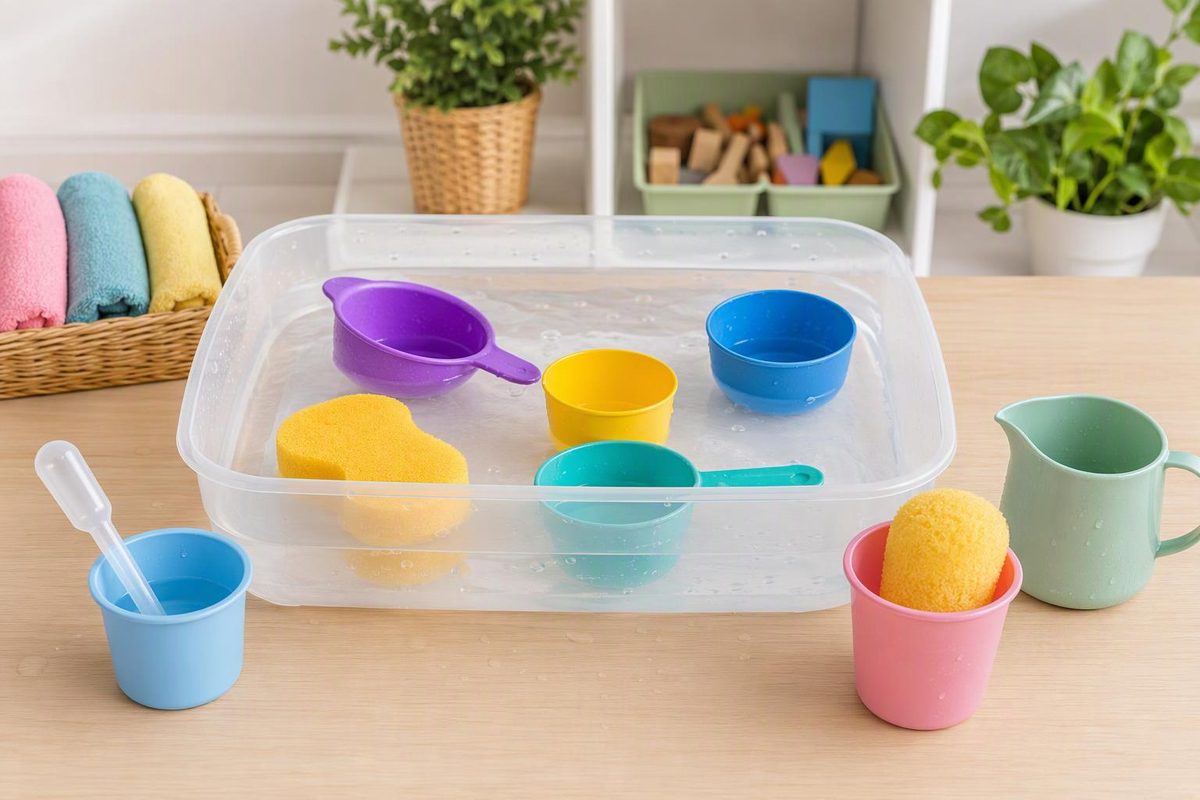
A shallow basin, two cups and a sponge make a water-play station for children ages three to five. Start with filling and pouring; add squeezing or a simple comparison when a child wants something new. There is no finished product to copy—the activity is noticing what water does and trying different ways to move it.
Materials and setup
Gather:
- A sturdy, shallow plastic basin
- Fresh drinking-quality tap water, cool or comfortably lukewarm
- Two unbreakable cups with different capacities
- A broad scoop or ladle with a smooth handle
- A large, clean, intact sponge without an abrasive side
- A tray to hold the tools and towels for spills
- Optional: a plastic colander and a second empty basin
Choose tools without sharp edges or small detachable parts. Leave out glass, water beads and small decorative objects. Plain water is enough; soap, scents and coloring are not needed.
Set the basin on a stable surface at a comfortable standing or seated height. Put in only enough water for scooping and wetting the sponge, rather than filling the basin. Keep towels within the adult’s reach and leave a clear, dry route around the station. Outdoors, choose a shaded spot away from pools, ponds and other water hazards.
Arrange supervision before adding water. An adult must stay attentive and within arm’s reach throughout play; shallow water is not a substitute for supervision. In a classroom, limit participation to the children staff can actively supervise while still covering the rest of the group. Head Start recommends active supervision, arm’s-reach proximity and handwashing before and after water play. Have children wash their hands before starting.
Use individual basins where practical. Follow your setting’s health rules for shared equipment, water changes and children with cuts or open sores. Clean and sanitize water tables and equipment according to program procedures and product instructions; keep cleaning products away from children.
Start with scoop-and-pour play
- Show one slow pour. Hold a cup over the basin, tip it gently and return the water to the basin. Keep the demonstration brief.
- Offer a choice. “Would you like the cup or the scoop?” Let the child repeat filling and emptying before adding a challenge.
- Place the empty cup beside the full one, inside the basin. Invite the child to pour from one to the other. The basin catches missed pours and overflow.
- Describe what you see. Try “That cup is almost full” or “You tipped it slowly.” Pause so the child can respond—or simply continue playing.
- Let repetition count as participation. A child who pours the same cup again and again does not need a new task to make the activity worthwhile.
Practice opportunity: holding and tipping a container, aiming a pour and adjusting the movement when water misses the cup.
Use a few clear expectations: water stays over the basin, tools stay away from mouths, and feet stay on the floor. Remove the sponge if a child bites it or it begins to tear. If water begins spreading onto the walking area, pause and dry it before continuing.
Choose one variation
Squeeze and release
Invite the child to dip the sponge, lift it over the basin and squeeze. Then put it back in the water and try again.
Practice opportunity: grasping, squeezing and using both hands together. These are examples of the small hand movements described in our gross motor vs. fine motor guide.
Simplify: Rest the wet sponge in an empty cup and press it with a palm.
Extend: Hold it over the second basin and see how much water several squeezes collect. Count squeezes together if the child is interested; it is not a precise measurement.
Compare the cups
Fill the smaller cup and pour it into the larger one. Ask, “Is there room for more?” Repeat until the larger cup fills.
Practice opportunity: using words such as full, empty, more and less, and comparing how much containers hold.
Simplify: Use just one cup and alternate between full and empty.
Extend: Predict how many small-cup pours will fill the larger cup, then test. Keep the invitation playful rather than treating the prediction as a right-or-wrong answer.
Make gentle rain
Hold a plastic colander over the basin while the child pours water into it. Watch and listen as water comes through the holes.
Practice opportunity: observing cause and effect and describing sounds or movement.
Simplify: The adult pours while the child watches.
Extend: Try a slow pour and a faster pour. Ask, “What changed?” Head Start’s messy-play guidance recommends tools, comparisons and open-ended questions to support children’s exploration.
Make room for different ways to join
A child can pour with a tool without putting hands in the water. Another may prefer to watch, name what happens or pass dry cups to the adult. Do not require touching or splashing. Head Start recommends following children’s verbal and nonverbal cues and offering tools or other ways to engage.
For an easier grip, offer a lightweight handled cup and smaller amounts of water. Position the basin close enough that a seated child does not have to lean across the table.
Finish and reset
Invite children to put tools on the tray, then have an adult empty every water container immediately. Never leave a filled basin or bucket unattended; the American Academy of Pediatrics advises emptying open water containers after use.
Wash hands, dry spills, and clean and sanitize the equipment using your setting’s procedures. Set tools out to dry. At the next session, offer the same simple setup again—or add just one variation based on what interested the children.