
Build a Play Town With Four Fun Preschool Activities
Turn paper, blocks and envelopes into four fun children’s activities for ages 3–5, with clear steps, skill connections and easy adaptations.
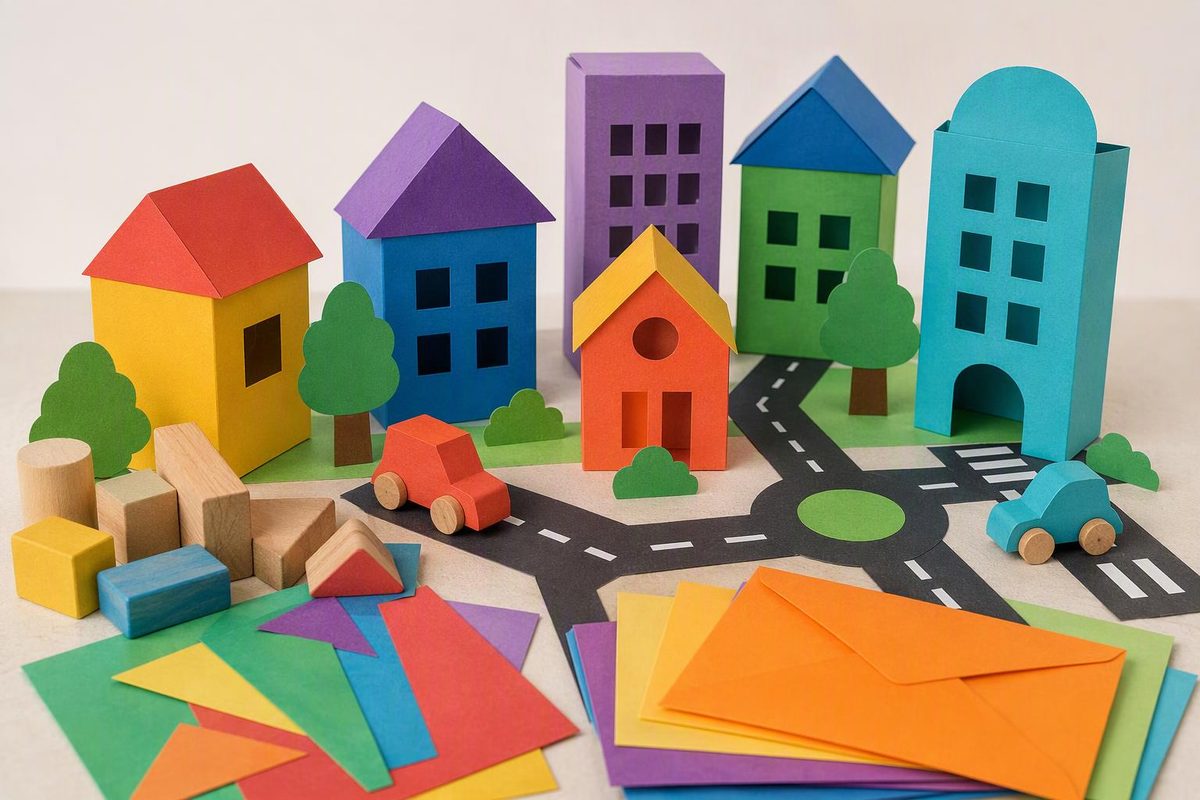
Make a town where a block building can be a library, a paper road can lead to a pretend park, and a drawing can become someone’s mail. These four fun children’s activities share a small set of supplies, but you can offer just one at a time.
The ideas are intended for ages three to five. Choose the entry point by what children are ready to do—not by requiring everyone to build, match or write in the same way. Adults can suggest a challenge while leaving the design and story to the children, an approach consistent with NAEYC’s guidance on playful learning.
Choose a way to play
| Activity | Learning opportunity | Start here if children want to… |
|---|---|---|
| Build the neighborhood | Spatial language and problem-solving | Stack, arrange and construct |
| Deliver the mail | Matching, hand movements and pretend conversation | Carry things and take on a role |
| Repair the road | Comparing and testing solutions | Change something and try again |
| Tell a town story | Describing and sequencing events | Draw, talk or act out an idea |
Gather the shared supplies
- Large, age-appropriate building blocks
- Plain paper and crayons
- Several envelopes, or sheets of paper folded once
- Two or three shallow, unbreakable bowls or trays
- Wide paper strips, prepared by an adult, for roads
Use a table, an accessible play surface or a clear section of floor. Keep walkways separate from the building area. Inspect materials for damage and avoid small accessories if any child mouths objects or younger siblings may join. Stay nearby to monitor how children use the materials. Head Start’s loose-parts guidance recommends matching materials to children’s developmental levels, checking for choking hazards and smooth edges, and closely monitoring their use.
Start with a few materials rather than putting out everything. The town does not need realistic buildings or a finished appearance.
1. Build the neighborhood
Setup: Put blocks and paper road strips within reach. Leave room between buildings for hands to move through.
Play: 1. Invite each child to make a place: a home, shop, library or an invented building. 2. Ask where the road should go. Children can lay strips beside, between or around their buildings. 3. Offer paper for signs. Children can draw a symbol, make marks or dictate a label for an adult to write.
Use position words during play: “You put the road between these buildings.” Then leave space for children to change the arrangement.
Simplify: Offer a few large blocks and one road strip. A flat arrangement can be a building; stacking is optional.
Extend: Ask, “Can you make a road that reaches both places?” Let children rotate or move pieces to test their ideas.
Checkpoint: Can the child reach the materials without knocking down someone else’s work? Widen the space or move the town onto a table if needed.
2. Deliver the mail
Setup: Place a bowl beside each of two buildings. Draw a different simple symbol for each destination—for example, a sun and a tree—and place it beside that destination’s bowl. Put a matching symbol on each envelope or folded message.
Play: 1. Invite children to draw a message and slide it into an envelope or tuck it inside folded paper. 2. The mail carrier matches the symbol on the mail to the destination. 3. The recipient opens the message and responds with a drawing, gesture or spoken reply.
This offers practice in matching, using both hands to manage paper, and exchanging messages without requiring reading.
Simplify: Use one destination and unfolded messages. An adult can hold the envelope open.
Extend: Deliver to three destinations, or add name labels when children are interested. Choose a suitable next step from these preschool name activities.
Checkpoint: Keep delivery at walking pace. Offer a seated version in which children pass mail across the table.
3. Repair the road
Setup: With the builders’ permission, leave a gap between two road strips. Keep extra paper nearby.
Play: 1. Introduce the problem: “The road stops here. How could we connect it?” 2. Let children choose a strip, place it and check whether it reaches both ends. 3. If it does not reach, invite another attempt. Children might choose a longer strip, overlap pieces or move the buildings closer.
Talk about what happened rather than announcing the answer: “That piece reaches this side, but there is still a gap.”
Simplify: Offer two strips, with one clearly long enough to connect the road.
Extend: Ask children to find two different ways to repair the same gap and explain or show how each works.
Checkpoint: These are model roads—not paths for stepping or balancing on. Keep floor pieces out of walking routes.
4. Tell a town story
Setup: Keep the town in place and offer paper and crayons. No additional props are needed.
Play: 1. Invite a child to choose a place where something happens. 2. Ask, “Who is there?” and “What happens next?” Use one prompt at a time. 3. Children can tell the story, draw it or move an imaginary character through the town with a finger. An adult can record their words if they want.
Simplify: Describe one action the child shows: “Someone is arriving at the library.” Accept pointing and gestures as contributions.
Extend: Fold a sheet into three panels for the beginning, next event and ending. Pictures, marks and dictated words all work.
Checkpoint: Let children tell separate stories if agreeing on one shared plot becomes frustrating.
When play ends, invite children to choose whether to save one building or return everything to the supply trays. Keep the same materials available for another session; the next town can follow a completely different idea.