
6 Letter B Art Activities: Collage, Printing and Painting
Try six art activities for letter B with simple supplies, clear steps, skill connections and easy adaptations for preschoolers ages 3–5.
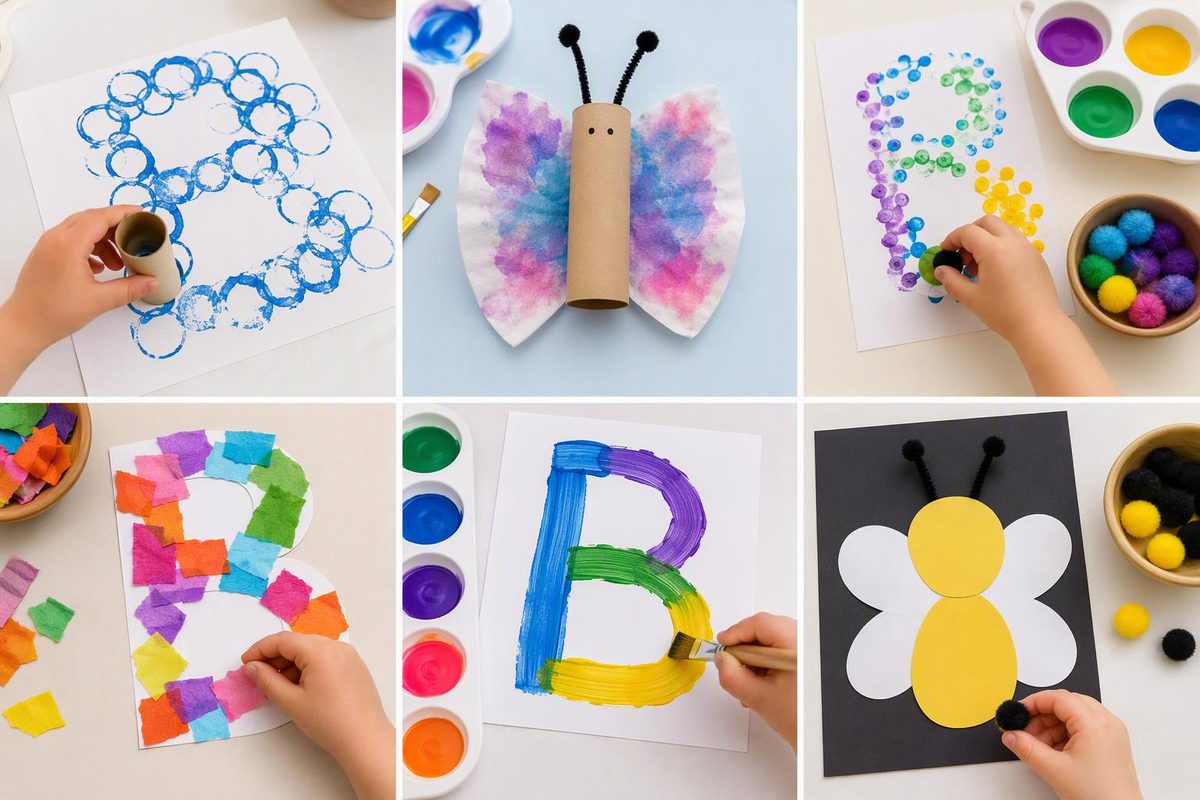
For letter B art, choose between exploring the letter’s shape and making art about a B word. A paper collage can keep uppercase B visible; butterfly printing or bear drawing gives you a beginning-sound connection without requiring a letter-shaped craft.
These activities are intended for children ages 3–5, with adaptations based on how they handle the materials—not a requirement to cut, trace or write independently. Choose one invitation rather than setting out all six.
Set up a small art tray
Gather only the supplies your chosen activity needs:
- Drawing paper and colored paper
- Chunky crayons or washable markers
- Child-appropriate glue sticks
- Washable, non-toxic paint intended for children
- Wide brushes, shallow paint trays and a large sponge
- Child-sized, blunt-tip scissors for children ready to use them
- Tape for securing paper during brush painting
- A table covering, smocks and space for drying
Make two small reference cards: write a clear uppercase B on one and lowercase b on the other.
Read product labels, follow age guidance and supervise directly. Keep food and drinks out of the art area, offer small amounts of paint and wash hands afterward. Non-toxic materials still need to stay out of mouths. These precautions follow the CPSC’s Art and Craft Safety Guide. Adults can prepare shapes where cutting would interrupt the child’s art-making.
Keep the literacy moment brief: point to B or b, name it, then say a relevant word: “B. Bear. Bear starts with /b/.” Use the short /b/ sound rather than the letter name “bee” when discussing beginning sounds. Children can listen or point; they do not need to repeat it on demand.
Let children choose colors, arrangements and details. NAEYC’s process-art guidance emphasizes exploring materials and making choices rather than copying an adult sample. The letter-outline activities below have a set shape, but the decorating can still belong to the child.
1. Torn-paper B collage
Learning opportunity: noticing uppercase B while using both hands to tear paper.
Materials: paper, marker, colored-paper scraps and a glue stick.
- Draw a large, broad uppercase B with two open spaces inside. Make the outline nearly fill the page.
- Offer strips of colored paper to tear into pieces.
- Invite the child to glue pieces onto the B. Leave the inside spaces uncovered if the child wants to keep its shape clear.
Point out the straight side and two rounded parts before decorating. If the collage covers the outline, keep a separate B card beside it rather than fixing the artwork.
Simplify: provide pre-torn pieces and help hold the page still. Extend: invite the child to arrange two colors in a repeating pattern along part of the letter.
2. Lowercase b circle printing
Learning opportunity: noticing lowercase b and controlling a press-and-lift movement.
Materials: paper, marker, washable paint and a large round sponge cut by an adult.
- Draw a broad lowercase b outline: a tall straight stem with one rounded part on the lower right.
- Put a thin layer of paint in a shallow tray. Demonstrate dipping the sponge lightly, pressing it onto scrap paper and lifting it.
- Invite the child to print circles within or around the b.
Keep a clean b card nearby so the letter remains available to look at even when the paint spreads.
Simplify: use a chunky crayon to make circles instead of paint. Extend: place B and b cards together and invite the child to find the lowercase one that matches the artwork.
3. Fold-and-print butterfly wings
Learning opportunity: experimenting with paint transfer and describing changes.
Materials: paper, washable paint, a brush and crayons.
- Fold the paper in half, crease it and reopen it.
- Invite the child to dab a little paint on one side near the crease.
- Help fold the clean half over the painted half. Press gently, then open it to discover the print.
- Once dry, offer crayons for a body, antennae or a setting.
Say “Butterfly starts with /b/,” while pointing to a B card. The print does not have to resemble a butterfly; a child may see something else.
Simplify: help with folding while the child presses the paper. Extend: ask, “What might happen if you put the next dab farther from the fold?” Try another print.
4. Paper bee collage
Learning opportunity: arranging shapes, gluing and choosing details.
Materials: colored paper, glue stick and crayons; scissors if appropriate.
- Offer an oval body, broad paper strips and two wing shapes. Children may cut their own pieces or use adult-prepared ones.
- Invite the child to arrange the pieces before gluing.
- Offer crayons for eyes, legs, flowers or a place for the bee to fly.
Introduce the connection as “The word bee starts with the sound /b/.” Avoid making a perfect striped bee the condition for success.
Simplify: offer a body and wings first, adding strips only if wanted. Extend: invite the child to plan a stripe pattern or dictate a sentence about the bee.
5. Bear drawing and paper habitat
Learning opportunity: making representational marks and telling a story about a picture.
Materials: paper, crayons, colored-paper scraps and glue stick.
- Invite the child to draw a bear—real, imaginary or a favorite toy bear.
- Offer paper to tear and glue into a cave, forest, bed or another setting.
- Ask, “What is your bear doing?” Offer to write the child’s words beneath the picture.
Point to B when you say “bear.” Accept the child’s explanation of their marks rather than adding recognizable features for them.
Simplify: an adult can draw one large body shape for the child to decorate, if requested. Extend: invite a second picture showing what the bear does next.
6. Blue brush exploration
Learning opportunity: comparing marks made by different brush movements.
Materials: large paper, tape, blue washable paint and two brushes of different widths.
- Tape the paper to the covered table so it stays still.
- Offer brushes and a small amount of blue paint.
- Invite experiments with sweeping, dabbing, turning and lifting the brushes. Other colors can join if the child wants them.
Use “blue” and “brush” for the B connection; keep the painting itself open-ended. Comment specifically: “That brush made a wide line.”
Simplify: offer one easy-grip brush and one paint tray. Extend: invite the child to compare the two brushes or name the marks they made.
For the next invitation, choose the literacy goal separately from the art technique. Our guide to letter activities by skill offers options for recognition, beginning sounds, case matching and formation.