
4 Butterfly Crafts for Preschool: Paint, Tear, Build and Fold
Try four butterfly crafts for preschool with paper, paint and glue, clear steps, skill opportunities, easy adaptations and practical safety checks.
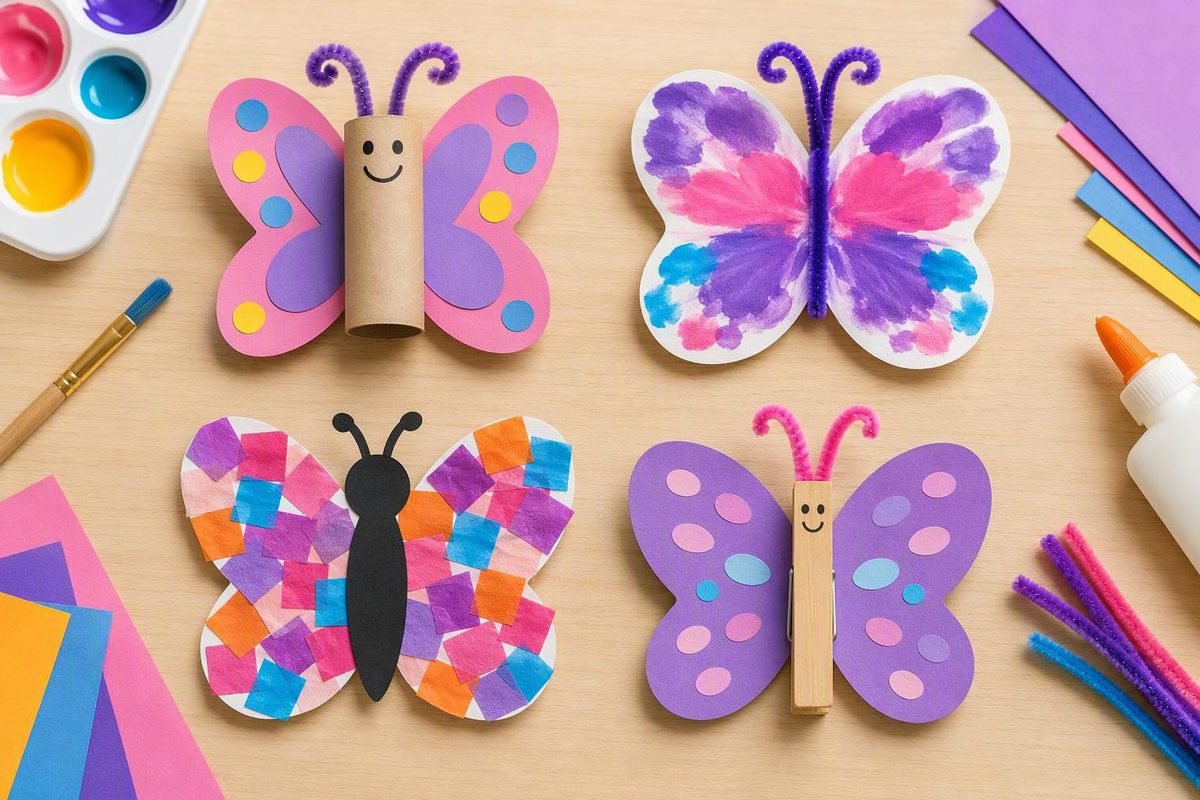
Choose a butterfly craft by the action you want children to explore—not by how closely they can copy a sample. These four ideas offer different starting points for ages three to five:
- Fold-and-print butterfly: pressing, opening and comparing paint marks.
- Torn-paper butterfly: tearing, placing and gluing.
- Four-wing shape butterfly: arranging shapes and counting.
- Accordion-wing butterfly: folding and using both hands together.
Start with one activity. Children can choose their colors, wing decorations and whether to add a background.
Gather supplies and set up
For all four options, gather construction paper or drawing paper, crayons or washable markers, a child-appropriate glue stick and blunt-tip children’s scissors. The paint option also needs washable children’s paint, a brush, a table covering and a drying space.
Check labels and supervise directly. Choose art supplies intended for children and follow their age and use instructions. The CPSC’s Art and Craft Safety Guide recommends avoiding supplies with cautionary warnings for pre-K children, keeping food and drinks away from art materials, and washing hands afterward. “Non-toxic” does not mean edible.
Skip beads, buttons, loose googly eyes and wire antennae for these projects; draw details instead. Keep caps and unused tools out of reach, and offer adult-cut pieces when scissors are not a comfortable choice.
For the first two crafts, you can prepare a simple butterfly blank without a printer:
- Fold a sheet of paper in half.
- With the fold on the left, draw a large upper wing curve and a smaller lower wing curve on the right. Start and finish the outline at the fold.
- Cut along the curved outline, leaving the folded edge intact.
- Open the paper to reveal the butterfly shape.
Adults can make blanks ahead of time. Children who are ready to cut can work along a broad outline with supervision.
Leave decoration choices open. NAEYC’s guidance on preschool art encourages adults to follow children’s ideas and notice what they make rather than correct their artwork.
1. Fold-and-print butterfly
Materials: White butterfly blank, two or three paint colors, brush.
Setup: Place the blank open with its crease running vertically. Set out small amounts of paint and reserve a place for drying.
Steps
- Invite the child to brush a few small patches of paint onto one half of the butterfly, staying away from the edge.
- While the paint is still wet, fold the clean half over the painted half.
- Press and rub gently across the closed paper.
- Open it slowly to discover the transferred marks. Lay it flat to dry.
- Once dry, draw a body along the crease and add antennae above it.
Skill opportunity: The child holds the paper, presses with a hand and compares the marks on each side. Ask, “Which marks appeared on the other side?” Introduce symmetry as a word for matching arrangements across the fold, without expecting a perfect print.
Simplify: Offer a large, pre-folded blank and one paint color. Help hold the paper while the child presses.
Extend: Before folding, invite the child to predict where a particular paint patch will print.
Checkpoint: Use a thin layer of paint rather than puddles. If the paper sticks, help peel it apart gently. Let unexpected blends become part of the design.
2. Torn-paper collage butterfly
Materials: Butterfly blank, colored paper scraps, glue stick, crayon.
Setup: Offer paper strips that are easy to grasp, plus a few already-torn pieces for children who want them.
Steps
- Tear strips into pieces. Demonstrate pulling your hands in opposite directions if needed.
- Move the pieces around on the butterfly before gluing.
- Rub glue onto a small area, place a piece and press it down.
- Continue decorating as much or as little of the wings as the child chooses.
- Draw the body and antennae, or glue on a wide paper body strip.
Skill opportunity: Tearing and gluing offer practice grasping paper, coordinating both hands and placing pieces deliberately.
Simplify: Use larger pieces and have an adult apply glue to one area at a time.
Extend: Invite the child to sort scraps by color before choosing them, or make a repeating color pattern along a wing.
Checkpoint: The wings do not need complete coverage. If pieces keep lifting, press them down together rather than adding more glue immediately.
3. Four-wing shape butterfly
Materials: Background paper, four large paper ovals, a wide body strip, glue stick, marker.
Setup: Cut two larger ovals and two smaller ovals. Set them beside the background without arranging a finished example.
Steps
- Place the body strip vertically on the background.
- Invite the child to arrange one larger oval on each side near the top and one smaller oval on each side below them.
- Slide the inner ends slightly beneath the body strip. Adjust the arrangement before gluing.
- Glue the wings first, then the body over their inner ends.
- Draw antennae and decorate the wings.
Skill opportunity: Children arrange shapes, compare sizes and count each wing once. Real butterflies have four wings—two on each side—as described in the Kaufman butterfly field-guide excerpt held by the Library of Congress. Explain that the paper ovals are a simplified model.
Simplify: Offer two wings at a time and help steady the body strip while the child tries positions.
Extend: Look at a butterfly photograph together. Ask, “What is different about our paper wings?”
Checkpoint: Let children explore overlapping and uneven arrangements. Count and discuss the pieces without treating placement as a test.
4. Accordion-wing butterfly
Materials: A rectangle of drawing paper, crayons, a background sheet, a paper strip long enough to wrap around the folded center, and glue stick.
Setup: Use flexible drawing paper rather than heavy cardstock. Decorate before folding so the surface is easy to reach.
Steps
- Color the rectangle with lines, spots or other marks.
- Fold a broad strip along one short edge. Turn the paper over and fold another strip back the other way.
- Continue alternating folds across the rectangle.
- Pinch the folded strip at its middle. Wrap the paper body strip around that center, overlap its ends at the back and glue them together. Help hold the overlap until it stays closed.
- Gently spread the folds on either side to make two fan-shaped wing sections.
- Glue the flat back of the body band to a background sheet. Draw antennae on the background.
Skill opportunity: One hand steadies the paper while the other folds and presses. This offers practice using both hands for different parts of a task.
Simplify: An adult can start each fold while the child presses the crease, then secure the center band. Even a few broad folds are enough to explore the technique.
Extend: Let the child compare a second butterfly made with wider or narrower folds.
Checkpoint: Matching fold widths is optional. Keep the center band snug while spreading the wings gently. This craft represents the wings as two fan sections rather than four separate pieces.
Give the butterfly somewhere to land
Once the paint or glue is dry, offer a background sheet for a drawn flower, leaf or imaginary garden. Ask, “Where is your butterfly going?” Write the child’s words nearby if they want you to.
For a larger shared project, add the butterflies to a fold-out paper garden. Leave room for children to choose placement, add new details or return to their artwork another day.