
Make a Preschool Father’s Day Paper Pocket With Drawings and Notes
Make a paper-pocket Father’s Day gift with preschool drawings, dictated notes and together-time tickets. Includes steps, adaptations and safety checks.
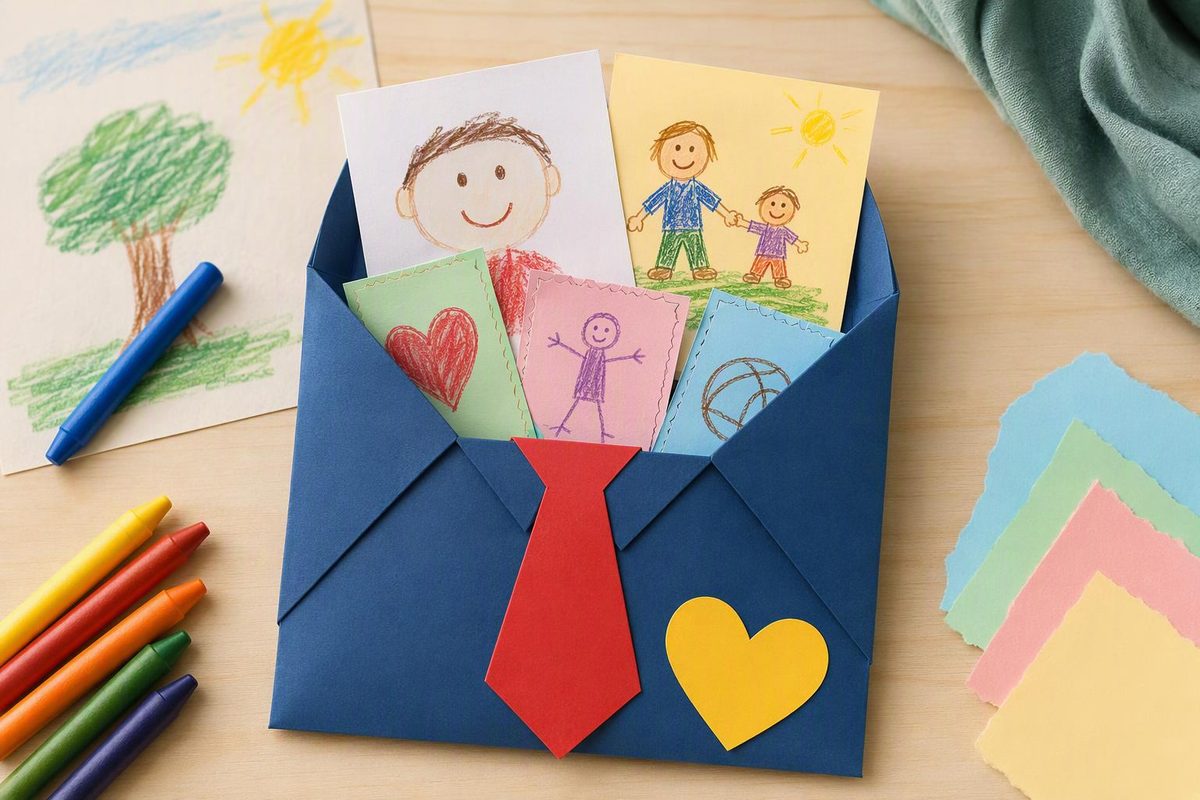
Make a folded-paper pocket, then let each child choose what goes inside: a drawing, a thank-you note or a picture ticket for something to do together. One piece is enough; children who want to continue can make a small collection.
This Father’s Day project uses paper, crayons and glue—no printer, paint or tiny decorations. The child chooses the pictures and words; the adult helps with folding, gluing and recording the message. For separate gift ideas rather than one shared project, try these five simple Dad’s Day preschool crafts.
Gather and set up
Materials for each child
- One sheet of sturdy paper, about 8½ by 11 inches
- Two or three blank paper cards, about 4 by 6 inches
- Chunky crayons or washable markers
- A child-appropriate glue stick
- Optional large colored-paper scraps
Adult tools: Scissors for preparing cards and a pen for writing dictated words.
Start with one card and keep extras nearby. Set aside a flat drying space. Use a loose sheet for demonstrating the fold, not a finished gift that children need to copy.
Choose clearly labeled art supplies intended for children and follow their directions. The CPSC Art and Craft Safety Guide recommends close supervision, keeping food and drinks out of the art area, and washing hands afterward. It also notes that even “non-toxic” supplies can be harmful when used in unintended ways. Keep glue-stick and marker caps with the adult; this project needs no beads, buttons or loose glitter.
Choose the recipient before adding a label. In a classroom, privately ask families whom the child should make the gift for and what name they use. Offer Dad, Papa, Grandpa or another chosen person, with extra supplies for more than one recipient. A child may also make a pocket for their own pictures without a holiday message.
Make the paper pocket
- Place the sheet upright. The shorter edge should be nearest the child.
- Fold the bottom upward about 4 inches. Help the child press along the fold. The taller section behind it becomes the pocket’s back.
- Decorate before gluing. Invite marks, shapes or pictures on the outside of the folded flap. The child can also decorate the visible back section.
- Open the flap again. Help apply a narrow strip of glue along its two side edges, from the fold to the flap’s top. Leave the middle and top edge unglued.
- Fold it up and press the sides. Let the glue dry according to the product directions.
- Check the opening. Slide a blank card into the pocket, short edge first. Its top should stick out above the flap. If a side opens, add a little glue there and let it dry again.
The bottom is already closed by the fold. There is no need to glue across it or add staples.
Skill opportunity: Folding and pressing invite children to use one hand to steady the paper while the other moves. Drawing and gluing offer small-motor practice, consistent with NAEYC’s guidance on preschool art experiences.
Simplify: Prepare the folded pocket yourself. Let the child decorate it and press the glued edges.
Extend: Invite the child to compare a blank card with the opening: “Will it fit? Which way could you turn it?”
Choose what goes inside
1. A drawing with the child’s words
Offer a blank card and ask, “What would you like to draw for this person?” It might be a person, a shared activity, colorful lines or something else entirely.
When the child finishes, ask, “Would you like to tell me about it?” Write their words on the back and read them aloud.
- Skill opportunity: Connecting a drawing with spoken words and print.
- Simplify: Accept marks without asking for a recognizable picture. Recording a caption is optional.
- Extend: Invite the child to add their name or copy it from a model. Use these name activities by skill stage to choose a comfortable starting point.
2. A thank-you collage note
Offer large paper scraps to tear and arrange on another card. Demonstrate gluing one piece, then let the child decide where the others belong.
Ask, “Is there something you would like to say thank you for?” Record the answer without changing it into a polished adult message. If the child has no answer, the collage can simply be a picture gift.
- Skill opportunity: Tearing, placing and pressing paper; expressing an idea in words.
- Simplify: Provide ready-torn pieces or let the child point while an adult helps place them.
- Extend: Invite the child to explain their arrangement or add drawn details after the glue dries.
3. A together-time picture ticket
Ask, “What is something you would like to do together?” The child could draw reading a book, taking a walk or building with blocks. Write their suggestion underneath.
Treat the ticket as an invitation, not a promise that the recipient must fulfill. Avoid assigning chores or requiring the child to offer hugs.
- Skill opportunity: Choosing an activity and communicating a plan through pictures and words.
- Simplify: Offer two familiar choices, while leaving room for a different idea.
- Extend: Ask what they might need for the activity and invite one extra detail in the drawing.
Pack it without taking over
Let all glue dry before inserting the cards. Add the recipient’s name to the visible back section, using the child’s preferred wording. Insert the cards short edge first so their tops remain easy to grasp.
Ask, “Is your pocket ready, or would you like to add something?” Keep the child’s uneven folds, unexpected colors and original words. NAEYC’s process-focused art guidance emphasizes children’s choices and ownership; the pocket provides a useful structure without requiring everyone’s gift to look alike.