
5 Letter H Art Activities With Paper, Paint and Crayons
Try five letter H art activities for preschoolers, with simple supplies, clear steps, learning opportunities and easy ways to simplify or extend.
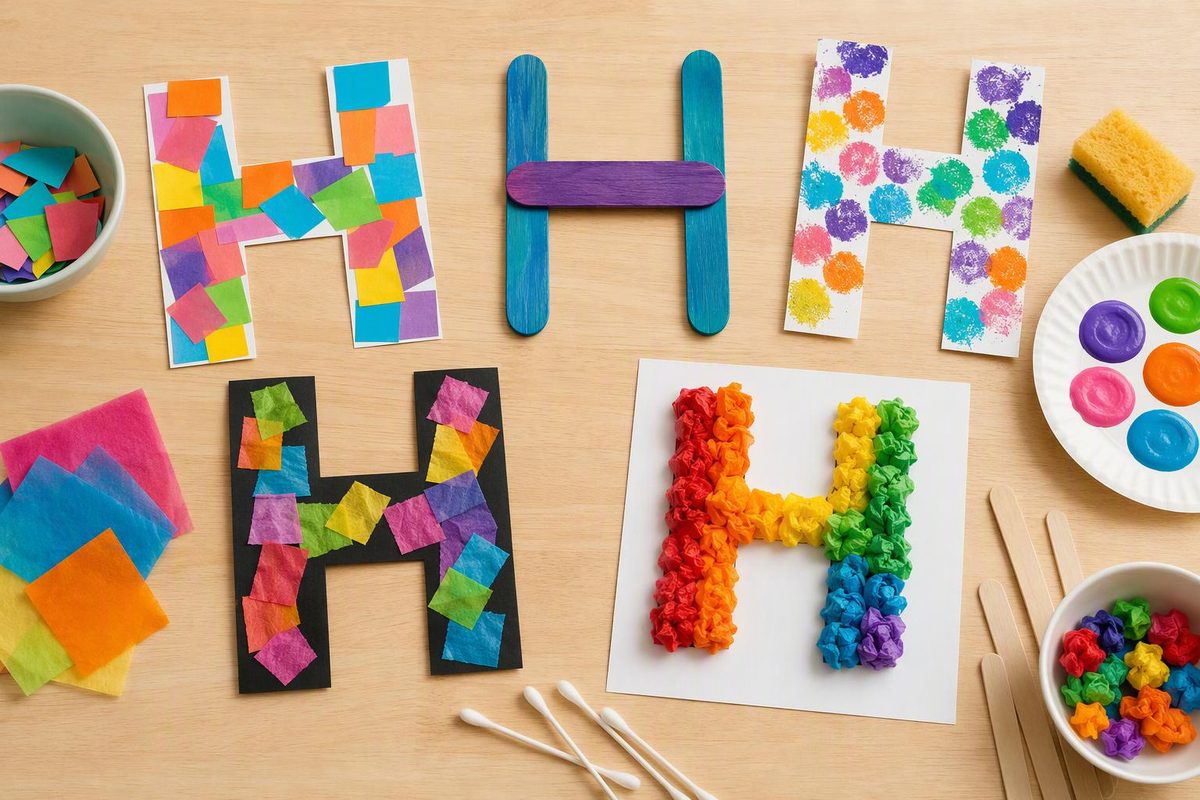
Build a paper H, make heart prints, trace hands, arrange a house or design a hat. These letter H art activities offer different ways for children ages three to five to join: placing pieces, experimenting with paint or making their own marks. Choose one activity rather than preparing all five.
Keep the letter connection brief: “This is H. Hear the beginning of hat: /h/.” Show H and h together on a separate card so children can see both forms. Connecting a written letter with the beginning sound of a familiar word follows Reading Rockets’ letter-and-sound guidance.
Let children choose colors, arrangements and details rather than copy a finished sample. These are guided letter-themed activities, but they can still leave room for exploration—a central feature of NAEYC’s process-focused art guidance.
Set out a small, safe art kit
Gather paper, crayons, glue sticks and any activity-specific supplies below. Adults can prepare shapes; offer child scissors only with supervision and when the child is ready to use them.
Use art materials labeled for children and follow their age and use instructions. The American Academy of Pediatrics recommends looking for the ACMI Approved Product seal and “conforms to ASTM D4236,” supervising art activities and washing hands with soap and water afterward. Labels do not make materials edible; keep paint and brushes away from mouths. See its safe art-supply guidance.
1. Build and decorate a paper H
Learning opportunity: Noticing the parts of uppercase H; positioning and gluing paper.
Materials: Background paper, two long paper strips, one shorter strip, glue stick and crayons.
Setup: Cut broad strips that are easy to pick up. Keep a plain H card nearby rather than a decorated craft to copy.
- Invite the child to place the two long strips upright, with a space between them.
- Offer the shorter strip: “Where could this go to connect the two sides?” Place it across the middle to make H.
- Glue the strips down. Let the child add lines, colors or drawings wherever they choose.
Simplify: Draw a large H on the background as a placement guide. The child can place pieces while the adult helps with glue.
Extend: Make another H with different colors or wider strips. Compare what stayed the same: two upright sides connected across the middle.
If decoration covers the shape, point to the separate H card. There is no need to remove the child’s artwork to keep the letter visible.
2. Make folded-heart paint prints
Learning opportunity: Exploring color mixing and comparing marks on two sides of a fold.
Materials: Sturdy paper, child-labeled washable paint, a brush, a tray and scissors for adult preparation.
Setup: An adult folds a sheet in half and draws half a heart with its center along the folded edge. Cut around the curved outline, leaving the folded edge intact, then open the heart and put it on the tray.
- Say “H is for heart,” and show the H card.
- Invite the child to dab a little paint on one half of the heart.
- Help fold the unpainted half over the painted half. Press gently, then open it to reveal the print.
Ask, “What happened to your paint?” The child may want to try another heart with fewer colors or different marks.
Simplify: The child chooses colors and paints; the adult folds and opens the paper.
Extend: Before folding, ask where a particular paint spot might appear on the other side. Check together afterward.
Let the heart dry before adding a dictated label, such as “My purple heart.”
3. Draw a hand-outline mural
Learning opportunity: Making lines, describing artwork and noticing hand shapes.
Materials: Large paper and crayons or washable markers.
Setup: Place the paper flat. Ask whether the child wants their hand traced—do not hold it in place for them.
- Invite the child to spread a hand on the paper. An adult or willing partner traces around it gently.
- Let the child decorate the outline with colors, patterns or an imagined design.
- Add more outlines if they want. Say “Hand begins with /h/,” and write H beside the mural.
Simplify: Offer an adult-prepared hand outline, or let the child draw a hand freely if tracing feels uncomfortable.
Extend: Ask the child to describe one design. Write their words beside it, with permission, and read them back.
4. Arrange a paper house
Learning opportunity: Planning a picture, positioning shapes and using words such as above, beside and inside.
Materials: Background paper, large paper squares or rectangles, roof triangles, crayons and glue.
Setup: Prepare a small selection of shapes. Avoid cutting every door and window; children can draw those details.
- Invite the child to arrange a house before gluing. A rectangle and a triangle are available, but other arrangements are welcome.
- Glue the chosen pieces down and draw any details the child wants: people, windows, plants or pets.
- Label the picture house and point to its first letter, h.
Simplify: Offer one large house shape to decorate.
Extend: Add a second house and ask the child to tell a story about the picture. Record a sentence they dictate.
5. Design a hat picture
Learning opportunity: Choosing and repeating marks; explaining a design.
Materials: Paper and crayons or washable markers.
Setup: Draw a large, simple hat outline with plenty of room inside. This is a flat artwork, not a wearable hat.
- Say “H is for hat,” and invite the child to design a hat for themselves, a toy or an imaginary character.
- Offer possibilities—stripes, dots, pictures or mixed colors—without requiring one.
- Ask, “Who would wear your hat?” Add the child’s answer beneath the picture if they wish.
Simplify: Offer two crayon colors and a broad outline, or accept marks anywhere on the page.
Extend: Invite the child to invent a repeating design, such as dot–line–dot–line, or draw a character wearing the hat.
For a child whose next step is finding or matching letters rather than making art, choose from these letter activities by literacy skill.