
Letter H Worksheets for Preschool: Find, Match, Sound and Trace
Choose letter H worksheets for recognition, H/h matching, beginning sounds and tracing, with printable links and simple readiness-based adaptations.
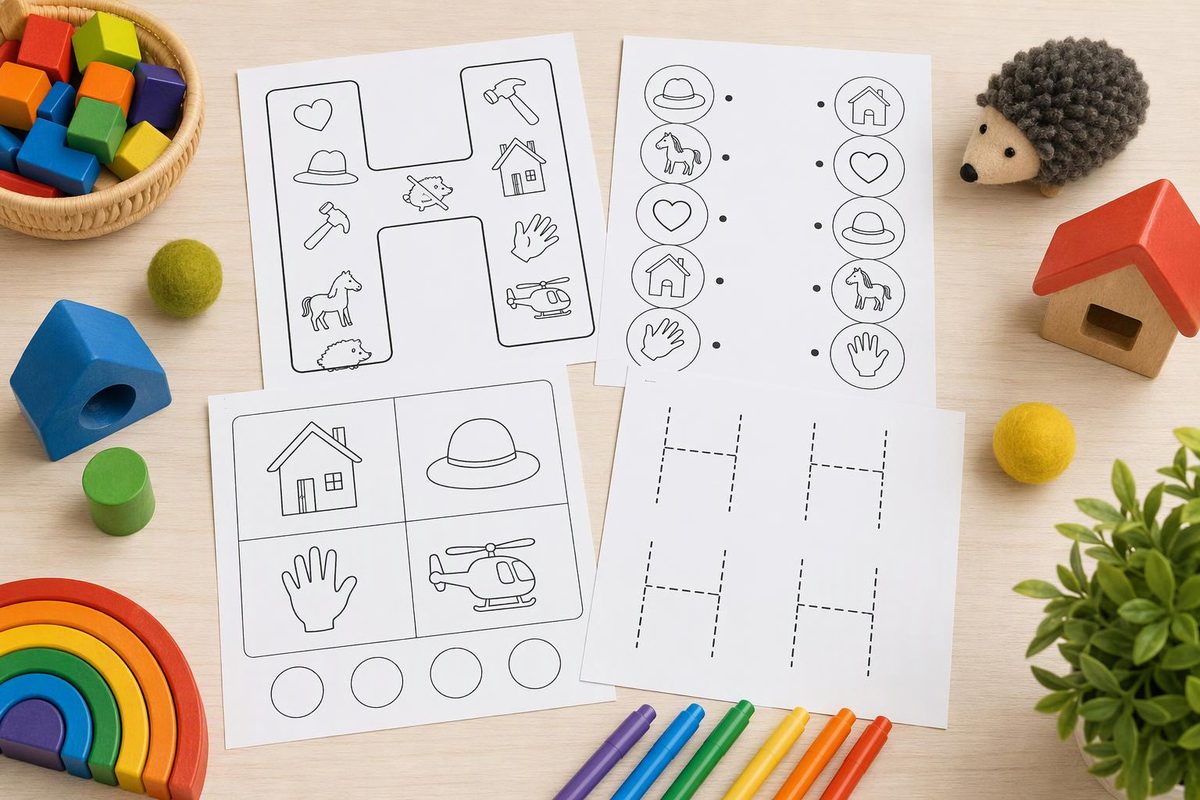
Choose a letter H worksheet for one job at a time: finding H, connecting H with h, hearing the beginning sound in hat, or exploring how to write the letter. A child can point to answers without tracing or coloring the whole page.
Below are three printable options from All Kids Network, plus a simple H/h matching sheet you can draw yourself. Pick one rather than handing out a packet.
Set up a small invitation
Materials: one printed worksheet or plain paper, a crayon, and a pencil or marker for the adult. A second sheet of paper can cover unused rows.
Show a clear H h model and say, “These are both the letter H. This is uppercase H; this is lowercase h.” Then demonstrate just one response: pointing, circling or tracing.
Keep the page optional and alongside play, conversation and books. NAEYC recommends a mix of self-directed play, guided play and direct instruction, with activities adapted to individual children’s skills and interests—not one task everyone must complete in the same way. NAEYC’s teaching guidance supports this flexible approach.
1. Find H and h: letter recognition
Printable: All Kids Network’s Find the Letter H Worksheet asks children to find and color uppercase H and lowercase h among other letters.
Use it: Point to the H/h model first. Ask, “Can you find one that looks like this?” Let the child point before offering the crayon. Name each form as you find it together.
Simplify: Cover most of the page and look at a small section. Search only for uppercase H at first, then introduce lowercase h separately.
Extend: Use one color for H and another for h. Ask the child to show a feature they noticed, such as H’s two tall straight lines.
Checkpoint: Notice whether the child finds the shape with or without looking back at the model. Neat coloring is not the goal of this page.
2. Connect H with h: a draw-it-yourself matching sheet
Make it: At the top of plain paper, write H h, M m and T t as models. Beneath them, make two widely spaced columns:
- Left column: H, M, T
- Right column: t, h, m
Use it: Say, “Find the lowercase partner for H.” Invite the child to point to H and then h. Drawing a connecting line is optional.
Simplify: Offer only H and h. Point to each and name it together before adding one other pair.
Extend: Rearrange the right column on a new sheet and try without the models at the top. Keep the letter style consistent while introducing the pairs.
Checkpoint: Matching identical H shapes and connecting H with h are different tasks. If the uppercase-to-lowercase connection is unfamiliar, demonstrate it rather than treating it as a test.
3. Choose H pictures: beginning sounds
Printable: The Letter H Words Recognition Worksheet invites children to circle pictures that begin with H and then color them.
Use it: Name every picture together before asking for an answer. Model the breathy beginning sound in hat: “H says /h/. Listen: hat.” Ask which picture names begin with that sound. This can be an oral activity; children do not need to read words independently.
Simplify: Make your own two-picture sheet with a hat and a sun. Say both names and ask, “Which starts like hat?”
Extend: Draw a hat, hand, house, sun and ball on plain paper. Invite the child to circle the three /h/ pictures and suggest another word with that beginning sound.
Checkpoint: Check the picture label before correcting an answer. A child who calls a pictured house a “home” still has an H word; a child who uses a different-language label may be hearing a different beginning sound.
4. Trace H and h: letter formation
Printable: The Letter H Tracing Page with a House includes large H/h models and printing lines for tracing both forms.
Use it: Explore the large models with a finger first. For a simple manuscript H, start at the top left and draw a tall line down, lift to make another tall line down on the right, then join them with a line across the middle. For h, start at the top and draw a tall line down, then retrace upward to about halfway, curve over to the right and come down.
Simplify: Draw one large H on plain paper for finger-tracing. Leave the smaller tracing rows for another invitation.
Extend: After tracing one letter, offer blank space to copy it beside the model. Stop before repeating rows becomes the main task.
Checkpoint: Watch where the child starts and how they follow the path—not whether every mark stays perfectly on the line. If drawing is frustrating but pointing is comfortable, return to a recognition page. For a hands-on change of pace, try one of the letter H art activities.