
4 Letter K Art Activities With Paper, Paint and Preschool Choices
Try four letter K art activities for preschoolers, with simple supplies, clear steps, letter and sound connections, and easy adaptations.
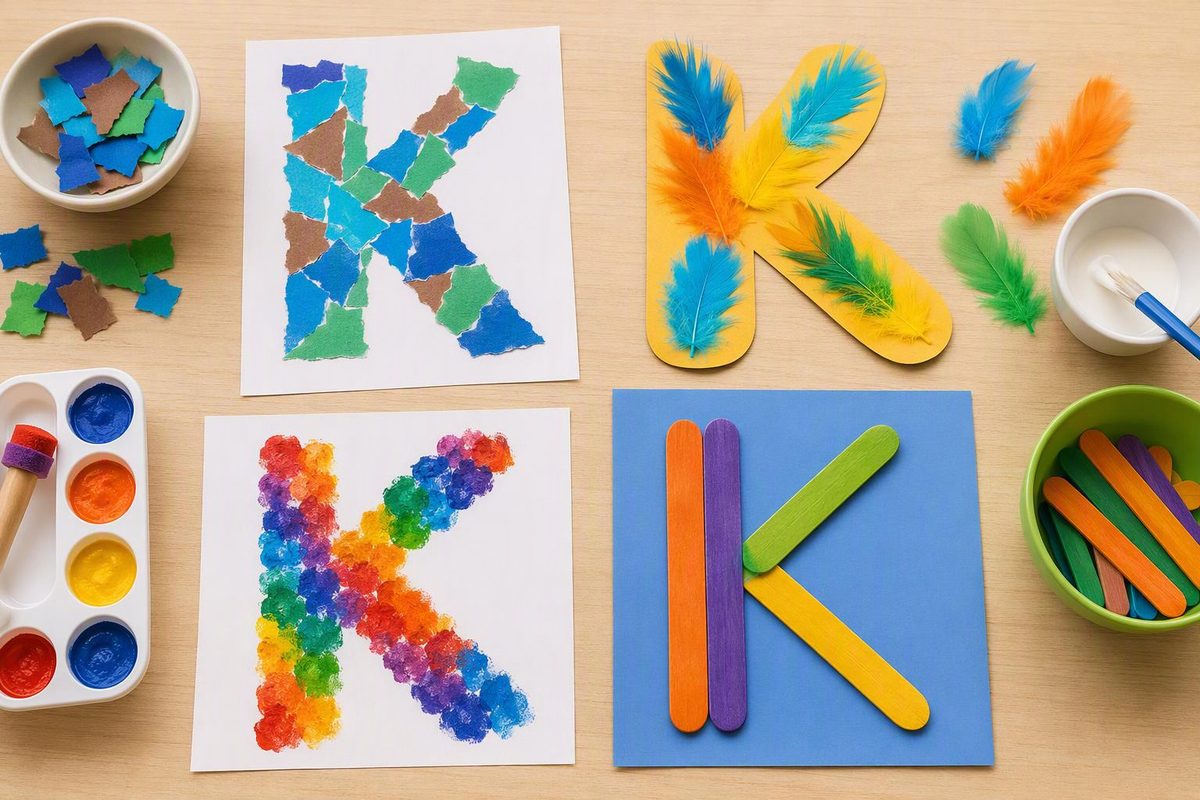
Build a K from paper strips, decorate a kite, make a kitten collage or create a kangaroo pocket picture. These letter K art activities give children ages three to five different ways to join: arranging, tearing, painting, drawing or telling an adult about their picture.
Choose by your goal:
| Activity | Main practice opportunity | Adult preparation |
|---|---|---|
| Paper-strip K collage | Noticing K’s straight and slanting parts | Cut three strips |
| Painted paper kite | Connecting K with a beginning sound; exploring marks | Cut a diamond |
| Torn-paper kitten | Tearing, gluing and describing a picture | Draw an optional outline |
| Kangaroo pocket picture | Placing shapes and telling a story | Cut large paper shapes |
Set up the letter and art space
Show a large K beside a lowercase k. Name the letter, then say a familiar word: “Kite begins with /k/.” Kite and key are clear examples; knife is not a useful beginning-/k/ example because its K is silent. Oxford’s phonics spelling answers group kite and key under /k/ and knife under /n/.
These are guided letter crafts, but the colors, textures and picture details can belong to the child. Demonstrate a tool rather than offering a finished picture everyone must copy. That leaves room for the material exploration and child-led choices encouraged in NAEYC’s process-art guidance.
Shared supplies: construction paper, drawing paper, crayons, glue sticks and optional washable watercolor paint and brushes. Choose non-toxic materials intended for children, follow their labels, supervise use and wash hands afterward, as recommended in the CPSC Art and Craft Safety Guide. Adults can do the cutting; offer child-sized blunt-tip scissors only with supervision and when the child is ready. Use large paper pieces rather than beads, buttons or loose googly eyes. For a child who mouths materials, skip loose collage pieces and the removable joey; offer supervised drawing on a full sheet instead.
1. Build a paper-strip K collage
Materials: one long paper strip, two shorter strips, backing paper, glue stick and crayons.
Set up: Draw a large uppercase K on a separate reference card. Make the strips wide enough to decorate.
- Invite the child to place the long strip upright on the backing paper.
- Place one short strip from the middle of the upright strip toward the upper right.
- Place the other from that same middle point toward the lower right.
- Compare the arrangement with the K card before gluing. Then add lines, dots or torn-paper decorations.
Checkpoint: The two slanting pieces meet the upright piece at its middle. Ask, “Where do these two pieces meet?” rather than requiring the child to name the directions.
Simplify: Draw a faint K guide on the backing paper and let the child place the strips over it.
Extend: Offer another set of strips and a lowercase k card. Keep the upright strip tall, but arrange shorter slanting pieces within its lower half: one from the upright toward the upper right, the other from the same meeting point toward the lower right. Compare K and k with the cards.
2. Paint a paper kite
Materials: a large diamond cut from sturdy drawing paper, crayons, washable watercolor paint, a brush, a small water cup, backing paper and a wide paper strip for the tail.
Set up: An adult cuts the diamond. Protect the table and put a little water in the cup.
- Let the child draw crayon lines, loops or other marks across the diamond.
- Use the damp brush to pick up watercolor paint, then brush it over the diamond. Explore how the crayon marks look through the paint.
- Let the kite dry, then glue it onto the backing paper.
- Add the paper tail and draw bows along it. Write K k — kite beside the picture.
Practice opportunity: Drawing and brushing offer different hand movements; naming the kite links its picture with /k/.
Simplify: Skip paint and decorate with crayons alone.
Extend: Invite a repeating color pattern along the tail. This is a flat art picture, not a flying kite; it needs no string.
3. Make a torn-paper kitten
Materials: backing paper, large scraps of colored paper, glue stick and crayons.
Set up: Offer a simple kitten outline if the child wants one, or leave the page blank for an invented kitten.
- Tear paper into pieces and arrange them into a kitten’s head and body.
- Add paper triangles for ears and a torn strip for a tail.
- Glue the chosen pieces down. Draw eyes, a nose and whiskers.
- Ask, “What is your kitten doing?” Write the child’s words beneath the picture, with permission, and add K k — kitten nearby.
Practice opportunity: Tearing invites children to hold paper with both hands and pull; describing the kitten gives the artwork a language connection.
Simplify: Supply large pre-torn pieces and let the child choose their placement.
Extend: Add a setting—a bed, garden or pretend home—and invite the child to describe it. Keep unusual colors and extra details rather than correcting them.
4. Create a kangaroo pocket picture
Materials: backing paper, large paper shapes, glue stick and crayons.
Set up: Cut an oval body, a round head, long ears, legs and a long tail. Cut a semicircle for the pouch and a separate paper joey. Make the pouch wide enough to hold the joey with room for glue around its curved edge.
- Invite the child to arrange and glue the kangaroo shapes onto the page.
- Position the pouch on the body. Help apply a narrow band of glue along its curved edge, leaving the straight top edge and the center unglued. Press the glued edge onto the body.
- Let the glue dry before gently sliding the joey into the opening.
- Add a drawn landscape and label the picture K k — kangaroo.
Practice opportunity: Arranging the shapes offers spatial planning; moving the joey invites a story using words such as in, out and behind.
Simplify: Draw the kangaroo for the child to decorate, then help attach the pouch.
Extend: Let the child design another paper joey and tell a short story about where it goes. Keep the removable pieces generous in size.
For a display, place a plain K k card beside the finished artwork so the letter stays easy to see even when the decoration is busy. Invite children to point to K, name their picture or dictate a caption—whichever fits their current interest. For a broader choice of literacy goals, see letter activities organized by skill.