
5 Letter P Art Activities for Preschool With Simple Supplies
Try five letter P art activities with paper, paint and pencils, plus clear letter-shape guidance, beginning-sound prompts and easy adaptations.
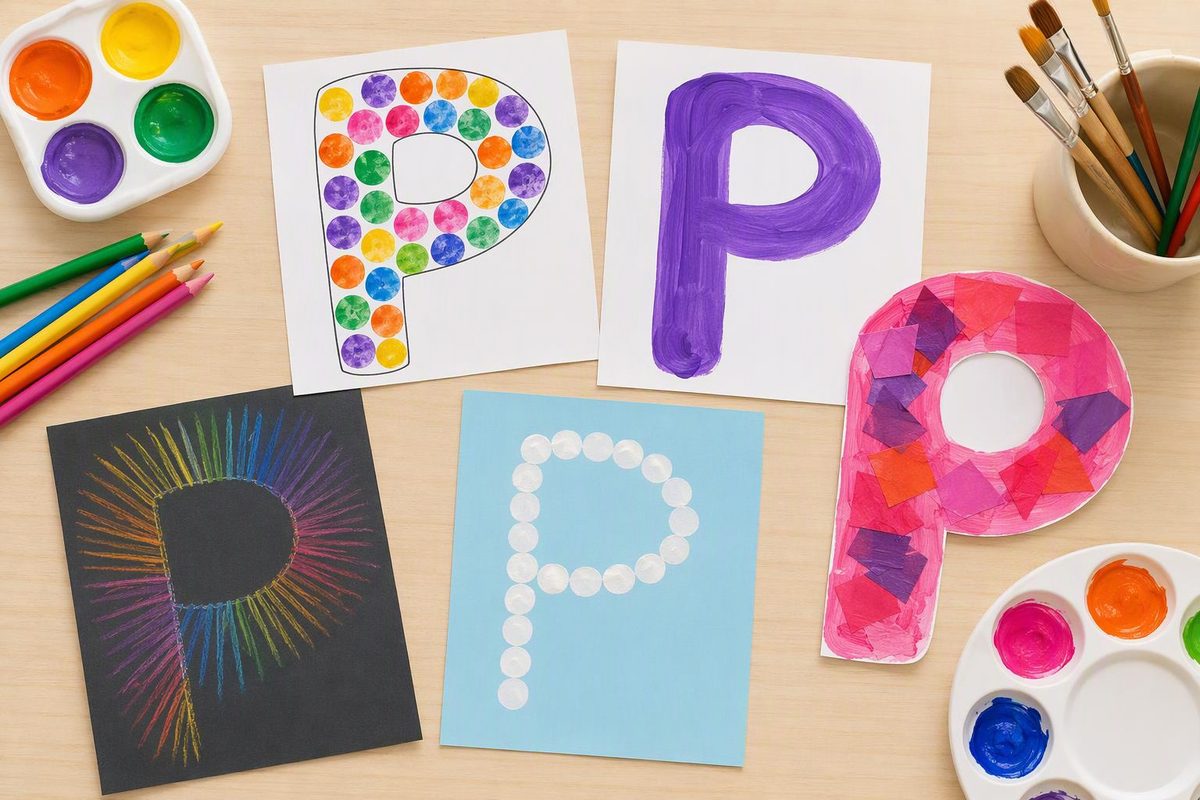
Make a patchwork P, turn P into a pig, or explore pizza, puddles and pets through art. These activities give preschoolers ages three to five different ways to join: tearing, gluing, printing or drawing. Choose one rather than setting up all five.
For letter-shape practice, start with patchwork P or the pig. For beginning-sound conversation, choose pizza, puddles or pets and keep a plain P p card beside the artwork.
Set up the letter and materials
Write a large P on a card. Point out its straight line and its curved part at the top right. Beside it, write p on a simple writing line: its curved part sits above the line, while its straight stem extends below it. Use plain lettering rather than a decorative font.
Say the letter name, then model a quick /p/: “P. /p/. Pig.” Avoid adding an “uh” after the sound. Reading Rockets explains that stop sounds are pronounced quickly to avoid distortion. Children can listen or point; they do not need to repeat the sound to participate.
Gather paper, crayons or pencils, glue sticks, and any paint tools needed for your chosen activity. Use age-appropriate, non-toxic supplies intended for children and follow their labels; avoid products with cautionary or warning labels. Supervise closely, keep food and drinks away from the art area, and wash hands afterward; these are recommendations in the CPSC Art and Craft Safety Guide. An adult can prepare shapes, or children ready for cutting can use child-sized, blunt-tipped scissors with supervision.
Offer blank paper alongside letter outlines. The letter gives a literacy focus, but children can choose colors, arrangements and details. NAEYC recommends letting children lead their art exploration and commenting on what you notice, rather than making every piece match a sample.
1. Paper-patch P collage
Materials: Construction paper, contrasting paper scraps, glue stick, thick marker.
Setup: Draw a broad outline of uppercase P, almost as tall as the page. Leave a generous opening inside its upper curve.
Try it: 1. Invite the child to tear scraps into patches. 2. Spread glue on a small section of the P and press patches onto it. 3. Continue along the straight stem and upper curve. Overlapping patches are welcome. 4. When finished, point to the opening: “Your P has a space inside this part.”
Letter connection: Say “paper” and “patch,” emphasizing the quick /p/ at the start. Trace the straight part and curved part with a finger before gluing.
Skill opportunity: Tearing and pressing offer small-hand practice; arranging patches invites choices about color and placement.
Simplify: Offer large pre-torn patches and handle the glue while the child chooses and presses.
Extend: Let the child make a second collage on lowercase p, noticing where its stem goes below the writing line.
2. Pink P pig
Materials: A large paper P, backing paper, pink crayons or paint, a dark crayon for facial details, glue stick, paper ear shapes and an oval snout.
Setup: Cut a thick uppercase P with its inner opening intact. Put a plain P card nearby so the letter remains easy to compare after decorating.
Try it: 1. Color or paint the P, then let wet paint dry. 2. Glue it upright onto backing paper. 3. Place ears along the outside top edge and a snout on the thick upper curve—not across the opening. 4. Draw eyes and nostrils. Add a curly tail beside the stem if the child wants one.
Letter connection: “Pig begins with /p/. Can you find the straight part of your P?” Pink is an invitation, not a requirement; a purple or patterned pig still works.
Skill opportunity: Positioning facial features invites planning and spatial language such as above, beside and inside.
Simplify: Prepare the pieces and let the child choose their positions.
Extend: Offer paper for a setting, such as a pen or a puddle, and write the child’s description beneath the picture.
3. Paper pizza collage
Materials: A large paper circle, red and yellow paper, other colored scraps, glue stick, crayons.
Setup: Use the circle as a pretend pizza base. All ingredients are paper; no food is needed.
Try it: 1. Tear red paper for sauce and yellow paper for cheese. 2. Glue the layers onto the circle, leaving some crust showing if desired. 3. Add drawn or torn-paper toppings. Children can invent their own combinations. 4. Ask, “What is on your pizza?” Record the child’s answer if they want a caption.
Letter connection: Write P p — pizza beside the collage and point to P as you say /p/. Pepper is another useful beginning-sound word if it comes up naturally.
Skill opportunity: Layering and tearing offer hand practice; describing toppings gives a reason to use words and dictate print.
Simplify: Supply large pieces that are easy to pick up and glue.
Extend: Invite the child to draw lines dividing the pizza into pretend slices or describe an order for a pretend customer.
4. Puddle printing
Materials: Paper, washable child-appropriate paint, a shallow paint tray, a large sponge, crayons.
Setup: An adult cuts a clean sponge into an irregular puddle shape. Put a thin layer of paint in the tray.
Try it: 1. Press the sponge lightly into paint, then lift and press it onto paper. 2. Lift straight up to reveal the puddle print. 3. Make more prints, changing pressure or turning the sponge. 4. Once dry, add rain, boots, a pig or anything else the child imagines.
Letter connection: Add P p — puddle in an unpainted corner. Say “puddle” together, listening for its first sound.
Skill opportunity: Printing invites comparison: “This puddle has a darker edge. What did you do differently?”
Simplify: Load the sponge for the child. Offer a brush instead if holding a paint-covered sponge is uncomfortable.
Extend: Try two puddle shapes and compare their prints, or overlap colors to explore what happens.
5. Pencil pet portrait
Materials: Paper, thick pencils or crayons, a plain P p card.
Setup: Write P p — pet in one corner. Invite a real, remembered or imaginary pet; children do not need to have one at home.
Try it: 1. Ask what pet the child would like to draw. 2. Let them choose its shape, features and surroundings without supplying a picture to copy. 3. Invite them to tell you about it. Write their words beneath the drawing with permission. 4. Point back to the label: “Pet starts with /p/. Here are uppercase P and lowercase p.”
Letter connection: Pet and pencil start with /p/, even when the chosen animal’s name does not. A cat can be a pet without cat being a P word.
Skill opportunity: Drawing offers mark-making practice; dictation connects the child’s spoken ideas with print.
Simplify: Accept scribbles and let the child tell you what they represent.
Extend: Invite a child interested in letters to copy P or p beside the portrait, using the card as a model. For other ways to adjust the literacy goal, see our letter activities by skill.