
4 Preschool Flower Crafts for Tearing, Snipping and Painting
Try four preschool flower crafts with paper, glue and paint, plus clear steps, skill opportunities, easier options and practical safety checks.
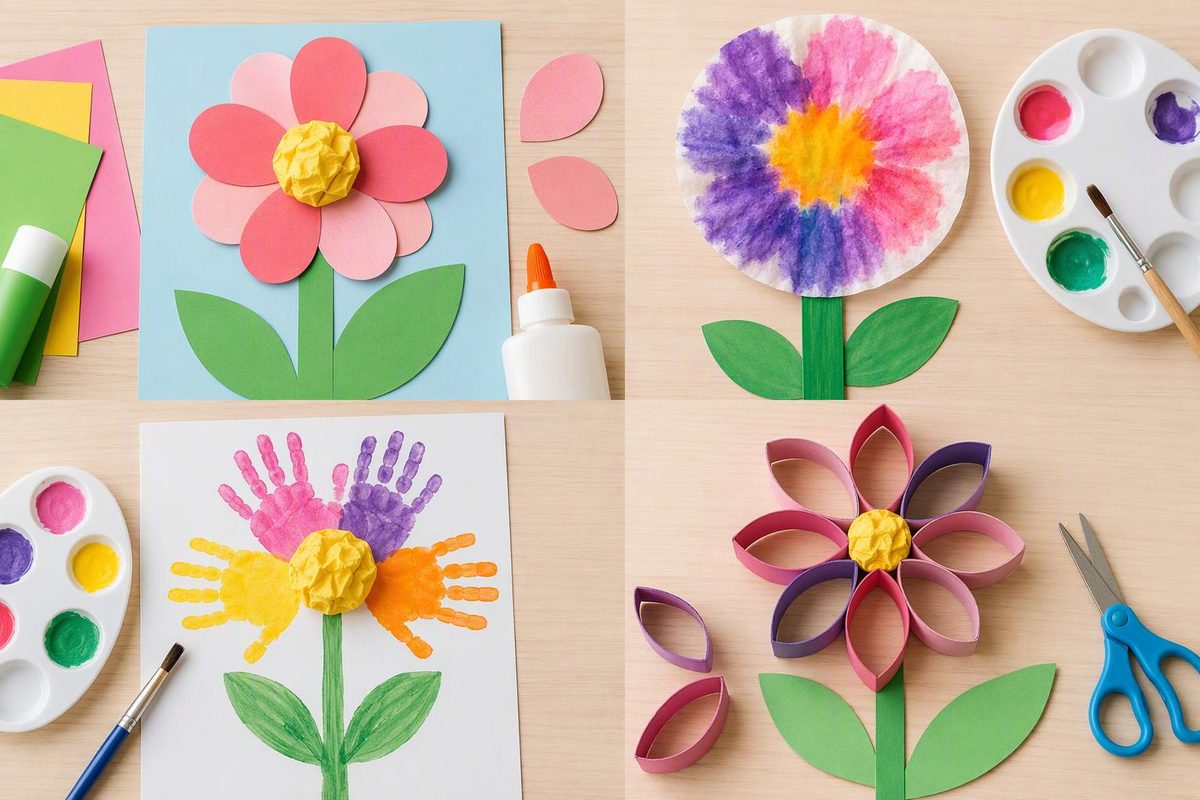
For children ages three to five, choose a flower craft by the movement they want to try: tear paper, snip strips, press and glue, or paint petals. These four projects use ordinary supplies and need no printed template. Start with one invitation rather than asking children to complete all four.
The steps give adults a way to set up the activity, not a model every child must copy. Let children choose colors, petal shapes and where their flowers grow on the page. NAEYC’s guidance on preschool art encourages children’s choices and describes painting and collage as opportunities to use small-motor skills.
Gather supplies and set up
For the paper crafts, gather:
- Construction paper, including green for optional stems and leaves
- A sheet of sturdy paper for each child’s background
- Child-appropriate glue sticks
- Crayons
- Child-sized, blunt-tip scissors for the snipping activity
- Plain paper cupcake liners for the liner flowers
For painted flowers, add washable paint intended for children, wide paintbrushes, shallow paint trays and a table covering.
Put materials within reach and leave a clear space for arranging pieces before gluing. Keep a drying area nearby. At a classroom table, offer supplies on several small trays so children do not have to reach across one another.
Safety check: Follow product age guidance and supervise tool use. The American Academy of Pediatrics recommends art materials bearing the ACMI Approved Product seal and a statement that they conform to ASTM D4236. Keep paint and glue out of mouths, and wash hands with soap and water after art. These projects do not need beads, buttons, glitter or wire stems; use broad paper pieces and watch for mouthing.
1. Torn-paper flower collage
Skill opportunity: Using both hands together to tear, then picking up and placing paper pieces.
Materials: Colored paper, sturdy background paper, glue stick and crayons.
Adult setup: Tear a few broad strips of colored paper to give children an easy starting edge. Offer whole sheets too, for children who want to make their own strips.
Make it
- Invite the child to tear paper into pieces for petals. Jagged edges and mixed sizes are welcome.
- Arrange the pieces on the background. The child might place them around a paper center, cluster them together or spread several flowers across the page.
- Lift one piece at a time, rub glue underneath and press it down.
- Draw a stem and leaves, or tear green paper to add them.
Simplify: Offer ready-torn pieces and let the child focus on arranging and pressing. A flower can be just a few pieces.
Extend: Invite the child to sort petals by color or size before choosing which to use. Ask, “Which pieces do you want near each other?” rather than setting a required pattern.
2. Snipped-strip daisy
Skill opportunity: Holding paper with one hand while opening and closing scissors with the other.
Materials: Colored paper strips, a large paper circle, background paper, scissors, glue stick and crayons.
Adult setup: Cut narrow strips that the child can cut across with one snip. Prepare a generous paper circle for the flower’s center.
Make it
- Demonstrate holding the strip away from fingers and making one snip across its end.
- Let the child snip several short pieces. Stop or switch tools if cutting becomes frustrating.
- Arrange the pieces so they point outward like petals, then glue them onto the background.
- Glue the circle over their inner ends. Draw a stem underneath.
Simplify: Provide pre-cut petals. Children can still rotate, arrange and glue them independently.
Extend: Count the chosen petals together, touching each one once. A child interested in more cutting can try cutting broad green leaf shapes.
Safety check: Keep this as a seated, supervised activity. Put scissors away before children carry their artwork elsewhere.
3. Cupcake-liner flowers
Skill opportunity: Flattening pleated paper, controlling glue and pressing layers together.
Materials: Plain paper cupcake liners, paper circles, background paper, glue stick and crayons.
Adult setup: Separate the liners and place them in a shallow tray. Avoid foil liners for this project.
Make it
- Open a liner and press it flatter with fingertips or a palm.
- Rub glue on the back of its flat center and press it onto the background. Its edges can remain ruffled.
- Glue a paper circle in the middle, or color the center with a crayon.
- Draw stems and leaves to connect the blooms into a garden.
Simplify: Flatten the liner beforehand and help apply glue. The child chooses its place and presses it down.
Extend: Layer two flattened liners, rotating the upper one before gluing. Compare how the flower looks with one layer and with two.
4. Brush-painted petal flowers
Skill opportunity: Controlling brush pressure and direction while exploring paint marks.
Materials: Sturdy paper, washable children’s paint, wide brushes and crayons.
Adult setup: Put a small amount of paint in each tray. Offer a separate brush for each color if children want to keep colors distinct.
Make it
- Invite the child to draw a flower center, or begin with a painted spot.
- Show how pressing a loaded brush and lifting it makes a broad mark. Let the child explore marks around the center.
- Add more blooms, overlapping petals or mixed colors as desired.
- Leave the painting flat to dry. Add crayon stems and leaves afterward, if wanted.
Simplify: Offer one color and a broad-handled brush. A child can make a whole page of marks without arranging them into a flower.
Extend: Explore how a gentle press differs from a firmer one, or how dragging the brush changes a petal’s length.
Keep the learning invitation small
Choose one optional prompt while children work: “You made long and short petals,” “How many did you choose?” or “Tell me about this flower.” Accept pointing, a brief answer or quiet making; the craft does not need to become a quiz.
For a follow-up with living plants, choose one of these preschool planting and plant-care activities. Keep the paper flowers as children’s designs, not diagrams that need correcting.