
6 Easy Crafts for 3-Year-Olds With Simple Supplies
Try six crafts for 3-year-olds using paper, crayons, paint and glue, with clear steps, learning opportunities, simple adaptations and safety checks.
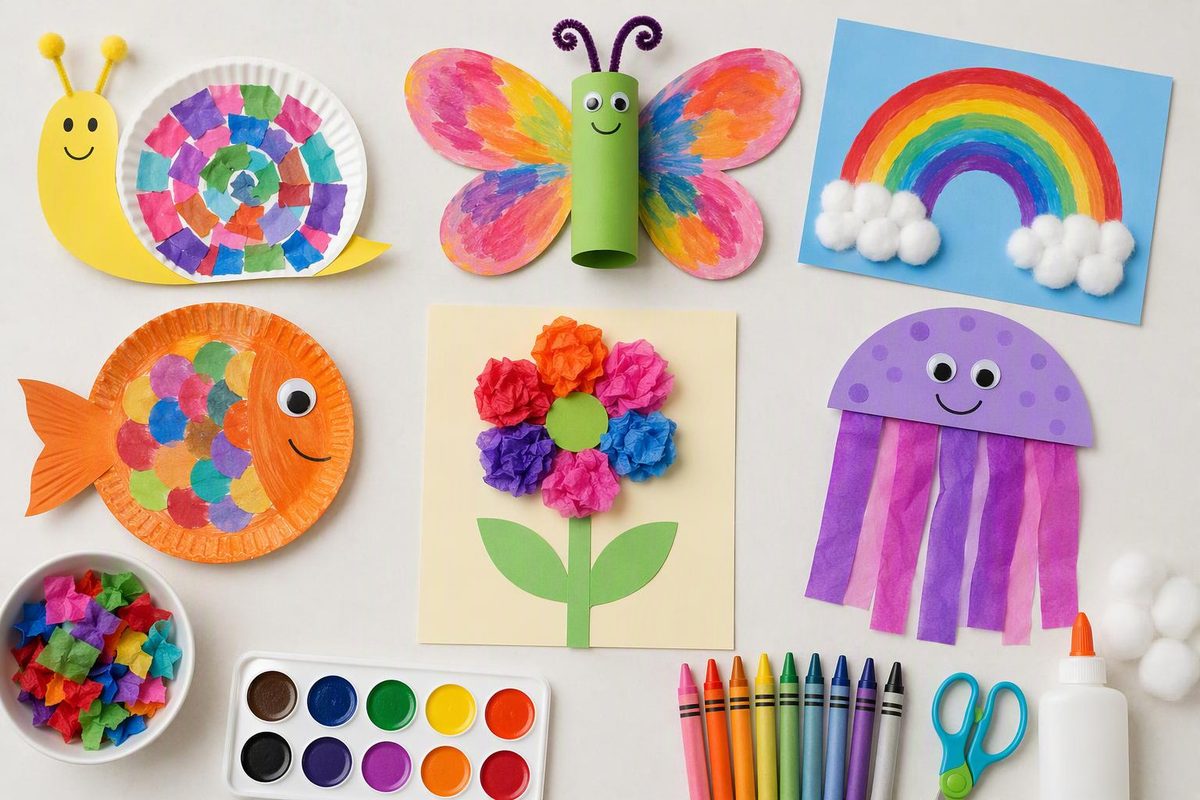
Choose a craft by what your child wants to do: tear and stick, dab paint, press a folded page, bend paper, draw a story or make a puppet. These six ideas need no printer, and adults can handle any cutting beforehand. Use the simpler options when a tool or movement is unfamiliar; turning three does not mean every child will be ready for the same setup.
Show how a tool works rather than presenting a finished piece to copy. Let children choose colors, arrangements and when they are finished. NAEYC’s guidance on process-focused art emphasizes exploration and children’s choices, with opportunities to use small hand movements, plan and talk about their work.
Set out supplies and check safety
Start with construction paper, sturdy drawing paper, whole chunky crayons and a child-labeled glue stick. For painting, add washable children’s paint, a shallow tray, a brush or large sponge, and a table covering. Individual crafts below list their extras.
- Check labels. Choose supplies suitable for the child’s age and intended use. The American Academy of Pediatrics recommends looking for the ACMI Approved Product seal and a statement that materials conform to ASTM D4236; these labels do not guarantee complete safety. Keep paint and glue out of mouths, supervise use and wash hands afterward. See its safe art-supply guidance.
- Skip small decorations. Use drawn eyes instead of loose googly eyes, and leave out beads, buttons and sequins. Keep glue-stick caps with the adult. The AAP advises keeping small objects and detachable toy parts away from young children because of choking risks.
- Match the setup to the child. If materials go into the mouth, pause that activity and put them away. Offer crayons instead of paint if the child dislikes wet textures.
1. Tear-and-stick color collage
Movement to practice: Using both hands to pull paper apart, then placing and pressing pieces.
Materials: Construction-paper scraps, a sturdy paper base and a glue stick.
Adult setup: Make a few starter tears along the edges of the scraps. Offer two or three colors rather than a large pile.
- Show how to hold the paper on either side of a starter tear and pull apart.
- Invite the child to arrange pieces on the base. A collage can be a garden, a creature or simply colors they like.
- Demonstrate rubbing glue onto the base, then pressing a paper piece onto it. Let the child continue in their own arrangement.
Simplify: Supply ready-torn pieces and apply glue to one small area at a time.
Extend: Offer long strips and broad pieces to compare, or invite the child to name their collage. Write their words on the back with permission.
Checkpoint: Pieces may overlap or leave gaps. Neither needs correcting.
2. Sponge-print picture
Movement to practice: Holding a tool, pressing down and lifting it away.
Materials: Sturdy paper, washable children’s paint, a shallow tray and a large, intact sponge that is comfortable to grasp.
Adult setup: Spread a thin layer of paint in the tray. Put a spare sheet nearby for trying the tool.
- Demonstrate touching one face of the sponge to the paint.
- Press it onto the spare paper and lift straight up.
- Let the child stamp, drag or overlap marks on their own sheet.
- Leave the picture flat to dry.
Simplify: Load the sponge with paint for the child, or offer a broad brush instead.
Extend: Add a second color. Ask, “What do you notice where the colors meet?” rather than requiring a particular result.
Checkpoint: Inspect the sponge before and during use; discard it if it starts shedding pieces.
3. Fold-and-press paint print
Movement to practice: Pressing with the hands and opening paper carefully.
Materials: Sturdy paper, washable children’s paint and a brush.
Adult setup: Fold the sheet in half, crease it and reopen it. Offer small amounts of paint.
- Invite the child to brush a few patches of paint onto one half.
- Help close the paper along its crease.
- Let the child press and rub the outside with their palms.
- Open it together and leave it flat to dry.
Simplify: Manage the fold while the child presses and helps reveal the print.
Extend: Once dry, offer crayons to turn the marks into an imaginary animal, butterfly or something else the child sees.
Checkpoint: Start with thin patches of paint rather than puddles so less squeezes out at the edges.
4. Stand-up paper playground
Opportunity: Planning where pieces will go and exploring how flat paper can bend into a structure.
Materials: An uncoated cardboard base, wide construction-paper strips and a glue stick.
Adult setup: Use the plain inside of a clean cereal box for the base. Cut the strips and fold a short tab at each end. Keep adult scissors out of reach.
- Show how gluing both tabs to the base makes an arch.
- Invite the child to choose a strip and bend it into place.
- Help hold the tabs down while they stick, and let the glue set before moving the base.
- Add more arches, then draw paths or play areas around them.
Simplify: Attach one end yourself; let the child choose where the other end goes and press it down.
Extend: Try a taller arch or fold a strip into a zigzag before attaching it.
Checkpoint: If an arch springs loose, shorten it or refold the tabs. Treat that as a construction problem, not a mistake in the child’s design.
5. Little picture book
Opportunity: Making marks, choosing page order and telling a story.
Materials: Two sheets of drawing paper and chunky crayons.
Adult setup: Fold each sheet in half and nest them together to make an unstapled booklet.
- Invite the child to draw on any page. Scribbles, lines and recognizable pictures can all belong in the book.
- Ask, “Would you like to tell me about this page?”
- If they want words added, write their exact dictated words without turning them into a longer adult-written story.
- Read the book together if the child wants to share it.
Simplify: Use one folded sheet with fewer pages.
Extend: Invite a cover picture and title, or make another book about a favorite pretend-play character.
Checkpoint: Do not require a picture or words on every page.
6. Paper-bag character puppet
Opportunity: Deciding on a character and using words, sounds or gestures in pretend play.
Materials: A small paper lunch bag without handles, crayons, broad paper scraps and a glue stick.
Adult setup: Lay the bag flat with its bottom flap facing up. That flap will move when a hand goes inside.
- Invite the child to draw a face on the flap. It can be a person, animal or invented character.
- Add drawn clothing or glue on broad paper ears and other features.
- Let glued parts set, then demonstrate sliding a hand inside and moving the flap.
- Invite the puppet to wave, make a sound or introduce itself.
Simplify: Make a crayon-only puppet. An adult can operate it while the child supplies sounds or gestures.
Extend: Make a second puppet and act out a greeting or a short conversation.
Checkpoint: Keep bags away from faces and heads; use them only as supervised hand puppets.
Use the same setup again
In a classroom, put materials on individual trays and demonstrate one action before children begin. At home, offer one craft at a time and keep an unfinished piece available for another session.
For a themed version of the tearing-and-gluing setup, try the torn-paper bee craft. If the child would rather move or pretend than make something today, choose from these low-prep activities for ages 3–5.