
12 Valentine’s Day Crafts for Preschoolers by Skill
Choose from 12 preschool Valentine’s Day crafts with simple materials, clear steps, skill connections, adaptations and safety checks.
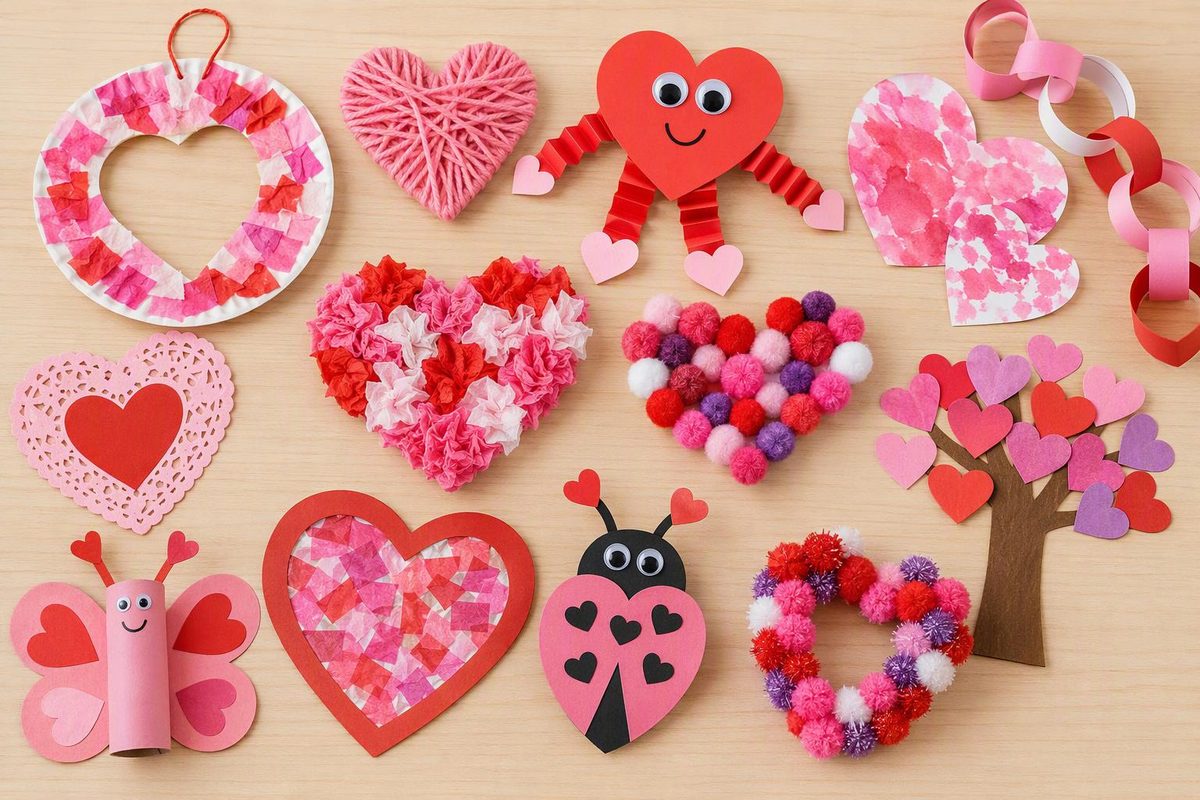
Valentine’s Day crafts for preschoolers can leave room for children to choose colors, materials and arrangements. A heart can be torn, stamped, painted, woven or built from play dough; it does not need to match an adult sample.
Choose an idea based on the action you want children to practice. Pre-cut pieces when the focus is gluing or sorting. Offer child-safe scissors when cutting is the focus. The American Academy of Pediatrics suggests introducing simple tools such as safety scissors at about age 3; adults should still consider each child’s readiness and supervise their use (HealthyChildren.org).
Quick craft chooser
| Craft | Main action | Learning opportunity |
|---|---|---|
| Torn-paper heart | Tear and glue | Hand strength, placement |
| Heart stamp painting | Press and lift | Cause and effect, color mixing |
| Valentine collage | Choose and arrange | Creative planning, describing |
| Sticker name card | Peel and place | Name recognition, finger control |
| Heart shape picture | Combine shapes | Shape recognition, spatial reasoning |
| Paper-strip heart | Bend and join | Sequencing, two-hand coordination |
| Yarn-wrapped heart | Wrap and turn | Bilateral coordination |
| Paper heart weaving | Over and under | Patterning, visual tracking |
| Love-bug craft | Assemble parts | Counting, descriptive language |
| Friendship quilt | Decorate and combine | Group participation, belonging |
| Play-dough valentines | Roll and press | Hand strength, pretend play |
| Heart road mural | Draw and drive | Mark-making, cooperative play |
1. Torn-paper heart collage
Materials: Cardstock, colored paper, school glue, crayons
Draw a large heart on cardstock. Invite children to tear paper into pieces, place them inside or around the outline and glue them down. Include colors beyond the usual Valentine palette so the choices stay open.
- Simplify: Start with paper strips, which are easier to grip and tear than a full sheet.
- Extend: Sort scraps by color or size before gluing.
- Skill focus: Tearing, pinching and pressing offer fine-motor practice.
2. Cardboard-tube heart stamps
Materials: Cardboard tubes, tape, washable tempera paint, shallow trays, paper
Press one side of a tube inward to form the top notch of a heart, then pinch the opposite side into a point. Secure the shape with tape. Children dip the rim lightly in paint and stamp.
Try a simple prompt: “What happens when two prints overlap?” This makes the project a color and shape investigation rather than a copy-the-sample task.
- Simplify: Offer one paint color and a large sheet of paper.
- Extend: Make a repeating color pattern or count a chosen number of prints.
- Checkpoint: A thin layer of paint makes the heart outline clearer than a deep puddle.
3. Open-ended Valentine collage
Materials: Large paper hearts, paper scraps, tissue paper, fabric pieces, short pieces of ribbon, glue
Set the materials in shallow trays. Children can choose, arrange and rearrange pieces before gluing. Ask observational questions such as, “Which piece will you add next?” or “How did you make that part bumpy?”
Skip sequins, beads and loose gems when children may mouth materials or when younger children can access the space. The CPSC advises keeping small objects out of young children’s reach and following product age labels because small parts can present choking hazards (CPSC).
- Simplify: Offer three large materials with clearly different textures.
- Extend: Invite the child to dictate a title or message for the collage.
4. Sticker name valentine
Materials: Folded cardstock, marker, large paper stickers or masking-tape shapes, crayons
Write the child’s name in large letters on the front of a card. The child places stickers along, near or anywhere around the letters, then adds drawings inside.
- Simplify: Write only the first initial and loosen the sticker edges before the activity.
- Extend: Provide a name card to copy inside without requiring tracing.
- Skill focus: Peeling stickers uses fingertip control, while the visible name adds a meaningful literacy connection.
For more ways to use dot markers for letters, counting and patterns, see these dot marker page ideas.
5. Heart shape picture
Materials: Pre-cut paper hearts in several sizes, glue, markers, background paper
Invite children to turn hearts into something else. Two hearts might become butterfly wings, a row might become a caterpillar, or one upside-down heart might become an animal face. Add lines and details with markers.
- Simplify: Offer two large hearts and ask, “What could these become?”
- Extend: Count how many hearts the picture uses or compare their sizes.
- Skill focus: Rotating and combining pieces encourages spatial exploration.
6. Paper-strip hanging heart
Materials: Two wide paper strips, glue or tape, hole punch, short piece of yarn
Place one end of each strip together and fasten them. Bend the loose ends outward and down, bring them together to make the heart’s point, and fasten them. An adult can punch a hole, add the hanger and display the finished heart out of children’s reach.
- Simplify: Hold the top while the child bends and joins the lower ends.
- Extend: Make several hearts for an adult to join into a vertical decoration.
- Skill focus: Holding one section while moving another gives the two hands different jobs.
7. Yarn-wrapped cardboard heart
Materials: Corrugated cardboard heart, short lengths of thick yarn, tape, crayons
Tape one yarn end to the back. The child wraps the yarn around the heart in any direction. Tape the other end when finished, then decorate the exposed cardboard with crayons.
- Simplify: Cut shallow notches around the edge so the yarn stays in place.
- Extend: Alternate two colors or notice whether the yarn crosses at the front or back.
- Safety: Supervise throughout, use only short strands and put the yarn away if a child begins wrapping it around their neck or body.
8. First paper heart weaving
Materials: Cardstock heart with three or four wide slots cut by an adult, wide paper strips, tape
Show “over one, under one” slowly. Tape the first strip at the back if it keeps slipping. Children can weave as much as they wish; a few successful crossings are enough.
- Simplify: Use one slot and one strip as an in-and-out threading activity.
- Extend: Alternate strip colors to make a pattern.
- Skill focus: Weaving combines visual tracking, sequencing and two-hand coordination.
9. Count-and-build love bug
Materials: Large paper oval or heart, paper circles, paper strips, glue, marker
Use the large shape as the body. Add paper-strip legs or antennae, circle spots and a drawn face. Let the child decide whether the creature has two legs, six legs or an imaginary number.
- Simplify: Provide pre-cut parts for the child to place and glue.
- Extend: Count each type of part or compare two bugs using more, fewer and the same number.
- Language prompt: “Tell me how your love bug moves.”
10. Classroom friendship quilt
Materials: One paper square per child, crayons, washable paint or paper scraps, large backing paper
Each child decorates one square with colors, marks or pictures they choose. Arrange all the squares on backing paper with a little space between them. Adults can glue the final layout or invite children to help place it.
This group Valentine craft does not require children to name a best friend or produce identical cards.
- Simplify: Use chunky crayons and one collage material.
- Extend: Children dictate a sentence about something they enjoy doing with others.
- Skill focus: Individual choices become part of one shared display.
11. Play-dough valentine bakery
Materials: Play dough, heart cutters, rolling pins, blunt dough tools, paper plates
Children roll, cut and decorate pretend heart cookies, then serve them in a bakery or tea-party game. Dough tools can make lines, dots and pretend sprinkles without tiny loose decorations.
- Simplify: Offer soft dough and one large cutter.
- Extend: Make an order card with one to five drawn hearts and build the matching number.
- Sensory option: A child who avoids sticky textures can use tools instead of touching the dough directly.
If children are ready to experiment with combining colors, adapt the process from this colored-clay mixing activity.
12. Heart road mural
Materials: Large roll of paper, crayons or washable markers, age-appropriate toy vehicles
Draw a wide heart-shaped road. Children add houses, signs, people, animals or destinations, then move vehicles around the route. Place the mural on a table for seated play or on the floor for larger arm and body movements.
- Simplify: Draw one thick road and provide a single vehicle.
- Extend: Add arrows, parking spaces or a route from one drawn landmark to another.
- Skill focus: This combines mark-making, pretend play and practice sharing a work space.
Preschool craft setup and safety
Use washable, age-appropriate supplies and read every product label. Poison Control recommends following art-material instructions, keeping food and drink away from the activity, washing skin, equipment and the work area afterward, and choosing products with the ACMI AP seal for young children when available (Poison Control).
Before children arrive:
- Remove staples, hot glue, craft knives, super glue and other adult-only materials from reach.
- Decide whether scissors are a child tool, an adult-preparation tool or optional for this activity.
- Replace tiny decorations with torn paper, drawn dots or large paper shapes.
- Check known material sensitivities and offer a tool-based or dry alternative to paint and glue.
- Put out only enough material for the current step; refill it as needed.
- Display hearts as children made them. A recognizable heart is optional—the cutting, arranging, talking and choosing are the activity.