
5 Letter D Art Activities for Preschool With Simple Supplies
Try five letter D art activities with simple supplies, clear steps, skill opportunities and easy adaptations for preschoolers ages 3–5.
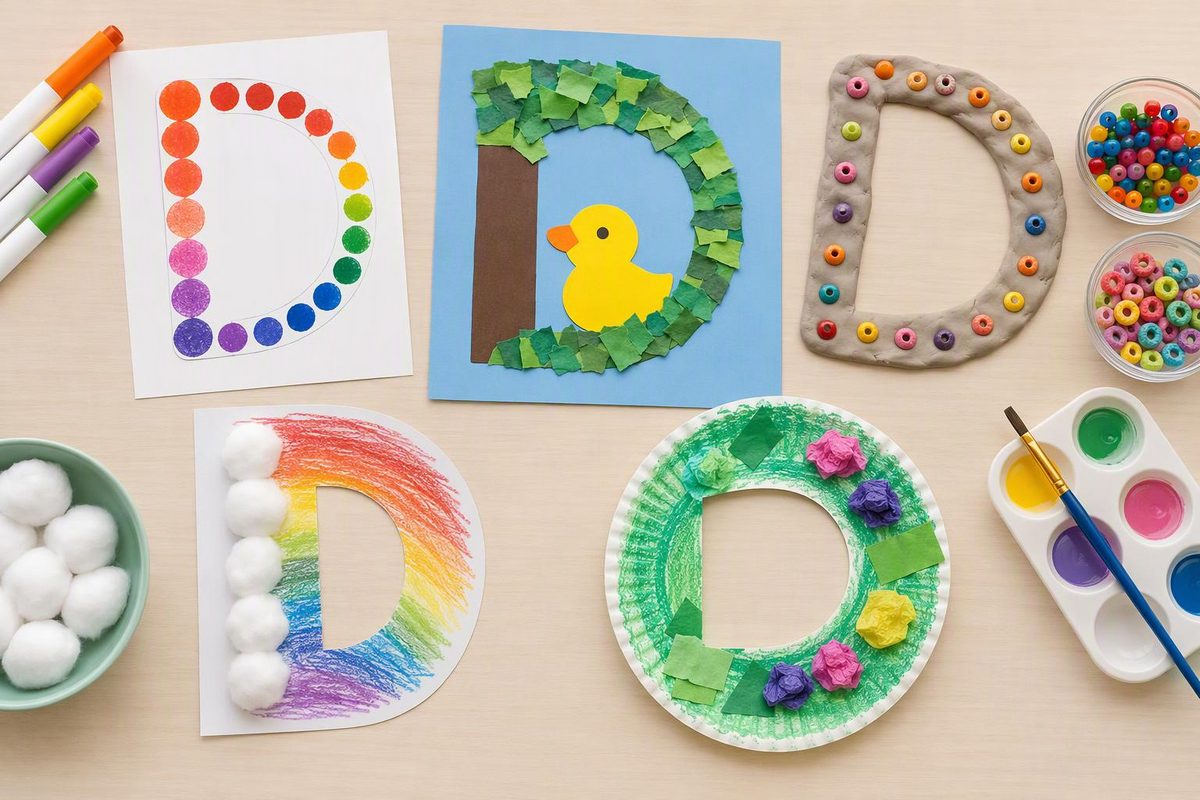
These letter D art activities give preschoolers ages three to five different ways to join: dab paint, tear paper, print dinosaur tracks, arrange ducks or draw a dog. Choose one invitation rather than setting out all five.
For letter-shape practice, start with dotted D or torn-paper D. For beginning-sound conversation, try dinosaurs, ducks or dogs and keep a separate D d card beside the artwork.
Let children choose colors, placements and details. These are letter-themed invitations, not entirely open-ended process art, but they can still leave room for exploration rather than copying an adult’s finished sample. NAEYC’s process-art guidance recommends offering choices, noticing children’s decisions and letting the work remain theirs.
Set out supplies and make the letter connection
Gather paper, thick crayons, glue sticks and the materials for your chosen activity. For painting, add a table covering, shallow paint tray and drying space.
Use age-labeled, non-toxic art supplies intended for children, read the directions and supervise directly. Keep food and drinks away from the art area and wash hands afterward. The CPSC’s Art and Craft Safety Guide also cautions that “non-toxic” products can be harmful when used in unintended ways.
For these activities, skip beads, buttons and loose googly eyes; draw details instead. Adults should manage marker and glue-stick caps and prepare any shapes a child is not ready to cut with child-sized scissors. If a child mouths materials, offer closely supervised drawing rather than loose collage pieces.
Introduce the letter briefly: “This is D. It can stand for the /d/ sound at the start of dog.” Point to the letter as you say the sound. Reading Rockets’ letter-and-sound guidance, adapted from the Texas Education Agency, recommends connecting written letters with spoken sounds and comparing words with the same beginning sound.
Keep D and d plainly printed on your card. Uppercase D has a straight left side and a curved right side; lowercase d has a round part on the left and a tall stem on the right. Children can look or point without being asked to write either one.
1. Dotted D: dab, lift and repeat
Materials: Paper, thick marker and a dot marker or large sponge dauber with washable children’s paint.
Setup: Draw a large uppercase D with a broad outlined band around its straight side and curve. Leave the middle open. If using a sponge dauber, check that its head is securely attached.
- Demonstrate one press-and-lift motion on scrap paper.
- Invite the child to place dots along the D, choosing colors and spacing.
- Keep a blank sheet nearby for dots that turn into other designs.
Say, “You put dots along the curved part.” The child does not need to cover every space or stay precisely inside the outline.
Skill opportunity: Placing marks on a visible shape and controlling repeated presses.
- Simplify: Make the D larger and offer one color.
- Extend: Invite alternating colors or compare a dotted D with a dotted d.
- Checkpoint: If the dauber drags, try lifting it fully between marks. An adult can steady the paper.
For more ways to reuse the tool, see these dot-marker activity ideas.
2. Torn-paper D: hold, pull and place
Materials: A large D outline on paper, colored paper strips and a glue stick.
Setup: Offer broad strips that are easy to grasp. Start a small tear in a few strips if needed.
- Show how to hold a strip with both hands and pull them in opposite directions.
- Let the child tear pieces and arrange them along the D before gluing.
- Glue down the chosen arrangement, leaving the letter’s middle open if the child wants its shape to remain visible.
Overlapping pieces and uneven edges are welcome. Keep the separate D card visible if the collage covers the outline.
Skill opportunity: Using both hands together to tear, then arranging and attaching pieces.
- Simplify: Supply pre-torn pieces and let the child choose where they go.
- Extend: Offer plain and patterned paper to sort or arrange before gluing.
- Checkpoint: If tearing is frustrating, make a longer starter slit rather than taking over the whole collage.
3. Dinosaur-track painting: press or slide?
Materials: Paper, washable children’s paint, a shallow tray and a large washable toy dinosaur with textured feet, labeled for the child’s age.
Setup: Check the toy for damage and detachable parts. Spread a thin layer of paint in the tray.
- Press the dinosaur’s feet into the paint, then onto the paper.
- Invite the child to try another print or slide the feet to make a different mark.
- Add paths, plants or other scenery with crayons once the paint dries.
Place D d nearby and say, “Dinosaur starts with /d/.” The tracks do not need to follow a letter outline.
Skill opportunity: Comparing marks and experimenting with pressure and movement.
- Simplify: Use one dinosaur and one paint color; offer drawing if paint is unwelcome.
- Extend: Compare tracks made by two suitable toys and describe what differs.
- Checkpoint: If footprints become blobs, reduce the paint in the tray.
Continue the theme with these dinosaur art activities.
4. Duck-pond collage: arrange a scene
Materials: Background paper, crayons, glue stick, large paper ovals for bodies, circles for heads and broad bill shapes.
Setup: Adults can cut the shapes in advance. Offer several colors rather than requiring yellow ducks and a blue pond.
- Invite the child to draw water, land or an imaginary setting.
- Explore arrangements of the paper shapes, then glue them down.
- Draw eyes, wings, feet or whatever else the child wants to add.
Ask, “Where is your duck going?” With permission, write duck beside the picture and point to its first letter, d.
Skill opportunity: Positioning shapes and describing a picture.
- Simplify: Offer one large body and head, with a bill already attached.
- Extend: Add several ducks and tell a story about their movements.
- Checkpoint: If pieces slide while gluing, work on one piece at a time.
5. Dog portrait: draw and dictate
Materials: Paper, thick crayons or washable markers, and the D d card.
Setup: Offer blank paper. A familiar dog photograph is optional; no drawing template is needed.
- Invite the child to draw a real or imaginary dog.
- Let them choose its features, colors and surroundings.
- Ask whether they would like to tell you something about it. Write their words underneath if they agree.
A scribble, shape or detailed picture can all be the child’s dog. If the caption includes dog, point out its lowercase d and match it to the card.
Skill opportunity: Making purposeful marks and connecting spoken ideas with adult-written print.
- Simplify: Offer one thick crayon on a large sheet. The child can also direct an adult’s drawing.
- Extend: Invite a second picture showing what the dog does next.
- Checkpoint: Avoid adding missing features or correcting the portrait. Ask, “Would you like to tell me about your dog?”
When the child is ready to stop, offer one brief invitation: “Can you show me D on our card?” Accept a point, a spoken answer or a look together—then leave the artwork as the child made it.